
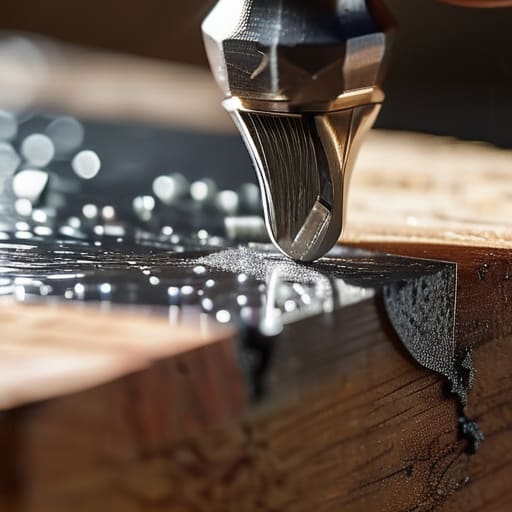
I was halfway through a weekend project in the garage, sweating through my shirt and wrestling with a pair of garden shears that felt more like blunt clubs than cutting implements, when I realized I’d hit a wall. Most people think they need to buy a high-tech, motorized grinding station to fix the problem, but that’s just more expensive clutter you don’t need. The truth is, learning how to sharpen tools isn’t about investing in the latest gadgetry; it’s about understanding the basic physics of an edge and having the patience to do it right. I’ve spent enough time troubleshooting broken systems—both in IT and in my own workshop—to know that complexity is usually just a mask for inefficiency.
In this guide, I’m stripping away the fluff and the “life hack” nonsense to give you a repeatable system that actually works. We aren’t going to chase perfection, but we are going to get your blades, chisels, and shears back to a state where they actually do their jobs. I’ll walk you through the essential gear, the correct angles, and the few functional habits that will save you from the frustration of fighting your equipment. Let’s get your tools sharp so you can stop tinkering and start finishing.
Guide Overview
Tools & Supplies
- Handheld knives (Kitchen or utility blades)
- Garden shears (Pruning or loppers)
- Dual-grit whetstone (1 unit)
- Honing rod (1 unit)
- Lubricating oil or water (1 bottle)
- Microfiber cloth (1 unit)
Step-by-Step Instructions
- 1. First, clear some space on your workbench and gather your supplies. You don’t need a professional workshop, but you do need a decent sharpening stone (a dual-grit whetstone is my go-to) and a bit of water or honing oil. If you’re working with blades, grab a small clamp to hold the tool steady; fighting a moving blade is a great way to end up in the ER, and I’d rather not deal with that kind of troubleshooting.
- 2. Prep your stone by soaking it in water for about ten minutes—if you’re using an oil stone, skip the soak and just apply a thin layer of oil. You want a consistent lubricant to keep the metal from overheating and to wash away the tiny bits of steel as you work. A dry stone is a stubborn stone, and it’ll just scratch your tools in all the wrong ways.
- 3. Find your angle and hold it. This is where most people mess up. Most garden tools or chisels have a specific bevel, usually around 25 to 30 degrees. Don’t guess; look at the existing edge. Once you think you’ve got it, practice a few strokes in the air to build that muscle memory before you actually touch the metal to the stone.
- 4. Start with the coarse side of the stone. Using steady, even pressure, push the edge across the stone in a sweeping motion, similar to how you’d slice a piece of bread. You aren’t trying to grind the tool down to nothing; you’re just looking to remove the nicks and irregularities. You’ll feel a slight vibration through the handle when you’re hitting the right rhythm.
- 5. Look for the burr. This is the most important part of the process, so don’t rush it. As you sharpen the primary bevel, you’ll eventually feel a tiny, microscopic lip of metal curling over the opposite side of the edge. Once you feel that slight roughness along the entire length of the blade, you know you’ve successfully reached the edge.
- 6. Flip the tool over and switch to the fine-grit side of your stone. This is the “polishing” phase where we refine the edge and remove that burr you just created. Use much lighter pressure here—think of it as smoothing out the wrinkles rather than carving new ones. This step is what separates a tool that merely works from one that glides through material like butter.
- 7. Test the edge, but be smart about it. Don’t go grabbing a finger; instead, try slicing through a piece of scrap paper or a shaving of soft wood. If it catches or tears, you haven’t finished the job, and you need to go back to the fine grit. A truly sharp tool should feel effortless and precise, allowing you to finish your project and finally get back to your actual life.
Stop Fighting Your Gear How to Sharpen Tools for Real Life
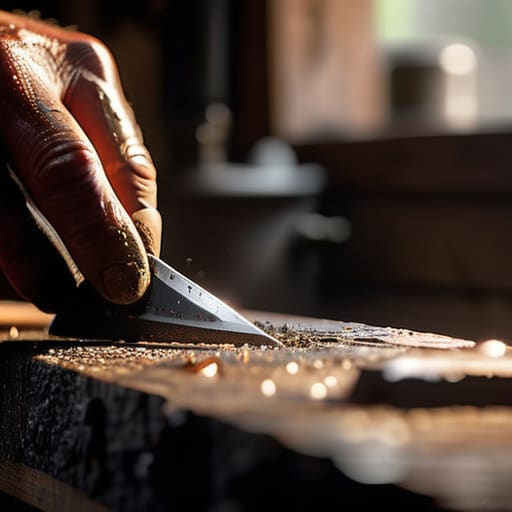
Look, I’ve spent enough time hunched over a workbench to know that the most frustrating part of any project isn’t the work itself—it’s the gear failing you mid-task. There is a massive difference between a tool that works with you and one that you’re constantly wrestling. One thing people often trip over is the distinction between honing steel vs sharpening stone. A honing steel isn’t a magic wand that fixes a dull blade; it’s just for realigning the edge you already have. If your knife or chisel feels truly blunt, you need to go back to the stone to actually remove metal and reset that bevel.
When you’re setting up your station, don’t skimp on the consumables. Using the best sharpening oils and water for your specific grit can be the difference between a smooth, controlled stroke and a jagged, uneven mess. I’ve seen too many people try to “dry sharpen” and end up scratching their expensive steel into oblivion. Once you’ve mastered the basic movement, focus on maintaining blade edge longevity by cleaning your tools immediately after use. A quick wipe with a rag and a tiny drop of oil goes a long way in preventing rust on metal tools, ensuring they’re ready to go the next time life decides to throw a project your way.
Mastering Whetstone Sharpening Techniques Without the Fancy Nonsense
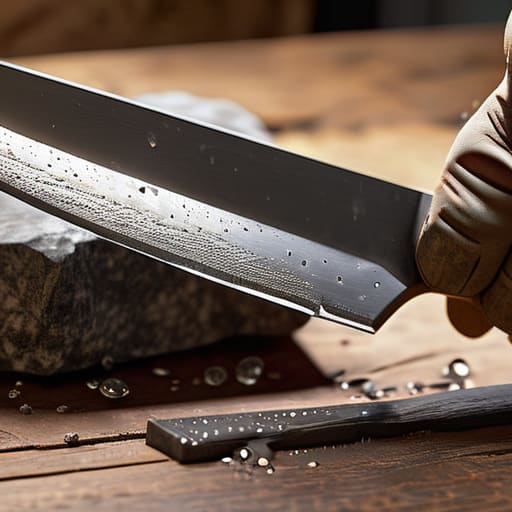
Look, you don’t need a $500 Japanese ceramic kit or a degree in metallurgy to get a decent edge. Most people get intimidated by whetstones because they think it’s some delicate ritual. It’s not. It’s just friction and consistency. The biggest mistake I see is people obsessing over the wrong thing; they focus on speed rather than finding the right sharpening angle for different tools. A kitchen knife needs a different tilt than a heavy-duty garden trowel. If you treat every blade like it’s a scalpel, you’re going to end up with a useless, thin edge that chips the moment it hits a real task.
Once you’ve got the angle down, the real secret is knowing when to use what. I often get asked about honing steel vs sharpening stone, and here’s the pragmatic truth: a honing steel is just for realigning an edge that’s gone a bit wonky during a single session. It won’t actually fix a dull blade. If the metal is truly tired, you need the stone to remove material and create a new edge. Also, please, for the love of your gear, don’t forget to dry your tools immediately after you’re done. If you aren’t careful about preventing rust on metal tools, all that hard work is just a countdown to a corroded mess.
Honing Steel vs Sharpening Stone What Actually Matters
Here is the distinction that trips most people up: a honing steel isn’t actually “sharpening” your knife in the way you think it is. Think of it more like a realignment tool. Over time, the microscopic edge of your blade starts to fold over or wander; the steel rod just pushes that edge back into a straight line. It’s great for a quick fix before dinner, but if your blade is truly dull, you’re just massaging a blunt edge and wasting your time. For actual restoration, you need to get back to the stones.
When you’re deciding between honing steel vs sharpening stone, remember that the stone is your heavy lifter. It removes metal to create a brand-new edge, whereas the steel is just for maintenance. If you want to focus on maintaining blade edge longevity, you have to master the grit progression. Start with a coarse stone to reset the bevel, then move to the finer grits to polish it out. It’s a bit more work upfront, but it means you aren’t constantly fighting a dull blade every time you try to prep a meal. It’s about doing the job right once so you don’t have to do it twice.
Maintaining Blade Edge Longevity and Preventing Rust on Metal Tools
Look, there is nothing more frustrating than spending twenty minutes perfecting a bevel only to have the edge go dull or, worse, pitted with rust the next time you reach for it. If you want to actually see the benefits of your hard work, you have to stop treating sharpening like a one-off event and start thinking about maintaining blade edge longevity as part of your regular workflow. I’ve learned the hard way that a sharp tool is a vulnerable tool; once you’ve exposed that fresh metal, it’s sitting there waiting to oxidize.
The simplest fix is a bit of preventative maintenance that most people overlook. After you’re done with a session, wipe your tools down with a clean cloth and a light layer of tool oil. It’s not about being precious; it’s about preventing rust on metal tools so you aren’t fighting corrosion every spring. If you’re working with high-carbon steel, this is non-negotiable.
Also, pay attention to how you store things. Don’t just toss your freshly honed knives or chisels into a crowded drawer where they can bang against other metal. A dedicated slot or even a simple wooden magnetic strip makes a world of difference. If you protect the edge from physical impact, you won’t find yourself back at the whetstone nearly as often.
Five Rules to Keep Your Edge Without the Headache
- Stop treating your sharpening stone like a delicate piece of fine china; soak it properly before you start, or you’ll just be grinding grit into the surface and ruining both the stone and your blade.
- Don’t go chasing the perfect angle like you’re trying to solve a calculus equation—find a consistent, comfortable angle that works for your hand and stick to it, because inconsistency is what actually kills an edge.
- Learn to listen to the metal; if you’re hearing a high-pitched screech rather than a smooth, rhythmic sliding sound, you’re applying too much pressure and you’re likely to slip and nick the bevel.
- Throw away the cheap, supermarket-grade pull-through sharpeners that hack at your steel; they’re just a fast way to turn a precision tool into a blunt instrument that’s barely better than a butter knife.
- Always test your edge on something soft like a piece of scrap paper or a piece of cardboard before you go diving into a real project—there’s nothing more frustrating than realizing your “sharp” tool is still struggling halfway through a task.
Stop Fighting the Friction
At the end of the day, sharpening your tools isn’t about achieving some obsessive, museum-grade perfection; it’s about removing the friction from your daily tasks. We’ve covered the essentials: knowing when to reach for the honing steel versus the whetstone, maintaining the correct angle, and actually taking the five minutes to wipe down your blades to prevent rust. If you can master these few foundational habits, you stop wasting energy fighting against blunt edges and start working with equipment that actually responds to you. It’s much more efficient to spend a little time on preventative maintenance now than to spend an entire afternoon struggling with a tool that’s effectively useless.
My goal for you isn’t to turn you into a master bladesmith, but to help you reclaim the time you usually lose to frustration. When your tools work the way they’re supposed to, the job gets done faster, the results are cleaner, and you aren’t left feeling drained by the sheer effort of basic labor. Let’s stop treating our gear like disposable junk and start treating it like the functional assets they are. Get your edges right, get your work done, and then get back to living the rest of your life.
Frequently Asked Questions
How often do I actually need to do this before the tool is officially "broken"?
Look, a tool isn’t “broken” just because it’s dull; it’s just performing poorly. If you’re hacking at a branch or a tomato and you feel yourself straining or losing control, that’s your signal. Don’t wait until the metal is nicked or the edge is completely rolled—that’s when you’re looking at actual damage. Sharpen when the resistance starts to feel like a chore. Keep it efficient, not until it’s ruined.
Is it worth buying a cheap electric sharpener, or am I just throwing money down the drain?
Look, if you’re looking for a quick fix because you’re tired of hacking away at a dull garden trowel, a cheap electric sharpener isn’t the end of the world. But let’s be honest: most of them are glorified grinders that chew up your steel and leave a jagged edge. If you value your tools, skip the plastic junk. Invest in a decent whetstone instead. It’s a better system for the long haul.
Can I use these same techniques on my kitchen knives, or am I going to ruin them?
Short answer: Yes, but don’t treat a $200 Japanese chef’s knife like a rusty garden trowel. The physics of the edge are the same, but the stakes are higher. If you’re using a whetstone, you’ll need to be much more precise with your angle to avoid chipping the steel. My rule of thumb? Use your heavy-duty stones for the workshop gear, and save the fine-grit, high-quality stones for the kitchen. Precision matters when you’re slicing onions.
What do I do if I’ve already messed up the angle and the blade feels uneven?
Don’t panic; you haven’t ruined it, you’ve just created a learning moment. If the edge feels wonky, stop what you’re doing. You need to reset. Go back to your coarsest grit stone and grind the entire length of the blade until you feel a consistent burr forming along the whole edge again. It’s tedious, but you can’t build a stable system on a shaky foundation. Reset the angle, find your rhythm, and start over.





