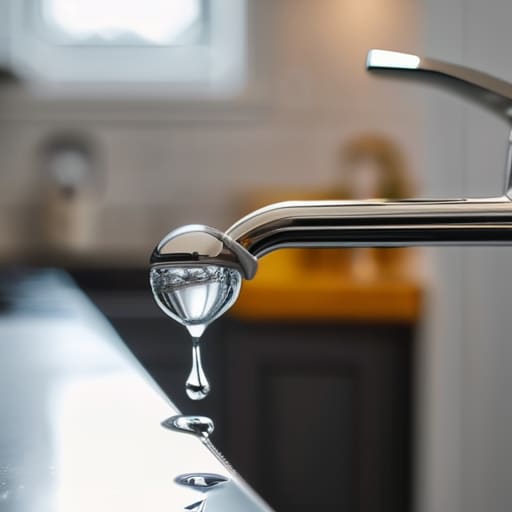
There is a specific kind of madness that sets in around 2:00 AM when that rhythmic drip, drip, drip from the kitchen sink starts echoing through the house. It’s not just the noise; it’s the mental load of knowing you’re literally watching money and water waste away while you’re trying to sleep. Most people think they need to call an expensive plumber or replace the entire fixture, but let me tell you: that’s usually a myth. Learning how to fix a leaky faucet is less about master plumbing and more about having the right single washer or O-ring in your hand.
I’m not here to give you a complicated, twenty-step engineering lecture. I want to give you a system that actually works so you can stop the noise and get back to your life. In this guide, I’m breaking down the process into a few functional, repeatable steps that won’t require a degree in civil engineering. We’ll identify the source of the leak, grab the specific tools you actually need, and get that faucet silenced for good. No fluff, no unnecessary jargon—just straightforward solutions for a functional home.
Guide Overview
Tools & Supplies
- Adjustable wrench for loosening nuts
- Screwdriver (Phillips or flathead) to remove handles
- Allen wrench to remove set screws
- Replacement washer or O-ring (1-2 pieces)
- Plumber's grease (1 small tube)
Step-by-Step Instructions
- 1. First things first, you need to shut off the water supply. Look under the sink for the oval-shaped shut-off valves and turn them clockwise until they stop. If you can’t find them, or if they look like they’ve been fused to the pipes since the Nixon administration, you’ll need to turn off the main water valve for the whole house. Don’t skip this, or you’ll be troubleshooting a flooded kitchen instead of a leaky tap.
- 2. Once the water is off, open the faucet and let the remaining liquid drain out. While you’re waiting, grab a towel and plug the drain with a stopper or a rag. I’ve learned the hard way that losing a tiny screw down the drain is a special kind of hell that no amount of caffeine can fix.
- 3. Now, you need to get to the guts of the thing. Use a screwdriver to remove the decorative cap on the handle—it’s usually just a little plastic bit that says ‘H’ or ‘C’. Once that’s out, unscrew the handle and pull it off. If it’s stuck due to mineral buildup, give it a gentle nudge with a wrench, but don’t go gorilla-mode on it; you don’t want to snap the hardware.
- 4. With the handle out of the way, you’ll see the cartridge or the stem. Use an adjustable wrench to loosen the packing nut. Once that’s off, pull the cartridge straight up. This is the part that usually fails. Take a quick look at it—if it looks corroded or cracked, you’re looking at a replacement job, not just a quick fix.
- 5. If you’re dealing with a compression faucet (the kind you turn multiple times to get full flow), the culprit is likely a worn-out rubber washer. Pry the screw out of the bottom of the stem, swap the old washer for a brand new one of the exact same size, and screw it back in. If it’s a cartridge faucet, just take the old part to the hardware store so you don’t bring home the wrong version.
- 6. Put everything back together in the exact reverse order you took it apart. Tighten the nut, replace the handle, and screw the cap back on. Before you get too excited, turn the water supply back on slowly. If you blast it open full tilt, you might trigger a pressure spike that makes things worse.
- 7. Turn the faucet on and let it run for a minute to clear out any air in the lines. Then, turn it off and watch that drain. If the dripping has stopped, congratulations—you’ve just reclaimed a little bit of your peace and quiet.
Ditch the Constant Drip and Learn How to Fix a Leaky Faucet
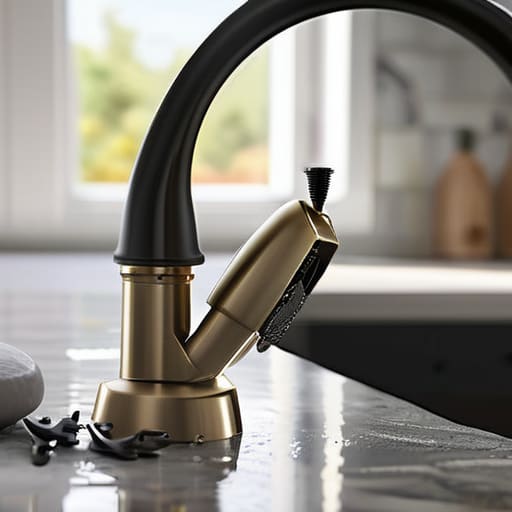
Before you go calling a plumber and paying a premium for something you could likely handle yourself, take a second to identify what kind of hardware you’re actually dealing with. If you have those old-school handles that require a few turns to get the water flowing, you’re likely fixing a compression faucet. These are usually the culprits when a worn-out rubber seal is the issue. On the other hand, if you have a single lever that moves up and down or side to side, you’re looking at a more modern setup. In that case, your focus should shift toward cartridge faucet troubleshooting to find out if the internal mechanism has finally given up the ghost.
Regardless of the model, don’t wing it. I’ve learned the hard way that “winging it” usually ends with a flooded cabinet and a very expensive lesson in humility. Make sure you have a decent set of plumbing tools for faucet repair—specifically a basin wrench and some quality screwdrivers—laid out on a towel before you even touch the shut-off valve. If you realize you need to replace faucet washer components, take the old parts with you to the hardware store. Don’t guess based on a photo; measure twice and buy once to save yourself a second trip.
Gathering Real Plumbing Tools for Faucet Repair Without the Fluff
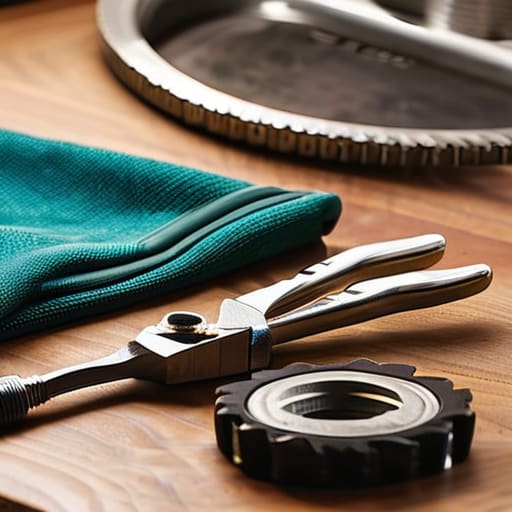
Before you start tearing things apart, you need to clear your workspace. There is nothing more frustrating than being halfway through a job only to realize you’re missing the one specific wrench you need. I’ve spent enough time troubleshooting hardware to know that a “good enough” tool usually results in a stripped screw and a much longer afternoon. You aren’t going to need a professional-grade kit, but you do need the right plumbing tools for faucet repair: an adjustable wrench, a screwdriver set (both Phillips and flathead), and perhaps some needle-nose pliers. If you’re dealing with an older model, you might specifically be fixing a compression faucet, which means you’ll want to have a few different sized washers on hand just in case.
Don’t bother running to the hardware store three times in one hour. While you’re there, grab a small tub of plumber’s grease and some Teflon tape. These are the little things that make the difference between a temporary patch and a job that actually holds. If your specific issue involves cartridge faucet troubleshooting, you’ll want to ensure you have a specialized cartridge puller if the model is particularly stubborn. My rule of thumb? Check the brand name on the faucet before you leave the store. It makes finding the exact replacement parts infinitely easier and saves you from the headache of a second trip.
Fixing a Compression Faucet or Navigating Cartridge Faucet Troubleshooting
Most people get stuck here because they don’t realize they’re dealing with two completely different beasts. If you have an older setup, you’re likely fixing a compression faucet. These are the classic ones where you feel resistance as you turn the handle; they rely on a rubber washer being pressed down to seal the flow. Usually, the culprit is a worn-out piece of rubber. When it’s time to replace faucet washer components, don’t just grab any random size from a bin. Take the old one with you to the hardware store. It sounds tedious, but matching the exact thickness is the difference between a job well done and a faucet that still weeps at 2:00 AM.
On the other hand, if your handles feel smooth and modern, you’re likely looking at cartridge faucet troubleshooting. These don’t use washers; they use a plastic or brass cylinder that regulates the water. If it’s leaking, the internal seals are shot, and you’ll need to pull the cartridge out to inspect it. Sometimes, a simple cleaning of the cartridge works, but more often than not, you’ll be looking at a full replacement. Just remember: don’t force anything. If the cartridge feels stuck, you probably missed a retaining clip somewhere. Slow and steady wins this one.
How to Replace Faucet Washer and Stop Water Dripping From Spout
If you’ve reached the point where the drip is more of a rhythmic annoyance than a minor nuisance, you’re likely dealing with a worn-out washer. In a compression faucet, the washer is the unsung hero that creates the seal; once it gets compressed, cracked, or flattened by years of use, it loses its ability to do its job. To replace faucet washer components effectively, you’ll need to ensure you’re matching the exact size and material. I’ve learned the hard way that “close enough” doesn’t work in plumbing. Grab a handful of assorted washers from the hardware store or, better yet, take the old one with you to ensure a perfect fit.
Once you have the new part, the goal is to stop water dripping from spout by ensuring the seat is clean before you reassemble everything. If there is mineral buildup or grit on the valve seat, even a brand-new washer won’t provide a watertight seal. Take a moment to wipe the area down or use a seat dresser if things look particularly crusty. It’s a small, extra step, but it’s the difference between a job that lasts five years and one that fails by next Tuesday. Don’t rush the reassembly; precision matters more than speed here.
Five Pro-Tips to Keep the Water Flowing Where It Belongs
- Shut the water off before you even touch a wrench. I’ve seen too many “quick fixes” turn into indoor swimming pools because someone forgot to locate the shut-off valves under the sink first.
- Clean your parts while they’re out. If you’re replacing a washer, take a second to scrub the mineral buildup out of the valve seat with a bit of white vinegar; there’s no point in installing new parts on a dirty foundation.
- Don’t over-tighten the new components. It’s tempting to crank everything down to ensure a seal, but over-tightening is the fastest way to crack a plastic cartridge or strip a thread. Tighten it until it’s snug, then stop.
- Keep a small bin or towel handy to catch the stray screws and tiny washers. These things have a magical ability to vanish into the dark abyss of the sink drain the moment you set them down.
- Check your seals once more before you call it a day. Turn the water back on slowly and watch for any weeping around the base or handle. It’s much easier to adjust a loose nut now than to redo the whole job tomorrow.
One Less Thing on Your Plate
At the end of the day, fixing a leaky faucet isn’t about becoming a master plumber; it’s about identifying whether you’re dealing with a worn-out washer in a compression model or a faulty cartridge in a modern fixture. You’ve gathered the right tools, navigated the internal mechanics, and—most importantly—you didn’t let the task snowball into a massive, expensive headache. By replacing that single piece of hardware, you’ve successfully closed a loop that was likely draining both your water bill and your mental bandwidth. It’s a small win, but in a world that feels increasingly chaotic, these are the functional victories that actually matter.
My advice? Don’t let this be the start of a “to-do” list that sits untouched for months. Once the drip is gone and the sink is dry, take that momentum and apply it to the next small friction point in your home or your workflow. We spend far too much time troubleshooting our lives instead of simply living them. You’ve proven you can handle the mechanical stuff; now, go enjoy the quiet of a house that isn’t constantly reminding you of what’s broken. You’ve earned the peace and quiet.
Frequently Asked Questions
What if I replace the washer and it still keeps dripping?
If you’ve swapped the washer and that drip is still mocking you, don’t throw the whole faucet in the trash just yet. Usually, this means the seat—the metal part the washer presses against—is corroded or pitted. If it’s uneven, a new washer won’t matter; it’s like trying to seal a window with a warped frame. You’ll need a seat dresser tool to smooth it out, or you might just need a new cartridge entirely.
Do I really need to turn off the water at the main valve, or can I just use the shut-off valves under the sink?
Look, I’ve seen enough DIY disasters to know that “close enough” isn’t a strategy. Try the shut-off valves under the sink first—that’s what they’re there for. But if those valves are old, crusty, or won’t budge, don’t force them. You’ll just end up with a flood. If the under-sink valves aren’t 100% reliable, go straight to the main. It’s better to spend five minutes finding the main valve than five hours mopping up a lake.
How can I tell if the problem is the faucet itself or something deeper in the pipes?
Here’s the deal: if the dripping stops the second you shut off the local isolation valve under the sink, you’ve got a localized faucet issue. It’s just a worn washer or a bad cartridge. But if the water pressure is erratic throughout the house, or you hear knocking sounds inside your walls when the taps run, you’re looking at a systemic plumbing problem. Don’t DIY a pipe issue; that’s when you call a pro.
At what point should I stop DIYing this and actually call a professional plumber?
Look, I’m all for a good DIY project, but knowing when to fold is part of being efficient. If you open the cabinet and see standing water, or if you’ve replaced the washer and the drip persists, stop. If you suspect a pipe behind the wall is the culprit or if you’re staring at a corroded valve that won’t budge, call a professional. Don’t turn a minor annoyance into a flooded kitchen.