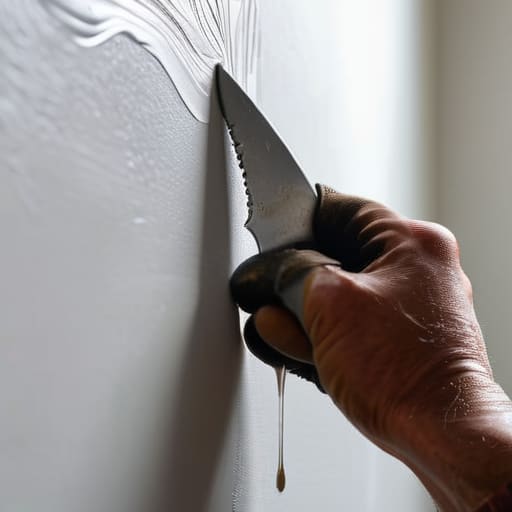
I was halfway through a deep-focus coding session when the sound of a heavy, ceramic lamp meeting the hallway drywall echoed through the house. It’s that specific, hollow thud that makes your stomach drop—the sound of a sudden, unplanned project. Most people think that learning how to patch a hole in the wall requires a massive trip to the hardware store and a weekend of heavy construction, but that’s a myth that keeps people paralyzed. In reality, unless you’ve driven a truck through your living room, it’s usually just a matter of ten minutes and the right sequence.
I’m not here to give you a complicated lecture on masonry or a list of expensive gadgets you’ll never use again. My goal is to get you through this with as little friction as possible so you can stop staring at the damage and get back to your life. I’m going to walk you through the exact, no-nonsense steps to fix everything from a tiny nail prick to a larger dent, ensuring the finish is smooth enough that you’ll actually forget it ever happened. Let’s just get it done.
Guide Overview
Tools & Supplies
- Putty knife for spreading compound
- Sandpaper for smoothing surfaces
- Spackle knife for applying filler
- Sponge for cleaning dust
- Spackle or joint compound (1 small tub)
- Mesh drywall patch (1-2 patches)
- Sandpaper (medium and fine grit)
- Interior paint (small sample size)
Step-by-Step Instructions
- 1. First, let’s assess the damage. If it’s just a small nail hole, you can skip most of this, but if you’ve got a real crater from a rogue moving box or a door handle, you’ll need to clear out the debris. Take a utility knife and trim away any loose bits of drywall or frayed paper hanging off the edges. If the edges are jagged, the patch will never sit flush, and we’re trying to avoid more work later.
- 2. Grab a piece of drywall scrap and a utility knife to create a “patch” if the hole is larger than a postage stamp. You want to cut the patch so it’s slightly larger than the hole itself, ensuring you have enough surface area to overlap the edges. It sounds tedious, but a well-fitted piece of drywall is the difference between a professional finish and a visible bump in your wall.
- 3. Now, apply your joint compound. Use a putty knife to spread the compound over the hole, pressing it into the gaps. The trick here is to avoid the temptation to build it up too thick in one go. Instead, aim for a thin, even layer that extends a few inches beyond the actual hole. If you go too heavy, you’ll end up spending your entire Saturday sanding away mountains of dried mud.
- 4. Once that first layer is dry (and it will take longer than you think, so check it), you’ll likely see some unevenness. This is normal. Take a finer sanding sponge and lightly smooth out the ridges. Then, apply a second, even wider layer of compound to feather the edges. You’re essentially creating a gentle slope from the patch out to the rest of the wall so the eye can’t detect a transition.
- 5. Sanding is the part everyone hates, but it’s non-negotiable if you want it to look right. Use a fine-grit sanding sponge and work in light, circular motions until the patch feels perfectly smooth to the touch. Do a quick “finger test”—run your hand over it; if you can feel a bump or a dip, you aren’t done yet.
- 6. Before you even think about touching a paintbrush, wipe the area down with a slightly damp cloth. You need to remove every trace of drywall dust, or your paint will peel off like a bad sunburn. Once it’s bone dry, apply a quick coat of primer. This is a crucial step because drywall compound is incredibly thirsty; if you skip primer, your paint will soak in unevenly and leave you with a dull, blotchy spot.
- 7. Finally, it’s time for the color. Use a small roller rather than a brush if you want to match the texture of the surrounding wall. Dab the paint on rather than long, sweeping strokes to mimic the existing finish. Once it’s dry, step back, take a breath, and realize that the hole is gone and you can get back to your life.
Stop Staring at the Damage and Master How to Patch a Hole in the Wall
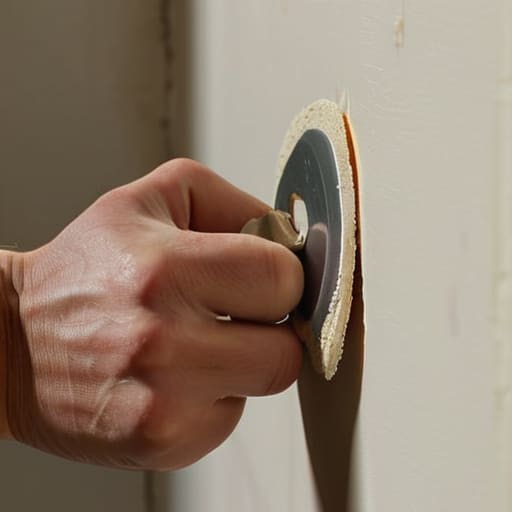
Look, I get it. You walk into the room, see that jagged gap in the drywall, and suddenly it’s all you can see. It’s like a visual glitch in your living space that you just can’t ignore. But here’s the thing: dwelling on the mistake won’t fix the wall. If you’re dealing with something minor, like a stray door handle dent or a nail hole, don’t overcomplicate it. Grab a drywall patch kit for small holes and just get moving. The goal isn’t perfection on the first pass; it’s about closing the gap so the mental clutter disappears.
If the damage is a bit more substantial, you’ll want to be strategic about your spackling compound application. Don’t just glob it on like you’re frosting a cake; you want to feather the edges out so the repair eventually disappears into the surrounding surface. Once it’s dry, the real secret is in the finish. Use a fine-grit sandpaper to sand the surface smooth—and I mean truly smooth. If you rush the sanding, you’ll end up with a bump that catches the light every time the sun hits it, and then you’re right back where you started: staring at a problem instead of enjoying your home.
The Only Drywall Patch Kit for Small Holes You Actually Need
Look, you don’t need to trek to the big-box hardware store and wander down the endless aisles of construction supplies just to fix a doorknob mishap. Most people overcomplicate this by buying heavy-duty kits meant for a full renovation. If you’re just dealing with a nail hole or a minor scuff, a basic drywall patch kit for small holes is all you really need to get the job done. I always tell my clients: don’t buy for the project you might have next year; buy for the one sitting in front of you right now.
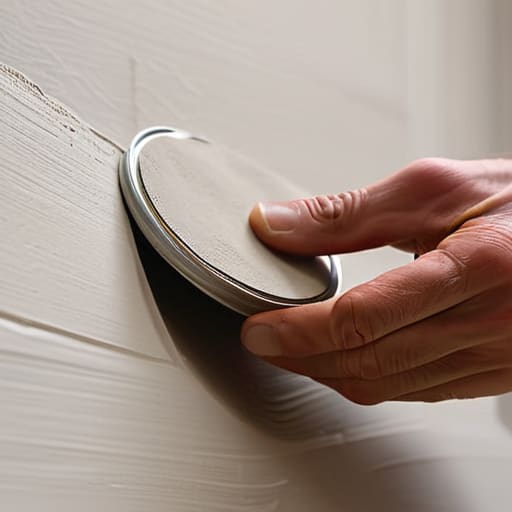
When you’re picking your tools, prioritize a decent putty knife and a high-quality spackling compound. The secret isn’t in the brand name, but in the application technique. You want to apply the compound in thin, even layers rather than trying to glob it all on at once to save time. If you try to rush it, you’ll end up spending twice as much time later trying to sand drywall smooth to hide your mistakes. Grab a fine-grit sanding sponge, keep your movements light, and remember that a little patience now prevents a massive headache when you finally go to repaint.
Mastering Spackling Compound Application Without the Messy Headache
Here is the reality of spackling compound application: it is incredibly easy to overdo it. Most people approach a hole with the mindset of “more is better,” but in my experience, that’s a one-way ticket to a massive sanding headache. If you pile on too much compound at once, you end up with a mountain that takes ages to dry and is nearly impossible to level out. Instead, aim for thin, manageable layers. I always tell my clients to treat it like icing a cake—build it up incrementally. If you’re using a drywall patch kit for small holes, you’ll find that two thin coats are significantly more effective than one heavy-handed glob.
Once the compound is actually dry, the real work begins with the finishing touches. This is where most DIY projects fall apart, usually because people rush the cleanup. To get a professional result, you need to master a few basic drywall sanding techniques. Don’t just scrub at the spot; use a fine-grit sanding sponge and move in light, circular motions to blend the edges into the surrounding wall. The goal isn’t just to remove the excess, but to ensure there isn’t a visible “halo” around your repair. If you take the time to sand it smooth now, you won’t be staring at a lumpy imperfection every time you walk past that wall.
Using Wall Repair Mesh Tape and Sand Drywall Smooth for Good
If you’re dealing with a hole that’s a bit larger than a stray nail mark, skipping the wall repair mesh tape is a recipe for a structural headache later. I’ve seen too many people try to bridge a gap with nothing but compound, only to have the patch crack or sag within a week. Think of the mesh as the skeleton of your repair; it provides the tension and support needed so your spackling doesn’t just pull away from the edges. When you apply the tape, make sure it’s seated firmly against the surface before you start your first layer of compound. It’s not about being fancy; it’s about making sure the fix actually stays put when you inevitably bump into it with a vacuum cleaner or a moving box.
Once the compound is dry, the real work—and the part most people dread—begins: the sanding. To truly sand drywall smooth, you need to resist the urge to go overboard. I always recommend starting with a medium-grit sandpaper to knock down the initial ridges, then switching to a fine-grit for that final, professional finish. If you find yourself staring at a pile of white dust, take a breath. Use a bright work light held at an angle against the wall; it’ll reveal any imperfections your eyes might miss in standard lighting. Precision beats speed every single time when it comes to getting a seamless finish.
A Few Pro-Tips to Keep the Chaos to a Minimum
- Don’t skip the cleaning step; if there’s loose dust or old paint flakes sitting in the hole, your new patch is going to peel off like a bad sunburn.
- Less is almost always more when it comes to spackle; I’ve learned the hard way that it’s much easier to add a second thin layer than it is to sand down a massive, dried mountain of compound.
- Invest in a decent sanding sponge rather than those cheap sandpaper sheets; you’ll get a much smoother finish with significantly less arm fatigue.
- Keep a damp cloth nearby to wipe away excess dust immediately after sanding, otherwise, you’ll be cleaning white powder out of your floorboards for the next three weeks.
- Check your lighting before you call it finished; grab a flashlight or a work lamp and shine it sideways across the patch to catch any tiny bumps you missed in the midday glare.
Done, Dusted, and Out of Sight
At the end of the day, patching a hole isn’t about achieving architectural perfection; it’s about the process of getting the job done efficiently. You’ve selected the right mesh tape, applied your spackling with a steady hand, and sanded it down until it’s actually smooth to the touch. By focusing on these small, repeatable steps—rather than letting the initial damage derail your entire weekend—you’ve successfully closed the loop on a minor household crisis. Now that the structural integrity is restored and the surface is ready for a quick coat of paint, the most important part of this entire operation is that the repair is completely invisible to anyone walking through the room.
I know how it feels to look at a dent in the wall and see a symbol of chaos or a reminder of a clumsy moment. But once that patch is dry and the dust is swept up, that distraction is gone. My goal isn’t just to teach you how to handle spackle; it’s to help you build the confidence to tackle these little friction points in your life without them becoming major stressors. Fix the wall, stop the mental loop of “I need to deal with that,” and get back to the things that actually matter. You’ve reclaimed your space, and more importantly, you’ve reclaimed your headspace.
Frequently Asked Questions
How do I make sure the patch doesn't show up as a weird, shiny spot once I paint over it?
That “shiny spot” is usually just a sign that your patch is too smooth or hasn’t been properly sealed. If you paint directly onto fresh spackle, the porous surface sucks up the moisture differently than the rest of the wall, leaving a telltale patch. My rule of thumb: always prime the area first. A quick coat of primer levels the texture and creates a uniform base, so your paint actually sits where it’s supposed to.
Can I use this same spackle for a larger hole, or am I going to need something more heavy-duty?
Short answer: Don’t do it. If you try to fill a large gap with standard spackle, it’s going to shrink, crack, and leave you looking at a structural mess. Spackle is great for those “oops, I bumped the chair” moments, but for anything bigger than a nail hole, you need a dedicated drywall patch or a piece of scrap drywall. Grab a mesh patch first; it provides the skeleton that spackle just can’t provide on its own.
How long do I actually have to wait for the compound to dry before I start sanding?
Look, I know the urge to grab the sandpaper and just get it over with is real, but rushing this is how you end up with a sanding nightmare. Generally, you’re looking at anywhere from 30 minutes to a few hours for thin layers. If it’s a deeper patch, give it a full overnight. The rule of thumb? If it looks even slightly damp or feels tacky, walk away. Let it cure completely so you aren’t fighting the texture later.
What’s the best way to clean up the dust without turning my entire living room into a construction zone?
The secret is containment. Don’t just start sanding and hope for the best; you’ll be vacuuming dust out of your rug for weeks. Grab a cheap handheld vacuum and a damp microfiber cloth before you even open the compound. I always set up a “wet zone”—lay down a drop cloth or even some old newspapers right under the work area. Once you’re done sanding, wipe the immediate area with the damp cloth immediately. Control the mess before it controls you.