
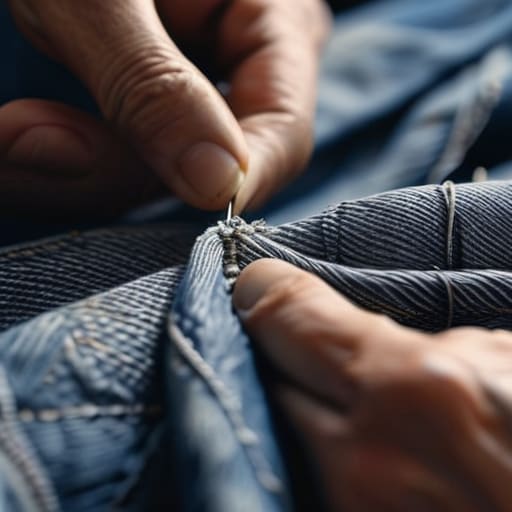
I was halfway through a client presentation on a Tuesday morning when I felt it: that dreaded, unmistakable draft against my thigh. A seam had finally given up the ghost on my favorite pair of trousers, and my first instinct wasn’t to fix them, but to feel a wave of sheer exhaustion at the thought of another thing breaking. We’ve been conditioned to believe that once a thread pulls or a button hangs by a prayer, the garment is officially dead and headed for the landfill. But honestly? Learning how to mend clothes isn’t about becoming a master seamstress or starting a slow-fashion revolution; it’s about refusing to let a five-minute fix turn into a fifty-dollar replacement.
I’m not here to sell you on complicated embroidery projects or expensive sewing machines that will just collect dust in your closet. Instead, I want to give you a functional toolkit for the real world. We’re going to cover the three or four essential repairs that actually matter—the stuff that keeps your wardrobe running without wasting your weekend. I’ll show you how to tackle common snags and loose seams with minimal fuss, so you can stop managing a wardrobe of “almosts” and get back to actually living your life.
Guide Overview
Tools & Supplies
- Hand sewing needles (various sizes)
- Fabric scissors (sharp for clean cuts)
- Seam ripper (for removing old threads)
- Thimble (to protect fingers)
- All-purpose sewing thread (assorted colors)
- Fabric patches (various textures and sizes)
- Sewing pins (to hold fabric in place)
Step-by-Step Instructions
- 1. First, clear some space on your kitchen table or desk—not your bed, unless you want a mountain of fabric falling on you—and gather your gear. You don’t need a professional sewing kit, but you should have a decent pair of fabric scissors, a few needles, and some high-quality thread that actually matches the color of your garment. If you’re working on something heavy like denim, skip the flimsy sewing thread and grab some heavy-duty upholstery thread instead; nothing is more frustrating than a repair that snaps the first time you sit down.
- 2. Turn the garment inside out before you do anything else. I know it feels counterintuitive, but performing your repairs on the underside of the fabric ensures that any messy knots or uneven stitches stay hidden from the world. It’s a small bit of preventative maintenance for your aesthetic that keeps your clothes looking intentional rather than patched.
- 3. For simple holes or small tears, use a basic running stitch. Thread your needle, tie a knot at the end, and weave the needle in and out of the fabric edges along the tear. Don’t pull the thread too tight, or you’ll end up with a puckered mess that makes the fabric look like it’s under tension. Keep your stitches small and consistent—think of it like debugging a line of code; you want it to be clean and logical.
- 4. If you’re dealing with a seam that has completely given way—the classic “split crotch” or a shoulder seam that’s quit on you—you’ll need a backstitch. This is a bit more time-consuming, but it’s much more durable. You essentially loop the thread back on itself with every stitch, creating a continuous line of strength that mimics a machine stitch. It’s the “fail-safe” method for when you need a repair to actually hold up under real-world pressure.
- 5. When you reach the end of your repair, don’t just cut the thread and hope for the best. Secure your work by taking a tiny stitch through the fabric and the thread, then pull it tight to create a knot. I usually do this twice just to be safe. If you’re working with a knit fabric, like a sweater, you might want to use a tiny dab of fabric glue on the knot to prevent it from unraveling during the next wash cycle.
- 6. Once the structural work is done, turn the garment right-side out to inspect your handiwork. If the repair is visible and looks a bit “DIY,” don’t panic; sometimes a visible mend is a badge of honor. If it bothers you, you can always add a small patch or an embroidered detail over the top. The goal isn’t perfection; the goal is functionality over aesthetics so you can stop worrying about your clothes and get back to your day.
Ditch the Disposable Mindset Learning How to Mend Clothes Properly
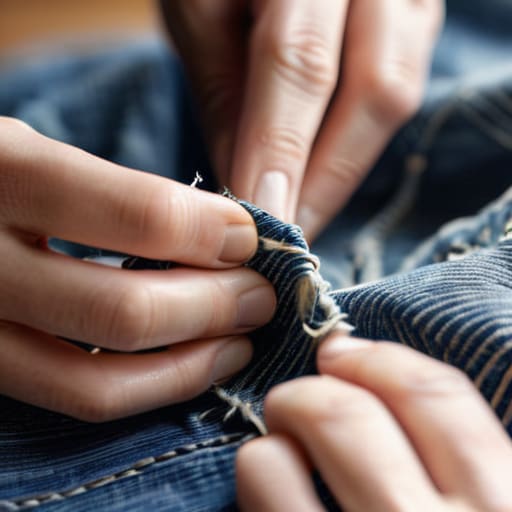
We’ve been conditioned to think that a snag or a blown seam is a death sentence for a garment. It’s the “fast fashion” trap: if it’s broken, it’s trash. But honestly, that mindset is just more mental clutter we don’t need. When I’m working on a vintage synth, I don’t scrap the whole board because one capacitor is blown; I find the part and fix the circuit. Clothing should be treated with the same logic. Instead of rushing to a big-box retailer to replace a perfectly good pair of jeans, try patching denim holes with something that actually has character. It turns a flaw into a design choice rather than a failure of maintenance.
To make this work, you need to stop treating your repair tools like an afterthought. You don’t need a massive, disorganized bin of plastic junk; you just need a few sewing kit essentials that actually do the job—good fabric shears, a handful of sturdy needles, and decent thread. If you can master even just a few basic sewing stitches, you’ll find that most “unwearable” items are only five minutes of work away from being back in your rotation. It’s not about perfection; it’s about utility. Once you stop viewing repairs as a chore and start seeing them as a way to protect your investment, the whole process becomes much less daunting.
The Only Sewing Kit Essentials You Actually Need to Function
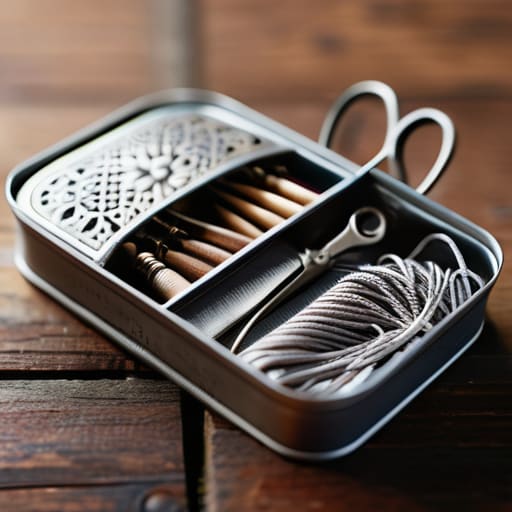
Look, you don’t need a massive, multi-tiered wooden chest filled with useless notions to handle a loose button or a fraying hem. Most of those “all-in-one” kits are just clutter waiting to happen. If you want to be prepared without turning your living room into a craft store, stick to the fundamentals. I keep a small, functional tin in my desk drawer containing a handful of high-quality hand-sewing needles, a decent pair of small embroidery scissors, a spool of all-purpose polyester thread in neutral tones, and a few safety pins. This is your minimalist sewing kit essentials list—it’s enough to tackle most common issues without the overwhelm.
When you actually sit down to work, don’t overcomplicate the mechanics. If you’re dealing with a small hole in a knit garment, you might want to look into a darning socks tutorial to learn how to weave thread across the gap; it’s much more durable than a simple patch. For heavier fabrics, like when you’re patching denim holes, you’ll want a slightly thicker needle and some sturdy thread to ensure the repair holds up to actual wear and tear. The goal isn’t to become a master tailor overnight; it’s about having the right, basic tools to make a quick, effective fix so you can move on with your life.
Real Repairs From Basic Sewing Stitches for Beginners to Patching Denim Hol
If you’re staring at a frayed hem or a hole in your favorite jeans, don’t panic. You don’t need to be a master tailor to handle most everyday mishaps. Start by mastering a few basic sewing stitches for beginners—specifically the running stitch for simple seams and the backstitch if you actually need something to hold under pressure. Think of these like the fundamental lines of code in a program; once you have the basics down, you can troubleshoot almost anything.
When it comes to more significant damage, like a blowout in your jeans, you have two choices: hide it or highlight it. If you want to go the traditional route, patching denim holes with a piece of scrap fabric on the inside is the most functional way to restore structural integrity. However, if you’re feeling a bit more creative, I’ve become a huge fan of visible mending techniques. Instead of trying to make the repair disappear, use a contrasting thread color to turn the flaw into a deliberate design choice. It turns a piece of “damaged” clothing into something unique that actually has a story. Whether you’re following a darning socks tutorial or just reinforcing a seam, the goal is the same: stop the decay and keep the garment in rotation.
Mastering Visible Mending Techniques and How to Fix a Zipper Fast
Sometimes, a repair isn’t meant to be invisible; it’s meant to tell a story. If you’ve got a hole in a favorite knit or a worn spot on your jeans, don’t feel like you have to hide it with a perfect, seamless match. I’ve leaned heavily into visible mending techniques lately, using contrasting thread colors or decorative embroidery to turn a flaw into a feature. Think of it as adding character rather than masking a mistake. It’s much more satisfying to look at a sweater with a deliberate, colorful patch than one that’s just barely holding together by a prayer.
On the more practical side of things, we need to talk about the minor mechanical failures that usually send us running to the store. Nothing kills a morning routine faster than a stuck or split zipper. If your teeth aren’t meeting properly, don’t assume the whole garment is trash. Often, a quick application of a graphite pencil to the teeth or a tiny bit of lubricant is all it takes to get things moving again. If the slider is actually loose, a pair of pliers can do wonders to tighten the tension and get it back on track. It’s not high-level engineering, but it’s exactly the kind of functional fix that keeps your day from grinding to a halt.
Five Rules for Not Making a Mess of Your Repairs
- Match your thread to the fabric, not your mood. If you’re trying to be invisible, find a thread that disappears into the weave. If you’re doing visible mending, go bold—but don’t use heavy-duty upholstery thread on a delicate silk blouse unless you want a disaster.
- Always backstitch. I’ve seen too many “quick fixes” unravel the moment they hit a washing machine because someone skipped the structural integrity part. A few extra stitches at the beginning and end of your seam are the difference between a repair and a temporary bandage.
- Don’t fight the fabric. If you’re working with something stretchy, like jersey or leggings, use a zigzag stitch. If you use a straight stitch on stretchy material, the thread will snap the second you actually try to wear the garment.
- Iron as you go. It’s tempting to skip this when you just want to be done, but pressing your stitches flat with an iron makes a repair look intentional and professional rather than like a frantic middle-of-the-night patch job.
- Know when to call it quits. There is a point where a garment is structurally compromised beyond a simple stitch—think a massive tear right along a seam allowance or a moth infestation. Recognizing when a piece is truly “done” saves you time you could be spending on something actually fixable.
Getting Back to the Real World
At the end of the day, mending isn’t about becoming a master seamstress or spending your entire weekend hunched over a piece of fabric. It’s about having the right tools—a decent needle, some sturdy thread, and a small kit that actually stays organized—and knowing enough to handle a loose button or a small tear. Whether you’re using a standard stitch to keep things discreet or leaning into the character of visible mending, the goal is the same: to stop the cycle of “wear it once and toss it.” Once you’ve mastered these basic repairs, you’ll realize that most wardrobe “disasters” are actually just minor maintenance tasks that take ten minutes if you’re prepared.
I know the temptation to just click “add to cart” on a replacement is strong, especially when life feels busy enough as it is. But there is a quiet, underrated satisfaction in fixing something with your own hands. It breaks that frantic loop of constant consumption and replaces it with a sense of functional stability. We don’t need more stuff; we just need the stuff we already love to actually last. So, grab your notebook, find that stray thread, and fix it. Then, put the needle away and get back to living your life.
Frequently Asked Questions
I've tried fixing a hole in a stretchy t-shirt before, but the fabric just puckered and looked terrible—how do I handle knits without ruining the shape?
Knits are tricky because they aren’t just fabric; they’re a series of interconnected loops. When you use a standard straight stitch, you’re essentially cutting those loops, which causes that dreaded puckering.
Is it actually worth spending time repairing high-street brands, or should I only bother with the expensive stuff?
Look, I’m a pragmatist. If it’s a $10 fast-fashion tee that’s lost its shape after three washes, let it go. Don’t waste your evening fighting bad fabric. But if it’s a decent mid-range piece that actually fits your body well? Fix it. The goal isn’t to build a museum of expensive clothes; it’s to stop the cycle of constant replacement. Mend what works, and ditch what’s destined for the landfill.
How do I know if a garment is beyond saving, or am I just being stubborn and wasting my afternoon?
Look, I’ve spent enough hours hunched over a workbench to know the difference between a project and a lost cause. If the fabric is thinning to the point of transparency or the structural integrity is gone—think shredded armpits or a disintegrated collar—let it go. If you’re spending three hours trying to save a five-dollar t-shirt, you aren’t mending; you’re just procrastinating. Know when to retire the piece so you can get back to living.
What’s the best way to store my mended clothes so the repairs don't actually weaken the fabric further over time?
The worst thing you can do is toss mended pieces into a cramped, heavy pile. If you’ve just patched a delicate knit or reinforced a seam, the weight of other clothes will pull at those new stitches and cause fraying. Hang lighter items on padded hangers to distribute the weight, and for anything with heavy patching, fold them loosely in a drawer. Give your repairs some breathing room so they can actually do their job.





