
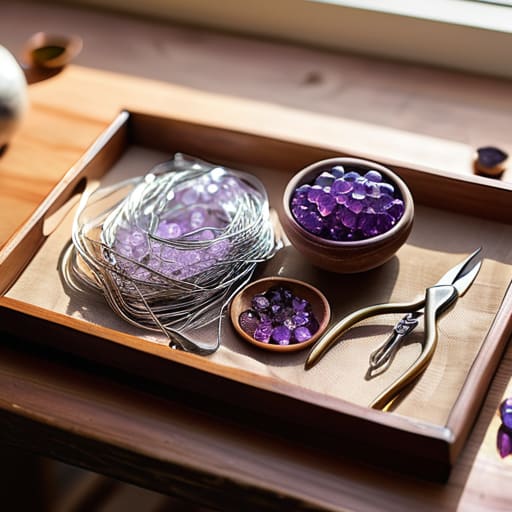
I was sitting at my kitchen table last Tuesday, surrounded by a chaotic sea of tangled silver wire and those overpriced, “all-in-one” starter kits that promise the world but deliver nothing but frustration. My eyes were stinging, my back was aching, and I had just spent forty minutes trying to close a jump ring only to have it snap like a twig. It was a classic case of overcomplicating a simple process, and it reminded me why so many people give up on diy jewelry making before they even finish their first necklace. You don’t need a professional studio or a mountain of specialized gadgets to create something beautiful; you just need a functional workflow and the right fundamental tools.
In this guide, I’m stripping away the fluff and the expensive nonsense. I’ll show you how to build a streamlined setup that actually works in a real home, focusing on the essential tools that provide the most bang for your buck. We aren’t going for perfection here; we are aiming for durable, wearable pieces that you can actually be proud of. Let’s stop troubleshooting the mess and start making something that lasts.
Guide Overview
Tools & Supplies
- Needle-nose pliers for gripping and bending wire
- Wire cutters for trimming metal and cord
- Beading mat to prevent rolling
- Assorted glass or gemstone beads (1-2 packs)
- Jewelry wire or elastic cord (1 spool)
- Lobster clasps and jump rings (1 set)
Step-by-Step Instructions
- 1. First, clear a space on your table that isn’t covered in mail or coffee mugs. You need a flat, stable surface, and honestly, a small tray or a felt mat is a lifesaver here; it prevents those tiny jump rings from rolling off the edge and disappearing into the floorboards forever.
- 2. Lay out your tools in the order you’ll actually use them. I’m talking about your needle-nose pliers, wire cutters, and round-nose pliers. Don’t go hunting for a tool halfway through a loop; keep them within arm’s reach so you don’t break your flow.
- 3. Prep your wire or cord by measuring it out. If you’re working with metal wire, use your cutters to snip a length that accounts for the extra bit you’ll need to wrap around your findings. It’s much better to have too much wire than to realize you’re three inches short when you’re halfway through a clasp.
- 4. Now, start the actual assembly. If you’re making something simple like a beaded bracelet, thread your components onto the cord first. If you’re using wire, use your round-nose pliers to create a smooth, consistent loop at the end. The trick is to apply steady, even pressure—don’t jerk the tool, or you’ll end up with a kinked mess that looks amateur.
- 5. Attach your findings, such as clasps or jump rings. Open a jump ring by twisting it sideways rather than pulling the ends apart like a hook; pulling it open ruins the circular shape and makes the connection weak and unreliable. Once it’s through your bead or wire loop, twist it back together until the ends meet perfectly.
- 6. Once the piece is assembled, give it a “stress test.” Gently tug on the connections and move the jewelry around to ensure nothing feels loose or flimsy. If a loop looks wonky or a clasp feels wonky, fix it now before you call the project finished.
- 7. Finally, clean up your station. Put the specialized tools back in their designated spot and sweep up the stray wire clippings. A clean workspace is the only way to ensure your next project doesn’t feel like climbing a mountain of clutter.
Understanding Diy Jewelry Making
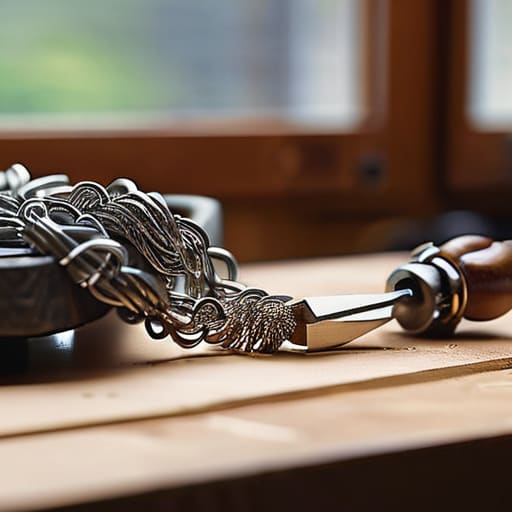
Before you dive into the deep end of complex wire wrapping techniques or try to replicate high-end boutique pieces, you need to understand that this isn’t about perfection; it’s about structural integrity. I’ve seen too many people rush into a project with a handful of mismatched beads and a dream, only to have their hard work snap the moment they put it on. If you want your pieces to last longer than a single afternoon, you have to respect the physics of the materials. Start by focusing on the tension of your wire and the quality of your clasps.
Don’t fall into the trap of buying those massive, overstuffed jewelry making kits that promise the world but deliver nothing but cheap, flimsy components. Most of those kits are filled with filler items you’ll never touch. Instead, I recommend curating your own collection of essential beadwork supplies—think high-quality glass beads, reliable crimp beads, and a few decent varieties of wire. It’s much better to have five tools that actually do what they’re supposed to do than fifty that break under the slightest pressure. Think of it like setting up a workstation: if your setup is functional and organized, the actual creative part becomes a lot less stressful.
Key Things to Know
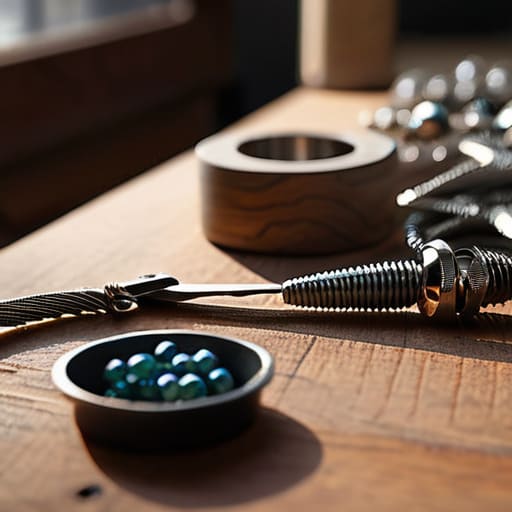
Before you go out and buy every shiny gadget in the craft aisle, let’s talk about reality. Most people start this hobby by dumping a massive amount of money into a generic jewelry making kit essentials bundle, only to realize half the tools are flimsy plastic junk that breaks by the third bead. If you want to actually enjoy the process rather than fighting with subpar equipment, invest in a decent pair of needle-nose pliers and some high-quality wire. It’s much better to have three reliable tools than twenty that feel like toys.
Another thing no one tells you is that your workspace is just as important as your supplies. You don’t need a dedicated studio, but you do need a flat, well-lit surface and perhaps a bead mat to keep things from rolling onto the floor—because let’s be honest, losing a tiny seed bead in a rug is a special kind of hell. When you’re practicing essential beadwork supplies management, organization is your best friend. Keep your components in clearly labeled containers; it saves you from the “troubleshooting” phase of searching for a specific clasp for twenty minutes when you should be creating. Keep it simple, keep it organized, and you’ll actually find the rhythm you’re looking for.
Practical Tips and Steps
First, let’s talk about your workspace. You don’t need a dedicated studio, but you do need a surface that won’t let a tiny bead roll off into the abyss of your carpet. I always use a small piece of felt or a specialized bead mat; it keeps everything contained and makes finding that one specific crimp bead a lot less frustrating. When you’re starting out, don’t get overwhelmed by every shiny gadget in the catalog. Focus on your jewelry making tools for beginners—specifically a decent pair of flush cutters and needle-nose pliers. If your tools are cheap and slip, you’ll end up fighting the metal instead of shaping it, and that’s a quick way to lose your patience.
Another thing: resist the urge to buy every color of glass bead you see just because they’re on sale. It’s a trap that leads to a cluttered desk and zero finished projects. Instead, pick a cohesive palette and invest in some essential beadwork supplies like high-quality thread or sturdy wire. If you’re experimenting with wire wrapping techniques, remember that tension is everything. Go slow. If you rush the process, you’ll end up with kinks that are nearly impossible to smooth out. Treat it like any other system: get the components right first, and the assembly becomes much more intuitive.
Common Mistakes to Avoid
The quickest way to turn a relaxing hobby into a frustrating chore is by overcomplicating your setup before you’ve even started. One of the most common pitfalls I see is the “kit trap”—buying those massive, all-in-one jewelry making kit essentials that promise everything but deliver nothing but mediocre quality. You’ll end up with flimsy pliers that slip right off your wire, leaving you more annoyed than inspired. Instead of chasing every shiny gadget, focus on getting a few high-quality, dedicated tools. It’s much better to own one decent pair of crimping pliers than a drawer full of cheap ones that won’t do the job.
Another mistake is rushing the structural side of things. I’ve seen so many people get caught up in the aesthetics of making beaded necklaces only to realize their tension is off or their connections are weak. If you skip the fundamentals of how a clasp actually sits or how much weight a thread can handle, your hard work will literally fall apart by the second wear. Don’t just eye-ball it; take a moment to test your connections. It’s not about being perfect; it’s about making sure your pieces are actually wearable and built to last.
The "No-Nonsense" Toolkit for Better Results
- Stop buying those massive, cheap multi-component kits from big-box retailers; they’re mostly filler. Invest in one decent pair of needle-nose pliers, a wire cutter, and a round-nose tool that actually feel balanced in your hand. If your tools fight you, your jewelry will look like it too.
- Lighting isn’t just a luxury; it’s a requirement. If you’re squinting at a tiny jump ring under a dim dining room light, you’re going to make a mistake. Get a dedicated desk lamp with a flexible neck so you can actually see the tension in the wire.
- Work on a textured surface, like a piece of felt or a silicone mat, rather than a hard wooden table. It stops your beads from rolling into the abyss and, more importantly, it prevents you from scratching your finished pieces while you’re working.
- Learn the physics of the jump ring before you start looping them. If you pull the ring apart sideways like a pill shape, you’ll ruin the circle and the piece will never sit right. Always twist it open and closed in a straight line to maintain the integrity of the shape.
- Keep a small, dedicated tray or even just a shallow ceramic bowl nearby for your “active” components. There is nothing more soul-crushing than spending twenty minutes looking for a single earring finding that rolled under the sofa.
Getting It Done
At the end of the day, jewelry making isn’t about having a studio that looks like a Pinterest board or owning every specialized tool on the market. It’s about having the right fundamentals—decent pliers, a steady hand, and the patience to not rush the delicate bits. If you’ve focused on selecting quality components and avoided the trap of overcomplicating your initial setup, you’re already ahead of most people. Remember, the goal is to create something that actually holds up when you wear it, not just something that looks good for a single photo. Stick to the functional basics, keep your workspace organized, and don’t let a single tangled wire derail your progress.
I know how it feels when a project starts feeling like another chore on an endless to-do list, but try to remember why you started this in the first place. There is something deeply satisfying about taking raw materials and turning them into something tangible with your own two hands. Don’t aim for perfection on your first attempt; aim for something that works. Once you master the small, repeatable movements, the creative part becomes second nature. Now, clear off your desk, grab your notebook, and go make something that you’re actually proud to wear.
Frequently Asked Questions
How do I know if the metals I'm buying are actually high quality or just cheap plating that will turn my skin green in a week?
Look, there’s no magic sensor, but there are a few practical ways to tell if you’re buying quality or just future green skin. First, check the hallmarks; if you see “GP” (Gold Plated) or “GF” (Gold Filled), you’re dealing with a coating, not solid metal. For real longevity, look for “925” for sterling silver or “14k” for gold. If the price seems too good to be true, it’s likely just a thin layer of brass or copper.
Is it worth investing in a professional-grade jewelry saw and pliers right away, or can I actually get decent results with basic craft store tools?
Look, I’m a big believer in systems that work, but I’m also a big believer in not wasting money. Don’t go out and drop a paycheck on professional-grade jeweler’s saws just yet. Most craft store pliers are fine for getting your feet wet, but they’ll eventually frustrate you. My advice? Buy decent, mid-range tools—not the cheapest plastic ones, but nothing fancy either. Master the basics first; once you’re actually making things you love, then upgrade.
How do I organize all these tiny beads, wires, and jump rings without turning my workspace into a chaotic mess?
Don’t fall into the trap of buying those massive, multi-drawer plastic organizers that take up your entire desk. They’re overkill. I prefer a modular approach: small, clear acrylic bins for the beads and a dedicated magnetic tray for jump rings and needles so they don’t roll away mid-project. For wires, skip the tangles and use a pegboard or even an old wooden spool. Keep it visible, keep it contained, and keep your workspace functional.
What are the best ways to finish a piece so it doesn't just look like a hobby project, but something actually durable enough to wear every day?
The difference between a “craft project” and actual jewelry is in the finishing. Stop using cheap, flimsy jump rings that pull open the second you snag a sweater; swap them for heavy-duty, solid versions. If you’re working with wire, use a specialized polishing cloth to buff out those micro-scratches that make metal look dull. Most importantly, double-check your crimps. A professional finish isn’t about being flashy; it’s about making sure it doesn’t fall apart by Tuesday.





