
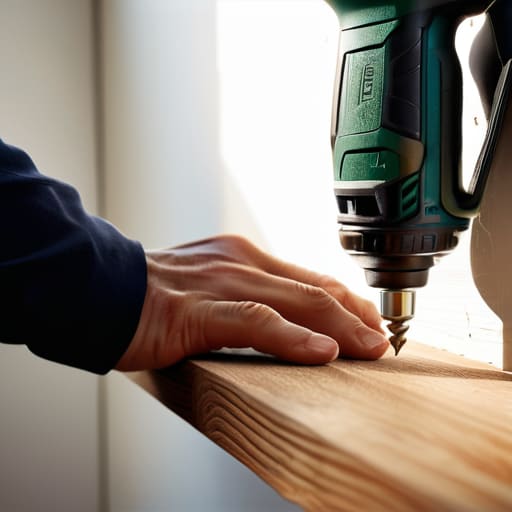
I was standing in my hallway last Tuesday, staring at a pile of expensive oak planks and a box of hardware that looked more like a puzzle than a solution, wondering why I’d ever thought I could do this myself. We’ve all been there—staring at a blank wall, paralyzed by the fear that one wrong move will leave us with a dozen useless holes in the drywall. Most people think you need a degree in structural engineering or a garage full of power tools to get it right, but the truth about how to install a shelf is much simpler: it’s less about brute force and more about knowing exactly where to bite.
I’m not here to sell you on some complicated, multi-step “hack” that requires a specialized kit you’ll never use again. Instead, I’m going to walk you through a streamlined, functional process that relies on a few reliable tools and a bit of common sense. We’re going to skip the fluff and focus on the mechanics of finding studs, choosing the right anchors, and ensuring your new storage actually stays put when you load it up. By the time we’re done, you’ll have a sturdy setup that works the first time, so you can stop staring at your walls and get back to your life.
Guide Overview
Tools & Supplies
- Drill/Driver for creating holes and driving screws
- Level to ensure the shelf is straight
- Pencil for marking placement
- Measuring tape for precision
- Shelf and brackets (1 set)
- Wall anchors (if not using studs)
- Screws (appropriate for bracket and anchor)
Step-by-Step Instructions
- 1. First, we need to figure out what you’re actually putting on this shelf. There is no point in buying heavy-duty toggle bolts if you’re just displaying a single ceramic vase, but if you’re planning to stack a library of hardcovers, you’ll need to find a stud. Grab a stud finder—don’t try to “feel” for it like we did in the 90s—and mark those spots with a pencil. If you can’t hit a stud, you’ll need to invest in some high-quality drywall anchors, because gravity doesn’t care about your aesthetic goals.
- 2. Once you know where the support is, lay your shelf (or the mounting brackets) on the floor and mark your holes. I highly recommend using a level here. I’ve seen too many “minimalist” setups ruined by a shelf that tilts three degrees to the left, making everything look like it’s sliding into a sinkhole. Line up the bracket, hold the level against the top, and make your marks precisely.
- 3. Now, time to make some holes. If you’re hitting a stud, use a standard drill bit. If you’re going into plain drywall, you’ll need a bit that matches the size of your anchors. Don’t rush this part; if you drill too deep or too fast, you’ll end up with a crater in your wall that no amount of spackle can gracefully hide. Keep your movements steady and controlled.
- 4. If you’re using anchors, tap them into the holes with a hammer until they are flush with the wall. Give them a little wiggle to make sure they’re snug. If they feel loose, stop immediately—you don’t want to be relying on a prayer to keep your belongings from hitting the floor in the middle of the night.
- 5. Line up your brackets with the anchors or studs and drive your screws in. I prefer using a manual screwdriver for the final few turns rather than a power drill. It gives you much better tactile feedback, so you can feel exactly when the screw is tight without the risk of stripping the head or cracking the bracket.
- 6. Set the shelf onto the brackets and secure it. This is the moment of truth. Before you go running to grab your decor, give the shelf a firm, decisive tug. If it moves or creaks, something is wrong with your anchor or your placement. It’s much easier to fix a loose bracket now than it is to clean up a shattered collection of heirloom mugs later.
- 7. Finally, clear the workspace. A common mistake is leaving the sawdust and stray screw bits scattered across the floor like a crime scene. Wipe down the shelf, sweep up the debris, and put your tools back in their designated spots. A system only works if you maintain the environment that supports it.
Stop Guessing and Start Building How to Install a Shelf
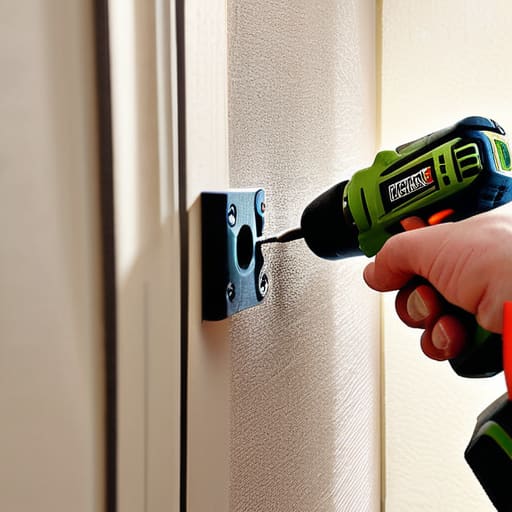
Before you even pick up the drill, let’s talk about the most common mistake I see: assuming any piece of drywall can hold any amount of weight. If you’re planning on displaying a collection of heavy ceramic mugs or a stack of hardcover books, you can’t just wing it. You need to know the difference between a wall anchor vs screw setup. Anchors are fine for a lightweight photo frame, but for anything substantial, you really want to be aiming for those wooden studs behind the plaster. If you can’t find them, don’t just start drilling into drywall blindly; that’s a quick way to end up with a hole that looks more like a crater than a mounting point.
Once you’ve located your support, the hardware choice becomes your next hurdle. I’ve learned the hard way that not all supports are created equal. Depending on your aesthetic, you might be looking at various shelf bracket types, ranging from industrial steel to minimalist hidden mounts. If you’re attempting the clean look of leveling a floating shelf, precision is everything. Even a two-degree tilt will make your entire room feel “off,” and trust me, your brain will notice it every single time you walk past. Take the extra five minutes to double-check your level before you commit to the first hole.
The Right Gear Essential Woodworking Tools for Real Results
Look, you don’t need a workshop full of professional-grade machinery to get this done, but you do need to stop treating your tool kit like an afterthought. If you try to wing it with a dull screwdriver and a prayer, you’re going to end up with a crooked mess. At a minimum, grab a decent cordless drill and a reliable level. I’ve learned the hard way that eyeballing a straight line is a recipe for a headache, especially when you’re trying to deal with the nuances of leveling a floating shelf. If you’re planning on something more substantial, like a library wall, make sure you have a heavy-duty drill bit ready; you’ll need it for those deep, precise holes.
The real difference between a shelf that holds your favorite cookbooks and one that ends up in a pile on the floor comes down to understanding your hardware. Don’t just grab the first pack of screws you see at the hardware store. You need to know the difference between a wall anchor vs screw setup depending on what’s behind your plaster. If you aren’t hitting a solid stud, those anchors are your best friend, but they aren’t magic. Invest in a solid stud finder—it’s the one tool that actually pays for itself by preventing you from drilling into drywall blindly and hoping for the best.
Finding Your Footing a Wall Stud Finder Guide
Here’s the thing about drilling into drywall: it’s easy to do, but it’s also incredibly easy to do poorly. If you’re planning on heavy duty shelf mounting—say, for a collection of hardback books or a heavy ceramic planter—relying on nothing but plaster and hope is a recipe for a midnight disaster. You need to find the wood behind that wall. A decent wall stud finder guide usually tells you to scan the surface, but don’t just trust the first beep you hear. I’ve learned the hard way that electronic sensors can be finicky around electrical wires or plumbing.
To be safe, I always use the “knock test” alongside my electronic finder. If the sound changes from a hollow thud to a solid thump, you’ve likely found your mark. If you absolutely cannot find a stud where you want your shelf to live, don’t panic, but do stop reaching for standard screws. You’ll need to decide between a wall anchor vs screw approach; for anything substantial, skip the cheap plastic plugs that come in the box and invest in some high-quality metal anchors. It’s the difference between a shelf that stays put and one that ends up in a pile on your floor.
No More Sagging Choosing Between Wall Anchor vs Screw
This is where most DIY projects go to die—or at least, where they end up on the floor in a pile of broken ceramic. The debate of wall anchor vs screw isn’t just academic; it’s the difference between a shelf that holds your favorite cookbooks and one that slowly migrates toward the baseboard every time you lean on it. If you’ve managed to locate a stud using your wall stud finder, you’re in the clear. Driving a screw directly into solid wood is the gold standard for stability. It’s simple, it’s mechanical, and it doesn’t rely on plastic friction to do the heavy lifting.
However, life rarely hands us a perfect layout. If you’re drilling into drywall in a spot where there isn’t a stud, do not—I repeat, do not—try to wing it with those flimsy little plastic plugs that come in the cheap hardware kits. If you’re planning on any kind of heavy duty shelf mounting, you need to invest in high-quality toggle bolts or heavy-duty zinc anchors. They take a bit more effort to install, but they actually grip the back of the wall rather than just jamming into the gypsum. Get the anchor right the first time, and you won’t be spending your Sunday patching holes in the plaster.
Five Ways to Avoid a DIY Disaster
- Double-check your math before you drill. There is nothing more frustrating than realizing your “perfectly centered” shelf is actually three inches too far to the left once the first hole is already in the drywall. Measure twice, mark with a pencil, and then measure again.
- Don’t ignore the weight limit. If you’re planning to display a heavy collection of vintage cookbooks, don’t try to use those flimsy plastic anchors you found in the junk drawer. Match your hardware to the actual load you intend to carry, or prepare for a very expensive pile of broken ceramics.
- Use a level, even if you think your eyes are good enough. Gravity doesn’t care about your intuition, and a shelf that looks “mostly straight” will eventually make everything on it slide slowly toward the floor.
- Keep a vacuum handy. Drilling into drywall creates a fine, white dust that migrates into every crevice of your room faster than you can say “oops.” Hold the vacuum nozzle right under the drill bit to catch the mess before it hits your carpet.
- Test the stability before you walk away. Once the shelf is up, give it a firm, controlled tug. If there’s any wobbling or movement, stop immediately. It’s much easier to fix a loose screw now than it is to clean up a shattered vase later.
Done and Dusted
At the end of the day, installing a shelf isn’t about mastering advanced carpentry; it’s about respect for the process. If you took the time to find those studs, grabbed the right anchors for your wall type, and actually used a level instead of just “eyeballing it,” you’ve already won half the battle. Remember, the goal isn’t to create a showroom display, but to build something reliable that won’t come crashing down the moment you stack your heavy cookbooks on it. Stick to the fundamentals—the right tools, the right hardware, and a bit of patience—and you’ll avoid the kind of structural headaches that turn a simple weekend project into a full-blown troubleshooting session.
Once that last screw is tightened and the dust has settled, take a second to actually look at what you’ve accomplished. There is a specific kind of quiet satisfaction that comes from looking at a functional, organized space that you built with your own two hands. We spend so much of our lives managing chaos that we often forget how much peace a little bit of order can bring. Don’t let the fear of a crooked line or a stripped screw stop you from making your home work for you. Get the shelf up, clear the clutter, and then get back to living.
Frequently Asked Questions
What if I can't find a stud exactly where I want my shelf to go?
Look, I’ve been there—you’ve got the perfect vision for a shelf, and the studs are being completely uncooperative. Don’t force it. If you can’t hit a stud, stop trying to use standard screws. This is exactly why I swear by heavy-duty toggle bolts. They grip the back of the drywall and distribute the weight much better than those cheap plastic anchors that inevitably crumble. It’s a bit more work, but it beats watching your hard work hit the floor.
How do I know if my wall is actually strong enough to hold the weight I'm planning?
Look, I’ve seen too many “minimalist” floating shelves end up in a pile of drywall on the floor. If you’re planning on stacking heavy cookbooks or ceramic vases, don’t just wing it. Tap the wall; a hollow sound usually means you’re dealing with empty space between studs. If you can’t find a stud, check your wall type—drywall is fine for light decor with anchors, but for real weight, you need to hit that solid timber.
Is there a trick to making sure the shelf is perfectly level without losing my mind?
Look, I’ve spent enough time staring at crooked brackets to know the frustration. Here’s the trick: don’t just trust the bubble in your level; trust your markings. Once you think it’s level, grab your pencil and mark both sides of the bracket, not just the top. Then, step back. Seriously. A quick visual check from across the room catches more errors than squinting at a tiny green bubble for twenty minutes. Trust the marks, not just your eyes.
What’s the best way to hide those ugly plastic anchors or screw heads once I'm done?
Look, if you’ve done the hard work of mounting the shelf, the last thing you want is to stare at a cluster of plastic eyes staring back at you. If you’re using decorative screw covers, great. If not, grab some wood filler or putty that matches your shelf’s finish. Dab a little over the holes, let it set, and sand it flush. It’s a five-minute fix that makes the whole thing look intentional rather than DIY.





