
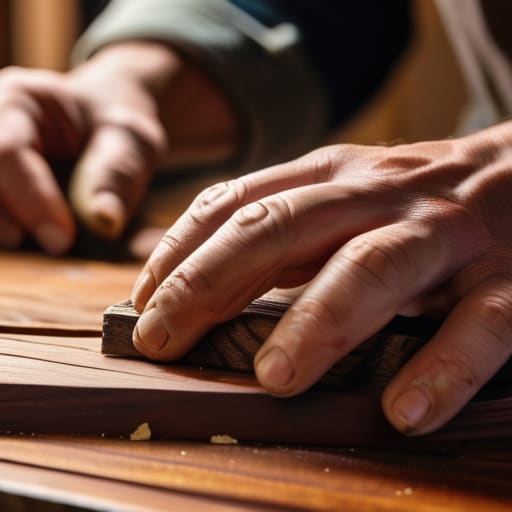
I was mid-way through a much-needed cup of coffee yesterday when I noticed it: a jagged, white gouge slicing right through the finish of my mid-century dining table. My first instinct was to panic and start Googling a dozen different “miracle cures,” but I stopped myself. Most of the advice you’ll find online is either way too complicated or involves buying a professional sander you’ll only use once. Learning how to fix scratched wood shouldn’t require a degree in carpentry or a weekend-long project that leaves your house covered in sawdust. It’s usually much simpler than the internet wants you to believe, and frankly, you have better things to do with your Saturday.
In this guide, I’m cutting through the noise to give you the actual methods that work for real-life messes. I’ll walk you through everything from the quick “walnut trick” for surface scuffs to more substantial repairs for deeper nicks. No fluff, no expensive specialized toolkits—just practical, repeatable steps that will have your furniture looking decent again so you can stop staring at the damage and get back to actually using your home.
Guide Overview
Tools & Supplies
- Sandpaper (various grits for smoothing)
- Microfiber cloth (for cleaning dust)
- Paintbrush (for applying finish)
- Wood filler (1 small tub for deep scratches)
- Wood stain marker (1 set for color matching)
- Furniture wax or polish (1 small jar)
Step-by-Step Instructions
- 1. First, you need to assess the damage. Not all scratches are created equal, and applying the wrong fix can sometimes make things worse. Take a clean cloth and wipe the area down to remove any dust or oils. If the scratch is just a surface-level scuff that hasn’t actually broken the wood fibers, you might be able to get away with a simple walnut trick—rubbing the meat of a walnut over the mark often works like magic. If it’s deeper, we move to the real work.
- 2. Grab your sandpaper, but please, for the love of all things functional, don’t go overboard. You’ll want a fine-grit sandpaper (around 220 grit) to start. Your goal isn’t to sand the entire piece of furniture down to the raw wood; you are simply trying to smooth out the jagged edges of the scratch so they don’t catch the light. Sand lightly, always following the natural grain of the wood, or you’ll end up with swirl marks that are a nightmare to hide.
- 3. Once the area is smooth, it’s time to clean up the debris. Use a tack cloth or a slightly damp, lint-free rag to wipe away every bit of sawdust. If you leave any grit behind, your finish will feel like sandpaper when you’re done. I always keep a small tin of tack cloth in my toolkit for exactly this reason—it’s a small investment that prevents a massive headache later.
- 4. Now, we address the color. If you have a wood stain marker that matches your furniture, you’re in luck. If not, you can use a bit of furniture wax or even a specialized wood filler for those deeper gouges that actually go into the wood. Apply the filler or color in thin, even layers. It’s much better to build the color up slowly than to try and mask a deep scratch with one thick, gloppy application that looks fake.
- 5. If you used a filler, let it dry completely according to the package instructions. Once it’s set, you’ll likely need to do a very light “buffing” with an even finer sandpaper (like 400 grit) to ensure the repaired area is perfectly flush with the rest of the surface. You want the repair to be seamless to the touch, even if it’s still slightly visible to the eye.
- 6. The final step is the most important for longevity: protection. Apply a small amount of furniture wax or a matching clear coat to the repaired spot. This seals the fix and helps it blend into the surrounding sheen. Don’t forget to buff it out with a clean cloth until it looks natural. This isn’t about making it look brand new; it’s about making it look well-maintained, so you can stop worrying about that one spot and get back to using your furniture.
Stop Obsessing Over Imperfections How to Fix Scratched Wood Quickly
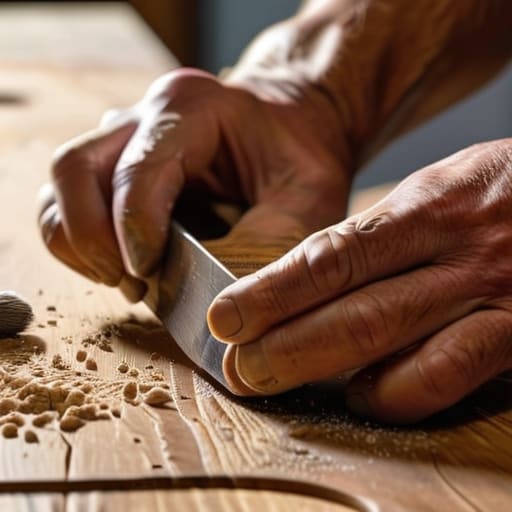
Look, I get it. You see a deep gouge in your dining table and suddenly it feels like the centerpiece of your home is broken. But here’s the reality: your furniture is meant to be used, not kept in a museum case. If you’re staring at a scratch that’s too deep for a quick rub, don’t panic. A bit of careful wood filler application can do wonders, provided you don’t overdo it. The goal isn’t to make the piece look brand new—it’s to make the damage disappear into the character of the wood.
If the damage is more superficial, skip the heavy tools and try the old-school walnut trick for scratches. Rubbing the meat of a raw walnut over the mark allows the natural oils to seep into the grain, effectively masking the blemish. It’s a low-effort, high-reward move that saves you from a weekend of heavy sanding. If you do find yourself reaching for the abrasives, just remember that less is always more. Start with a higher sandpaper grit for wood to avoid stripping away too much of the original patina. We’re aiming for a seamless blend, not a total reconstruction.
The Walnut Trick for Scratches and Other Real World Fixes
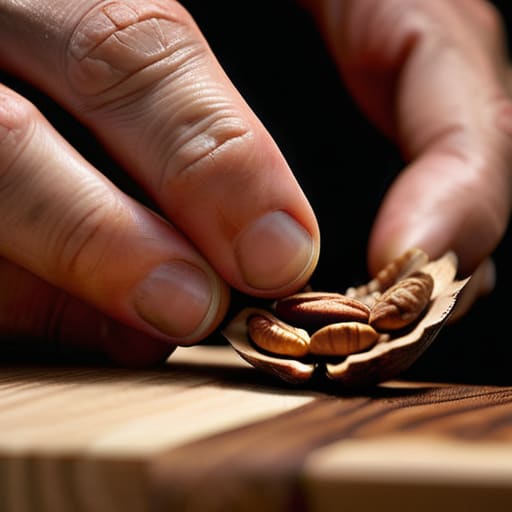
Sometimes, you don’t need a full-scale restoration project; you just need a solution that works in under five minutes. If you’re dealing with those shallow, annoying surface marks that haven’t quite broken the finish, I swear by the walnut trick for scratches. Grab a raw walnut—not the processed kind from a snack bag, mind you—and rub the nut meat directly into the scratch. The natural oils seep into the grain, effectively masking the damage. It’s a bit old-school, but it’s one of those low-tech wins that actually holds up when you don’t want to go hunting for a specialized kit.
For the slightly more stubborn marks, you might need to step up your game without turning your living room into a construction zone. If the scratch is deep enough that the wood feels “open,” you’ll eventually need to look into wood filler application to level things out. However, before you reach for the heavy-duty stuff, try a bit of gentle sanding. Use a high-grit sandpaper grit for wood—think 320 or 400—to smooth the area before you even think about applying a finish. It’s about incremental progress, not brute force. Get it smooth, keep it simple, and get back to your evening.
Ditch the Fancy Gadgets for Proper Sandpaper Grit for Wood
I’ve seen people spend way too much money on those “miracle” wood repair kits that come with a dozen plastic applicators and a lot of empty promises. Honestly? Save your money. Most of the time, the secret isn’t in a specialized gadget; it’s in understanding your sandpaper grit for wood. If you jump straight to a coarse grit because you’re in a rush, you’re just going to create a crater where there used to be a scratch. You want to start fine to smooth the edges, then gradually work your way up. It’s about the progression, not the tool.
Think of it like troubleshooting a buggy piece of software: you don’t just delete the whole OS when there’s a single line of bad code. You refine it. When you’re buffing out a wood surface, the goal is to blend the repair so seamlessly that the eye just skips right over it. If you find that a scratch is actually a deep gouge, that’s when you move into wood filler application, but even then, your sandpaper is what determines if the patch looks like a professional repair or a DIY disaster. Keep it simple, keep it methodical, and don’t overcomplicate the process.
Mastering Stain Matching Techniques for Restoring Wood Finish
If you’ve moved past the surface-level scuffs and are dealing with a gouge that actually has some depth, you’re going to need more than just a quick wipe. This is where most people panic and reach for a permanent marker, which—trust me—is a one-way ticket to a patchy, ugly mess. Instead, focus on stain matching techniques that prioritize blending over covering. I always tell my clients: don’t try to hit the exact color in one go. It’s much easier to build color in thin, translucent layers than to try and mask a mistake with a heavy, dark coat that looks like a bruise on your tabletop.
Once you’ve handled the color, the real work begins with the texture. If you’ve used a bit of wood filler to level out a deeper dent, your next step is ensuring the transition is seamless. After your filler has dried completely, use a fine sandpaper grit for wood to level it with the surrounding area. The goal isn’t just to make it flat, but to make it invisible to the touch. Finish the process by buffing out the wood surface with a soft microfiber cloth or a bit of automotive wax. If you do this right, you won’t be staring at a repair; you’ll just be looking at your furniture again.
Five Pro-Tips to Keep Your Repairs from Looking Like a DIY Disaster
- Test your fix on a hidden spot first. Whether it’s a new stain or a touch-up marker, I never go straight for the center of the dining table. Find a corner or the underside of a chair leg to make sure the color actually blends before you commit.
- Work in small, controlled strokes. When you’re sanding or applying a finish, don’t go at it like you’re scrubbing a floor. Small, circular motions give you much better control and prevent you from accidentally sanding through the veneer.
- Clean the area thoroughly before you start. I know it sounds basic, but if there’s old wax or furniture polish sitting in that scratch, your repair isn’t going to stick. Use a bit of mild soap or a dedicated cleaner to give yourself a fresh canvas.
- Don’t over-sand. It’s tempting to keep going until the wood feels perfectly smooth, but you can lose the finish entirely if you aren’t careful. Aim for “smooth enough” so you can move on to the next thing on your to-do list.
- Match the sheen, not just the color. A perfect color match will still look like a glaring eyesore if the rest of your table is matte and your repair is high-gloss. Check if your finish is satin, semi-gloss, or gloss before you start applying.
Done and Dusted
At the end of the day, fixing scratched wood isn’t about achieving museum-quality perfection; it’s about restoring function to the things you actually use. Whether you reached for a walnut to buff out a light scuff, grabbed the right grit of sandpaper to smooth a deeper gouge, or spent a few minutes carefully matching a stain, you’ve done the heavy lifting. You’ve moved past the frustration of seeing a flaw every time you sit down at your desk or set a coffee mug on the dining table. Remember, the goal was to bridge the gap between a damaged surface and a usable one, and by following these practical steps, you’ve reclaimed your furniture without needing a professional contractor on speed dial.
I know it’s tempting to stare at that one spot and wonder if it’s truly invisible, but here is my professional advice: let it go. Your home is meant to be lived in, not curated like a sterile showroom. Those minor imperfections are just evidence that your space is actually being used for its intended purpose—eating, working, and living. Once you’ve applied your fix, wipe off the dust, put your tools back in the drawer, and get back to the business of your life. You’ve solved the problem, and now you can finally stop troubleshooting and start enjoying your home again.
Frequently Asked Questions
What if the scratch is so deep that I can actually see the bottom of the wood grain?
Look, if you can see the grain, we’ve moved past “quick fix” territory and into actual repair. Don’t panic, but don’t try to mask it with wax either; it’ll just look muddy. You’ll need to fill that gouge with a high-quality wood filler that matches your stain. Sand it flush once it’s dry, then re-seal. It’s a bit more work, but it’s better to do it right once than to fight a visible scar every time you sit down for dinner.
Is it safe to use these methods on expensive antique furniture, or am I risking more damage?
Look, I’ll give it to you straight: if it’s a genuine heirloom or a high-value antique, stop right there. The methods I’ve shared are for your everyday dining tables and bookshelves—the stuff that actually gets used. For something irreplaceable, don’t DIY. One wrong move with sandpaper or stain can tank the value instantly. In those cases, put down the notebook, step away from the wood, and call a professional conservator. Better safe than sorry.
How do I know if I should try a quick fix like the walnut trick or if I actually need to sand the whole surface down?
It comes down to depth and damage. If you can barely feel the scratch with your fingernail, don’t overcomplicate it—grab a walnut or some furniture wax and move on with your day. But if that scratch has actually breached the finish or left a physical gouge in the wood, a quick buff won’t cut it. That’s when you need to commit to sanding. Better to do it right once than to keep patching a disaster.
Once I've matched the stain, how do I make sure the repair doesn't look like a dull patch once it dries?
The “dull patch” is the classic sign of a mismatched sheen, not just color. Once your stain is dry, you have to address the luster. Grab a small tin of clear finish—polyurethane or wax, depending on what you started with—and lightly buff it over the repair. I usually use a lint-free cloth to blend the edges outward. It’s all about feathering the finish so the light hits the repair the same way it hits the rest of the piece.





