
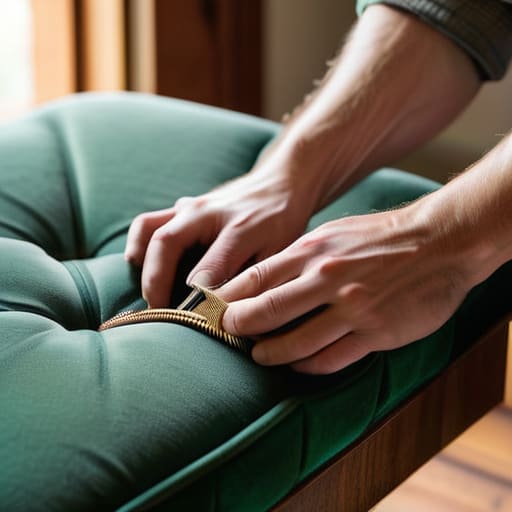
I was sitting on my floor last Tuesday, surrounded by a mountain of old foam scraps and a half-empty bottle of industrial adhesive, staring at a mid-century armchair that looked more like a crime scene than a piece of furniture. Most people will tell you that learning how to reupholster a chair is some grand, artisanal craft that requires a workshop full of specialized machinery and a degree in design. That is a total lie. I spent my twenties fixing broken code and my thirties managing chaotic operations; I know that most “expert” DIY advice is just fluff designed to sell you expensive kits you don’t actually need.
In this guide, I’m stripping away the pretension and giving you the actual, functional workflow for how to reupholster a chair without losing your mind or your entire weekend. I won’t bore you with the history of textiles or suggest you buy a professional-grade pneumatic stapler if a basic hand tool will do the job. Instead, we are going to focus on the essential mechanics: choosing durable fabric, managing tension, and making sure that seat actually feels good to sit on. Let’s get your furniture back in service.
Guide Overview
Tools & Supplies
- Staple gun and staples for securing fabric
- Upholstery pliers for pulling fabric tight
- Scissors for cutting fabric and foam
- Needle-nose pliers for removing old staples
- Measuring tape for calculating fabric dimensions
- Upholstery fabric (2-3 yards depending on chair size)
- High-density foam (1-2 sheets)
- Batting/Dacron (1 roll for smoothing edges)
- Replacement staples (1 small box)
Step-by-Step Instructions
- 1. Before you even think about touching a staple gun, you need to deconstruct the chair completely. Strip off the old fabric, remove the padding, and clear away any old, crumbling foam. I always keep a large trash bag nearby for this because, frankly, old upholstery is notoriously messy. Once you have the bare frame exposed, take a moment to inspect the wood for any wobbles or loose joints; there’s no point in putting beautiful new fabric over a chair that’s going to creak every time you sit down.
- 2. Once the frame is clean, it’s time to map out your pattern. Lay your new fabric flat on a clean floor—I prefer a hard surface over carpet to avoid snags—and place the chair seat directly on top of it. Don’t just cut right to the edge; you need to leave at least three to five inches of extra material on all sides. Think of this like a margin in a document; you need that buffer to pull the fabric tight and secure it to the underside without running out of room.
- 3. Now, let’s talk about the actual stapling process, which is where most people lose their patience. Start in the center of each side to establish your tension. Place one staple in the center of the front, one in the center of the back, and one on each side. This creates a “cross” that keeps the fabric from bunching or skewing. From there, work your way from the center out toward the corners, pulling the fabric taut as you go. It shouldn’t be straining like a drumhead, but it definitely shouldn’t have any visible wrinkles.
- 4. The corners are where things usually go sideways if you aren’t careful. Instead of just bunching the fabric into a messy knot, you need to execute a clean pleat. Fold the excess fabric neatly along the lines you’ve created, tucking the folds into one another so they lie flat against the frame. It’s a bit like gift wrapping a box; if you take the extra thirty seconds to align the folds properly now, you won’t be staring at a lumpy, amateur-looking corner for the next five years.
- 5. If your chair requires new padding or foam, this is the time to integrate it. Lay your fresh high-density foam over the frame and ensure it’s seated firmly before you pull the fabric over it. If you’re using batting—that thin, fluffy layer—wrap it over the foam first to smooth out the silhouette. This extra layer acts as a buffer, preventing the fabric from showing the harsh lines of the wooden frame and giving the chair that professional, finished feel.
- 6. Finally, take a pair of heavy-duty shears and trim away the excess fabric from the underside. Don’t be afraid to get close to the staples, but leave just enough room so the fabric doesn’t pull away from the frame over time. Once you’re done, give the whole thing a quick once-over with your hands to check for any stray staples or sharp edges. If it feels solid and looks clean, you’re done—get back to your life and enjoy the fact that you didn’t have to spend a fortune at a furniture showroom.
Stop Buying New How to Reupholster a Chair That Lasts
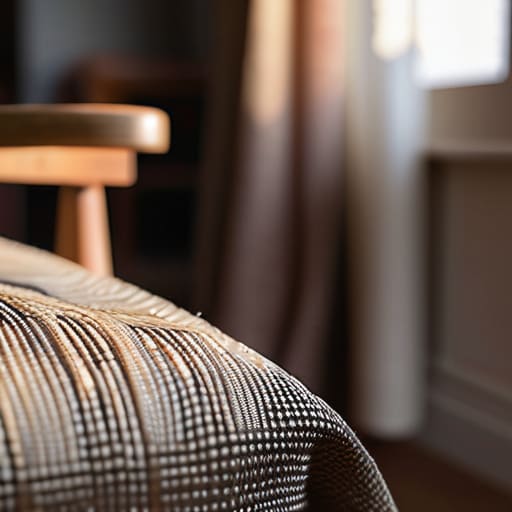
The biggest mistake I see people make isn’t a lack of skill; it’s a lack of foresight. They get halfway through a project only to realize they’ve picked a fabric that looks great on a swatch but feels like sandpaper after ten minutes of sitting. When it comes to fabric selection for upholstery, don’t just chase a pattern. Look at the weave and the durability rating. If this is a dining chair that’s going to see spilled wine or a reading chair that’s your daily sanctuary, prioritize resilience over aesthetics. It’s much easier to live with a slightly less “trendy” color than a fabric that pills the moment you sit down.
While you’re at it, don’t neglect what’s happening underneath the surface. If the seat feels like sitting on a piece of plywood, skip the decorative work and focus on replacing chair foam padding. There is no point in wrapping a beautiful new textile over old, compressed foam that’s lost its structural integrity. Invest in a high-density foam block; it’s the difference between a chair that looks refurbished and one that actually feels worth keeping. A little extra effort on the foundation ensures you won’t be back in the “troubleshooting” phase in six months.
Gathering Real Tools Instead of Expensive Gadgets and Gimmicks
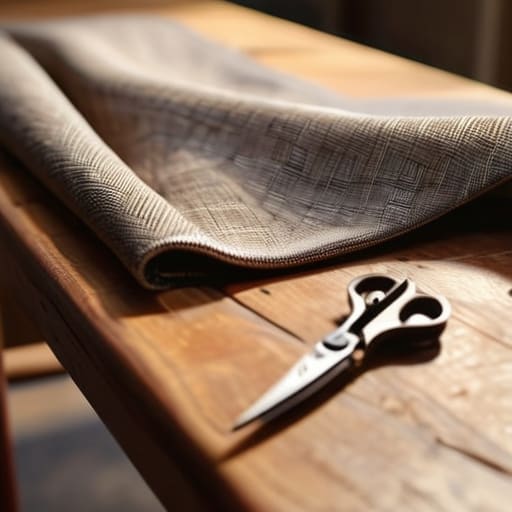
Look, you don’t need to spend a weekend browsing through “professional” kit advertisements online. Most of those specialized upholstery tools and supplies are just overpriced versions of things you likely already have in your junk drawer or can find at a local hardware store. If you’re looking to refresh a dining chair, a decent manual staple gun and a pair of heavy-duty fabric shears will get you 90% of the way there. I’ve learned the hard way that investing in a high-end pneumatic stapler for a single project is a waste of both time and money. Focus on the basics that actually hold up under pressure.
The real trick isn’t in the gadgets; it’s in the prep work. Before you even think about picking out a pattern, spend some time removing old chair fabric carefully. Don’t just rip it off like you’re cleaning out a closet; save the old material for a moment so you can use it as a template for your new cuts. This is much more reliable than trying to guess your measurements with an online calculator. If the seat feels a bit saggy, don’t just slap new fabric over the top—take the opportunity for replacing chair foam padding while the frame is already bare. It’s much easier to fix the foundation now than to regret a lumpy seat six months down the line.
Stripping It Down Removing Old Chair Fabric Without the Mess
Before you go hacking away at the old material, take a breath and grab a pair of heavy-duty seam rippers or a sharp utility knife. I’ve learned the hard way that rushing this stage is a recipe for a headache. Your goal isn’t just removing old chair fabric; it’s about salvaging the “map” of how the original piece was constructed. I always recommend carefully pulling back the trim or decorative tacks first. If you treat the old fabric like a blueprint, you’ll have a much easier time when it comes time for your new fabric selection for upholstery.
Once the surface layer is off, you’re going to find a chaotic mess of staples, dust, and crumbling foam. Don’t just sweep it all into a pile and call it a day. Use a pair of pliers to pull out every single old staple—if you leave even one behind, it’ll snag your new fabric and ruin the whole project. This is also the perfect moment to inspect the core. If the seat feels like sitting on a pancake, you’ll likely be replacing chair foam padding before you even think about the new cover. It’s better to deal with the structural grit now than to realize your “new” chair is still uncomfortable three days later.
Making It Functional With Proper Padding and Fabric Selection
Once you’ve stripped the chair down to its bones, you’re faced with the real decision: whether to patch what’s there or start fresh. In my experience, if the original cushion feels like sitting on a piece of plywood, don’t bother trying to save it. Replacing chair foam padding is the single most effective way to make a refurbished piece feel like a high-end find rather than a DIY experiment. I usually opt for high-density foam; it holds its shape much longer than the cheap, airy stuff you find at big-box retailers. If you’re feeling extra thorough, adding a layer of polyester batting over the new foam helps soften the edges and gives the fabric a smoother, more professional finish.
When it comes to the aesthetic side, don’t let the “perfect” Pinterest patterns intimidate you. My rule for fabric selection for upholstery is simple: prioritize durability over trendiness. You want something with a high rub count—think heavy linens, velvets, or even sturdy cotton canvases—that can actually handle a human sitting on it daily. Before you head to the shop, use an upholstery fabric yardage calculator online to avoid the headache of running short mid-project. There is nothing more frustrating than being three inches shy of a finished seam when you’re already in the zone.
Five Pro-Tips to Keep Your Project from Turning into a Disaster
- Don’t throw away the old fabric until the new stuff is actually on the chair. I know it looks like a heap of trash once you strip it down, but those old scraps are your only reliable template for where the seams and tension points live.
- Test your fabric’s “stretch” before you commit. Pull it tight across your knee; if it feels like it’s going to snap or lose its shape immediately, it’s going to sag on your chair within a month. You want something with some structural integrity, not just something that looks pretty in the store.
- Work in small sections rather than trying to pull one massive piece of fabric over the whole frame. If you try to tackle the whole chair at once, you’ll end up with awkward bunches and wrinkles that no amount of smoothing will ever fix.
- Keep a dedicated “scrap bin” for your padding. When you’re working around tight corners or the curves of a chair back, those little offcuts of foam or batting are exactly what you need to fill in the gaps and prevent the fabric from looking hollow.
- Double-check your staple spacing. It’s tempting to just hammer them in as fast as possible to get it over with, but inconsistent spacing is the fastest way to end up with a lopsided seat that feels more like a construction site than a piece of furniture.
The Final Stitch
At the end of the day, reupholstering isn’t about achieving some Pinterest-perfect masterpiece on your first try; it’s about the mechanics of making something useful again. You’ve done the heavy lifting—stripping back the old layers, selecting fabric that actually stands up to daily life, and using the right tools instead of chasing expensive gimmicks. By focusing on structural integrity and proper padding rather than just the aesthetic, you’ve ensured that this chair isn’t just a temporary fix, but a piece of furniture that will actually survive the next decade of your life. It’s about moving away from the disposable culture and leaning into a system of maintenance that keeps your home running smoothly.
There is a specific kind of quiet satisfaction that comes from looking at a piece of furniture and knowing you were the one who kept it in the game. It’s not a “life hack” meant to save you five minutes; it’s a skill that buys you long-term stability and a home that feels intentional rather than cluttered with replacements. So, don’t let the fear of a crooked staple or a slightly uneven seam stop you from starting. Grab your notebook, pick up your tools, and just get to work. Once the dust settles and the chair is back in its place, you’ll realize that the time you spent fixing it was time well invested in a life that is built to last.
Frequently Asked Questions
How do I know if the chair's wooden frame is actually worth saving or if it's too structurally unsound to bother with?
Before you go buying expensive velvet, do a quick stress test. Give the frame a firm shake—if it wobbles or creaks like a haunted house, the joints are likely shot. Check the corners for cracks or wood rot, especially near the feet. If the wood is crumbling or the structural integrity is compromised, walk away. There’s no point in putting beautiful new fabric on a chair that’s going to collapse under you.
I’m worried about wasting money—how much fabric should I actually buy so I don't run out halfway through a corner?
Look, the last thing you need is a half-finished chair and a wasted trip to the fabric store. Don’t guess. Measure the widest part of the seat, the height of the back, and the depth of the sides. Add at least 6 inches to every single dimension for “pull room”—you’ll need that margin to get the fabric taut. If you’re working with patterns, buy an extra yard. Better to have a scrap for a cushion than to run short.
What’s the best way to handle those tricky, curved edges without the fabric bunching up and looking amateur?
The secret isn’t a special tool; it’s about tension and patience. When you hit a curve, stop trying to pull the whole sheet taut. Instead, work in small, overlapping increments. Use your fingers to smooth the fabric toward the center of the curve before you ever touch the staple gun. If it starts bunching, you’re pulling too hard from the wrong direction. Aim for small, directional pulls to keep the surface flat and professional.
If I mess up the tension and the fabric looks saggy, can I undo it, or am I stuck with a ruined piece of material?
Don’t panic—you aren’t stuck with a ruined piece of furniture, but you might be stuck with a ruined piece of fabric. If the tension is off and it looks saggy, pull the staples. If the fabric hasn’t stretched out or frayed from the tugging, you can re-tension and try again. However, if you’ve overstretched the weave, that fabric is done. In that case, just cut it off and start fresh with a new roll.





