
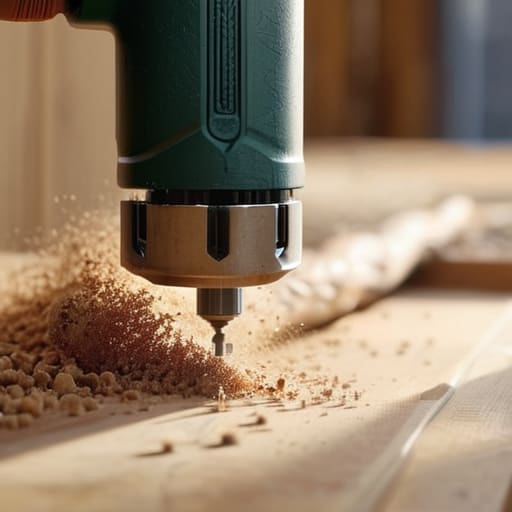
I was staring at a piece of reclaimed oak, a half-finished shelf staring back at me, and a stripped screw head that looked like it had been chewed by a lawnmower. My hands were covered in sawdust, my patience was non-existent, and I realized I was about ten seconds away from tossing the whole project into the garage junk pile. Most people think that learning how to use a drill is about memorizing a manual or buying the most expensive lithium-ion model on the shelf, but that’s a lie. In reality, it’s about understanding the physics of what you’re doing so you don’t end up with a cracked wall or a ruined piece of furniture.
I’m not here to give you a lecture or a list of fifty different drill bits you’ll never actually use. Instead, I’m going to show you the practical, unglamorous mechanics of getting the job done right the first time. We’re going to cover the essential settings, how to keep your hand steady without losing your mind, and the simple systems that prevent the most common mistakes. My goal is to get you through this task quickly and efficiently so you can stop troubleshooting and start actually enjoying your home.
Guide Overview
Tools & Supplies
- Power Drill (Cordless or corded drill)
- Drill Bits (Set of various sizes for drilling and driving)
- Workpiece (Wood, metal, or plastic)
- Fasteners (Screws or anchors)
- Safety Gear (Safety glasses and ear protection)
Step-by-Step Instructions
- 1. First, pick your tool and your bit. Don’t just grab the first thing you see in the junk drawer. If you’re drilling into wood, you want a standard twist bit; if it’s metal, you need something more durable. Most importantly, make sure the bit is actually compatible with the chuck. There is nothing more frustrating than getting halfway through a project only to realize you’ve wasted twenty minutes on the wrong hardware.
- 2. Check your battery or your cord. I’ve lost count of how many “quick fixes” turned into three-hour ordeals because I started with a half-dead lithium-ion battery. If you’re using a cordless drill, ensure it’s fully charged before you even think about making that first hole. If you’re on a cord, make sure the cable isn’t a trip hazard—I’ve learned that the hard way.
- 3. Secure your workpiece. Unless you are drilling into a wall, you need something holding the object steady. A clamp is your best friend here. If you try to hold a piece of timber with one hand and the drill with the other, you aren’t just being inefficient; you’re being reckless. Set it on a stable surface and lock it down so it doesn’t spin when the bit bites.
- 4. Insert the bit and tighten the chuck. This is where people get sloppy. Place the bit in the center of the jaws and use the chuck key (if your drill has one) or hand-tighten it firmly. You want it tight enough that it won’t slip, but don’t go overboard and strip the mechanism. Give it a quick tug to make sure the bit is centered and won’t wobble like a loose tooth.
- 5. Mark your spot and steady your stance. Use a pencil or a center punch to make a tiny indentation where you want the hole to go. This prevents the bit from “walking” across your material when you start. Stand with your feet shoulder-width apart and hold the drill with both hands—one on the grip and one on the back—to maintain maximum control over the torque.
- 6. Start slow and apply pressure. Don’t just mash the trigger and hope for the best. Start with a light touch to let the bit find its groove, then gradually increase the speed. Apply steady, even pressure, but let the drill do the heavy lifting. If you find yourself leaning your entire body weight into it, you’re likely using the wrong bit or the wrong speed setting.
- 7. Pull it out clean. Once you’ve reached the desired depth, back the drill out slowly while it’s still spinning. If you stop the motor and then pull the bit out, you’re likely to tear the material or leave a jagged, ugly edge. Pull it out smoothly, clear away the dust, and move on to the next task.
Stop Fighting Your Tools How to Use a Drill Without the Stress
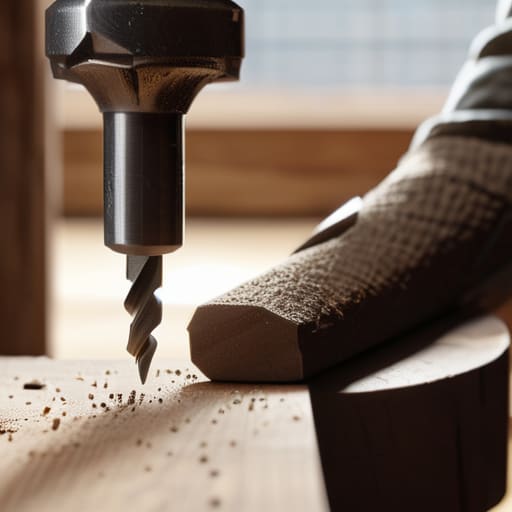
The biggest mistake I see people make isn’t a lack of strength; it’s a lack of preparation. You can have the most expensive kit in the shed, but if you’re using a spade bit when you need a fine wood bit, you’re just going to end up with a splintered mess and a headache. Before you even pull the trigger, take a second to look at your material. There is a massive difference between drilling into masonry vs wood, and treating them the same way is a recipe for a broken bit or a ruined wall. Check your bits, check your battery, and for heaven’s sake, make sure you’re actually using the right setting for the job.
Once you’re ready to go, focus on your stance. A lot of the frustration comes from the tool “walking” across the surface or jerking out of your hand. This usually comes down to proper drill grip technique. Don’t just hold it like a TV remote; wrap your hand firmly around the housing and use your secondary hand to steady the back of the tool if you’re feeling unsteady. It’s about controlled pressure, not brute force. If you fight the machine, the machine wins every time. Keep it steady, stay patient, and you’ll get through the task without needing a glass of wine halfway through.
Picking the Right Gear Drill Bit Types and Uses That Work
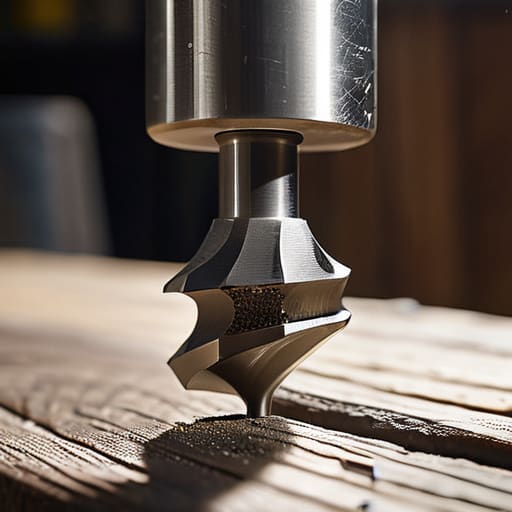
Look, the biggest mistake I see people make isn’t their technique; it’s grabbing a random bit from a dusty kit and hoping for the best. If you try to drive a screw with a bit meant for masonry, you aren’t just wasting time—you’re ruining your hardware. Understanding drill bit types and uses is the difference between a clean hole and a stripped-out mess. For standard projects, your twist bits are your bread and butter for wood, but if you’re tackling a brick wall, you absolutely need a carbide-tipped masonry bit. Using the wrong one is like trying to cut steak with a butter knife; it’s frustrating, loud, and ultimately useless.
Once you have the right bit, pay attention to the machine’s settings. I often see people struggling with kickback because they haven’t mastered how to select drill speed or manage their power. If you’re driving a small screw into soft pine, you want low speed and high torque. If you’re drilling a large hole through metal, you need a higher speed but much less pressure. It sounds technical, but once you get the hang of it, it becomes second nature. Just remember: match the bit to the material, and the tool will do most of the heavy lifting for you.
Mastering the Basics Proper Drill Grip Technique and Speed Control
Most people approach a drill like they’re trying to wrestle a stubborn weed out of a garden—lots of tension, white knuckles, and unnecessary force. That’s your first mistake. To get a clean, professional finish, you need to adopt a proper drill grip technique that prioritizes stability over strength. Hold the handle firmly with your dominant hand, but use your other hand to support the back of the drill or steady the shaft. This creates a tripod effect that prevents the bit from “walking” across your workpiece when you first start. If you’re feeling the tool kick back, you’re likely fighting the torque rather than letting the machine do the heavy lifting.
Speed control is where the real precision happens. It’s tempting to just mash the trigger and hope for the best, but feathering the trigger is the secret to not ruining your project. When you’re starting a hole, go slow to establish a pilot point; once you’re deep enough, you can ramp up. This is especially vital when you’re navigating the nuances of drilling into masonry vs wood, as the resistance levels are worlds apart. If you treat the trigger like a gas pedal rather than an on/off switch, you’ll find you have much more control over the outcome.
Real World Results Drilling Into Masonry vs Wood With Confidence
The biggest mistake I see people make is treating every material like it’s a piece of soft pine. If you try to use a standard wood bit on a brick wall, you aren’t just going to ruin the bit; you’re going to end up frustrated and covered in dust. When you’re drilling into masonry vs wood, the physics change entirely. Wood is forgiving; it yields to the bit. Masonry, however, fights back. You need a masonry bit—the ones with that blunt, carbide tip—and you need to let the tool do the heavy lifting. Don’t lean your entire body weight into it; instead, apply steady, rhythmic pressure.
Speed is your second biggest variable here. For wood, you generally want a higher RPM to get a clean, splinter-free hole. But when you hit stone or concrete, slow down and use more force. If you run at full throttle against masonry, you’ll overheat the bit in seconds, and once that happens, it’s useless. It’s all about matching your approach to the resistance. Think of it as a conversation with the material: listen to the sound and feel the vibration. If it feels like you’re fighting a losing battle, stop, check your bit, and adjust your settings.
Five Pro-Tips to Keep Your Projects (and Your Sanity) Intact
- Mark your spot with a nail or an awl first. If you don’t create a little pilot indentation, that bit is going to wander across your workpiece like a lost toddler, and you’ll be left with a hole exactly where you didn’t want it.
- Don’t be a hero with the pressure. Let the tool do the heavy lifting. If you’re leaning your entire body weight into the drill, you aren’t drilling; you’re just fighting the machine. Apply steady, even pressure and let the bit find its way.
- Check your clutch settings before you start. There is nothing more frustrating than driving a screw halfway in only to have the drill head spin wildly and strip the head bare because you had the torque set to “maximum” for a tiny pilot hole.
- Keep your eyes on the exit point. If you’re drilling through something, don’t just focus on the front. Watch the back side of the material to ensure the bit doesn’t blow out the wood or masonry as it breaks through.
- Listen to the machine. A healthy drill has a specific rhythm. If you hear a high-pitched squeal or a grinding sound, stop immediately. It’s much easier to fix a dull bit or a loose component now than to deal with a burnt-out motor halfway through a Saturday project.
Getting It Done
At the end of the day, using a drill isn’t about mastering some complex engineering feat; it’s about having the right tool for the job and the discipline to use it correctly. We’ve covered the essentials: picking the right bit for your material, maintaining a steady grip, and knowing when to slow down your speed to prevent slipping. If you respect the physics of the tool—meaning you don’t force a bit that’s too small or rush through a masonry wall—the machine will do most of the heavy lifting for you. The goal is to move from fumbling with settings to a place where the drill feels like a natural extension of your hand, allowing you to finish your project without the unnecessary headache.
Don’t let the fear of a crooked hole or a stripped screw keep you from starting that shelf or hanging that picture. Every mistake is just a bit of data for your next attempt, and honestly, a little bit of sawdust on the floor is a sign of progress. My advice? Stop overthinking the manual and just start building something. Once you get that first clean, precise hole, the intimidation factor disappears, and you’ll realize that having a functional toolkit is the fastest way to stop troubleshooting your home and start actually enjoying it.
Frequently Asked Questions
How do I know if I'm using too much pressure and about to snap a bit?
If you’re leaning your entire body weight into the tool, you’ve already gone too far. A drill is designed to let the bit and the motor do the heavy lifting. If you feel the drill shuddering, or if you notice the bit getting excessively hot, back off. You want steady, controlled pressure—enough to keep the bit centered, but not so much that you’re fighting the machine. Listen to the sound; if it’s screaming, stop.
What’s the deal with torque settings, and do I actually need to care about them?
Look, if you’re just hanging a picture frame, you can ignore the torque ring. But if you’re driving screws into something you actually care about—like a piece of reclaimed wood or a delicate cabinet—pay attention. Torque is just the drill’s “muscle” limit. Set it low so you don’t strip the screw head or sink it too deep. Think of it as a built-in fail-safe to keep you from overdoing it.
Is it worth buying a cordless drill, or should I stick to a corded one for serious projects?
Look, if you’re planning on spending your entire weekend anchored to a single wall outlet, go corded. It’s cheaper and you’ll never run out of juice mid-hole. But for 90% of us, a high-quality cordless drill is the better investment. The freedom to move around your workspace without tripping over a cable is worth the extra few bucks. Just don’t buy the cheapest battery on the shelf—get something reliable that actually holds a charge.
How do I stop the drill from slipping and scarring my walls when I'm trying to hang something?
The “skating” drill bit is the bane of my existence. Here’s the fix: don’t just dive in. First, use a pencil to mark your spot, then take a nail or a center punch and give it a firm tap to create a tiny indentation. That divot acts as an anchor. Also, start with a much smaller bit first to create a pilot hole. It’s a two-step process, but it saves your drywall from looking like a crime scene.





