
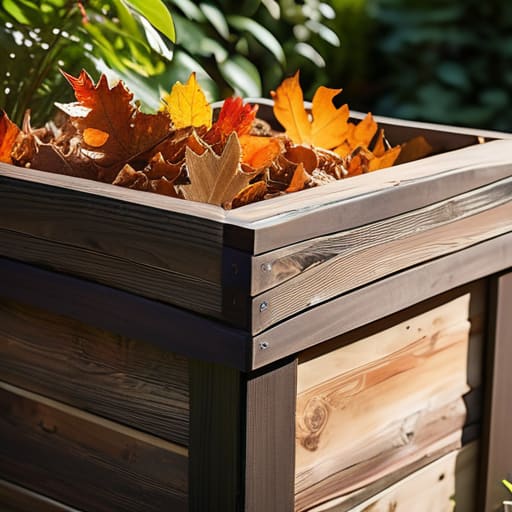
I was standing in my kitchen last Tuesday, staring at a mountain of vegetable peelings and coffee grounds, feeling that familiar, low-grade sense of guilt that comes with tossing organic waste into a plastic bag. Most “eco-friendly” blogs will tell you that you need a high-tech, rotating tumbler or a complex multi-stage system to do this right, but honestly? That’s just more clutter to manage. If you’re looking for how to make a compost bin that actually works without turning your backyard into a science experiment, you don’t need a massive budget or a degree in biology. You just need a system that is actually functional and fits into the rhythm of your real life.
In this guide, I’m stripping away the fluff and the expensive gear. I’m going to show you how to build a sturdy, low-maintenance bin using basic materials you probably already have in your garage or can pick up for a few bucks at the hardware store. We aren’t aiming for perfection; we’re aiming for a reliable system that turns your scraps into soil while you focus on more important things. Let’s get to work.
Guide Overview
Tools & Supplies
- Drill with spade bit for ventilation holes
- Handsaw or utility knife for cutting materials
- Measuring tape for accuracy
- Plastic storage bin (18-30 gallons) 1 unit
- Drill bits (various sizes) 1 set
- Hardware cloth or mesh (optional for base) 1 small roll
- Potting soil or finished compost (to start process) 1 small bag
Step-by-Step Instructions
- 1. First, pick your spot and your container. You don’t need a high-tech, multi-chambered rotating system to make this work. If you have a yard, a simple wooden crate or even a heavy-duty plastic bin with holes drilled in it will do fine. Just make sure it’s sitting on bare soil so the worms and microbes can actually get in there to do their jobs.
- 2. Start with a “brown” foundation. You can’t just throw wet food scraps into a pile and hope for the best; you’ll end up with a stinking, slimy mess. Grab some dried leaves, shredded cardboard, or straw and layer about three or four inches at the bottom. This creates the necessary airflow that keeps the whole operation from smelling like a swamp.
- 3. Layer in your “greens.” This is where your kitchen scraps come in—coffee grounds, vegetable peelings, and fruit cores. I like to keep a small, lidded container on my counter so I’m not running to the bin every ten minutes. Just remember the golden rule: for every handful of green scraps, you need to toss in a matching handful of browns to keep the nitrogen levels in check.
- 4. Add a little moisture, but don’t turn it into a soup. Your compost pile should feel like a wrung-out sponge. If it’s too dry, the decomposition stalls; if it’s too wet, it gets anaerobic and starts to stink. If you’re using a bin with a lid, a quick spray from the garden hose is usually all you need to keep things balanced.
- 5. Turn the pile once a week. This isn’t a “set it and forget it” situation, but it shouldn’t be a daily chore either. Use a pitchfork or a sturdy shovel to toss the materials around. This introduces oxygen into the center of the pile, which is the secret ingredient for turning waste into actual, usable dirt instead of just a pile of rotting garbage.
- 6. Monitor the heat and the texture. If you’re doing it right, the center of the pile should feel warm to the touch. If it looks like it’s just sitting there doing nothing, you probably need more greens. If it looks like a soggy heap, add more cardboard. It’s all about constant, minor adjustments rather than a massive overhaul.
- 7. Harvest your “black gold.” Once the material at the bottom is dark, crumbly, and smells like fresh earth rather than decay, it’s ready. Sift out any large chunks that haven’t broken down yet—toss those back into the new pile—and use the rest to feed your garden. It’s one of the few zero-waste loops that actually feels incredibly satisfying to complete.
Stop Overcomplicating Waste How to Make a Compost Bin That Works
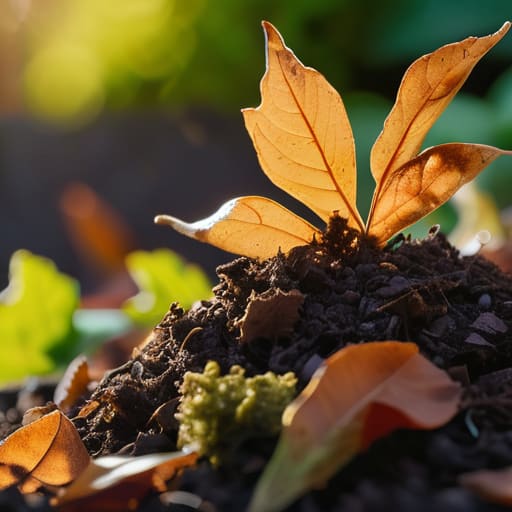
The biggest mistake I see people make is treating composting like a high-stakes chemistry project. You don’t need a laboratory-grade setup to see results; you just need to understand the basic mechanics of the organic waste decomposition process. If you’re staring at a pile of scraps and feeling overwhelmed, remember that nature is doing most of the heavy lifting here. The goal isn’t perfection; it’s just providing a consistent environment where microbes can do their job without you having to babysit them every single afternoon.
If your pile starts smelling like something died in your garden, don’t panic—it usually just means you’ve skipped a step in the maintenance. Proper aeration for compost bins is the secret sauce. A quick stir with a pitchfork once a week provides the oxygen those tiny workers need to keep things moving. If you’re working with a smaller space, like a balcony or a tiny kitchen corner, you might want to skip the heavy backyard methods and look into a vermicomposting setup guide instead. Using worms is a remarkably efficient way to manage waste when you don’t have the square footage for a traditional heap. Keep it simple, keep it breathable, and let the system work for you.
Ditch the Hype a Functional Compost Bin Materials List
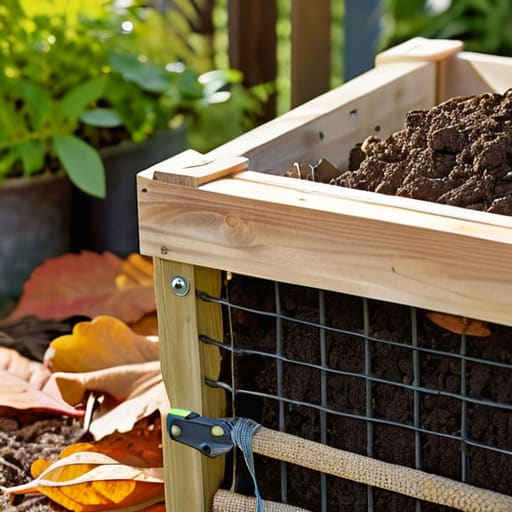
Before you head to the hardware store, let’s clear something up: you don’t need a high-tech, rotating tumbler that costs more than my first car. When people look for a compost bin materials list, they often get distracted by shiny gadgets that promise magic results. In reality, you just need durability and airflow. I’ve learned the hard way that if your container is too airtight, you’re basically building a swamp, not a compost pile. You want materials that can withstand the elements while allowing for proper aeration for compost bins, which is the secret to keeping things from smelling like a landfill.
If you’re working with a smaller space, you might find yourself looking into a vermicomposting setup guide instead of a traditional backyard pile. That’s fine, but the logic remains the same: keep it simple. Whether you’re using cedar planks or a repurposed plastic bin, focus on the structural integrity of the build. You want something that won’t collapse under the weight of damp leaves or rot away after one heavy rain. Don’t let the “eco-influencers” convince you that you need a laboratory setup; you just need a sturdy, breathable vessel that lets nature do its job.
Real Backyard Composting Methods Without the Constant Troubleshooting
Look, once you’ve got your bin assembled, you’ll realize that the “perfect” setup is a bit of a myth. Most people fail because they treat composting like a high-maintenance science project rather than a simple biological cycle. If you’re looking at different backyard composting methods, don’t feel pressured to go full industrial. For most of us, a simple stationary bin is plenty, provided you don’t ignore the basics. The biggest mistake I see is people letting their pile turn into a compacted, stinky brick. You need to prioritize aeration for compost bins—basically, just give the pile some air every week or so with a pitchfork. If it doesn’t breathe, it won’t break down, and you’ll just end up with a mess that smells like a swamp.
If you’re working with a smaller space or find that traditional piles are too much of a chore, you might want to look into a vermicomposting setup guide instead. Using worms is essentially outsourcing the labor; they do the heavy lifting of the organic waste decomposition process while you just keep them fed. It’s efficient, compact, and much harder to mess up than a massive outdoor heap. Whether you go big or go small, the goal is the same: keep it simple enough to maintain even on the weeks when your schedule is falling apart.
Mastering Aeration for Compost Bins and Organic Waste Decomposition Process
Here is the reality of composting: if you just throw a pile of scraps into a bin and walk away, you aren’t composting; you’re just managing a very slow, very smelly pile of trash. The secret to a successful organic waste decomposition process isn’t some magic ratio of nitrogen to carbon—it’s oxygen. Without air, your bin goes anaerobic, which is a fancy way of saying it starts smelling like a swamp and stops doing its job.
To prevent that, you need to prioritize aeration for compost bins as part of your weekly routine. I don’t advocate for spending my Saturday mornings vigorously stirring a heap, but you do need to give the pile a “breath of fresh air” every once in a while. A simple pitchfork or even a sturdy garden stake works fine. Just poke some holes or turn the outer layers into the center. If you’ve built a bin with specific ventilation holes as we discussed earlier, you’re already halfway there.
Think of it like maintaining a vintage synthesizer: if the components can’t breathe, the whole system fails. If you find yourself staring at a pile that looks more like sludge than soil, you likely have a moisture or airflow issue. Don’t overthink it; just add some dry brown material—like shredded cardboard or dried leaves—to create air pockets and get things moving again.
Five Ways to Keep Your Compost from Becoming a Chore
- Location is everything. Don’t tuck your bin in a far corner of the yard where you’ll forget it exists, but don’t put it right under your kitchen window either. Find a flat, well-drained spot that’s easy to access when you’re carrying a heavy bag of kitchen scraps.
- Respect the ratio. You don’t need a chemistry degree, but you do need a balance. Think of it as green (nitrogen-rich scraps like veggie peels) versus brown (carbon-rich stuff like dried leaves or shredded cardboard). Too much green and it stinks; too much brown and nothing happens. Keep it roughly equal.
- Size matters for efficiency. If you build a bin that’s too small, it won’t hold enough heat to actually break things down. Aim for something at least three feet cubed. It’s big enough to maintain its own internal temperature but small enough that you can actually turn it without breaking your back.
- Manage the moisture like you would a houseplant. Your compost should feel like a wrung-out sponge—damp, but not dripping. If it’s too dry, the microbes go dormant; if it’s too wet, you’re just making a smelly mess. A quick poke with a stick can tell you everything you need to know.
- Stop the “mystery” smell. If your bin starts smelling like something died in your backyard, you’ve likely got too much moisture or not enough air. Don’t panic—just toss in some more dry, shredded cardboard and give it a good stir. Most composting “failures” are just a simple lack of oxygen.
Getting Out of the Way
At the end of the day, a compost bin shouldn’t be another project on your never-ending to-do list; it should be a silent, efficient system running in the background of your life. We’ve covered the essentials: choosing a method that fits your actual space, gathering the right materials without overspending, and keeping the aeration consistent so you don’t end up with a smelly mess. The goal isn’t to become a master soil scientist or to spend your Saturday mornings hovering over a pile of vegetable scraps. It’s about setting up a functional loop where your waste becomes an asset rather than a problem. If you’ve followed these steps, you’ve built something that works with nature instead of trying to micromanage it.
Once your bin is established and the rhythm is set, the real magic happens when you stop thinking about it. There is a quiet, immense satisfaction in knowing that your kitchen scraps aren’t just heading to a landfill, but are instead fueling the next cycle of growth in your garden. Don’t let the fear of doing it “perfectly” stop you from starting. Perfection is the enemy of progress, and in my experience, a slightly messy, working bin is infinitely better than a pristine, empty one. Set your system, trust the process, and then get back to the parts of your life that actually matter.
Frequently Asked Questions
How do I stop my compost bin from smelling like a landfill?
If your bin smells like a landfill, you’ve likely tripped into a classic imbalance: too much nitrogen (greens) and not enough carbon (browns). It’s essentially a chemistry error, not a mystery. Stop adding kitchen scraps for a second and toss in a heavy layer of shredded cardboard or dry leaves. You need to balance the moisture and increase airflow. Think of it as debugging a system—get the ratios right, and the smell disappears.
Is there a way to keep rodents and pests out of my DIY setup without spending a fortune?
Look, I get it. The idea of a backyard buffet for rats is enough to make anyone reconsider composting. You don’t need a high-tech, expensive containment system, though. Keep it simple: use hardware cloth—that fine metal mesh—to line your bin. It’s cheap, durable, and stops the small stuff from getting in. Also, stop adding meat or dairy. If you stick to greens and browns, you won’t be inviting the neighbors over for dinner.
How often do I actually need to turn the pile to keep things moving?
Look, I’m not asking you to become a full-time gardener. If you’re checking your pile every morning, you’ve already lost the plot. Aim for once a week if you want decent results, or even every two weeks if you’re busy. The goal isn’t perfection; it’s just enough oxygen to keep the microbes from suffocating. If it smells like something died in your yard, turn it. If it doesn’t, leave it alone and get back to your life.
What do I do if my compost pile gets too wet or looks like a soggy mess?
If your pile looks more like a swamp than soil, stop panicking. You’ve just thrown the nitrogen-to-carbon ratio out of whack. It’s usually too much green waste and not enough brown. Grab some shredded cardboard, dried leaves, or even old newspaper—anything dry and carbon-heavy. Mix it in thoroughly to soak up that moisture and get some air moving again. If it smells, you definitely need more browns and a good turn with a pitchfork.





