
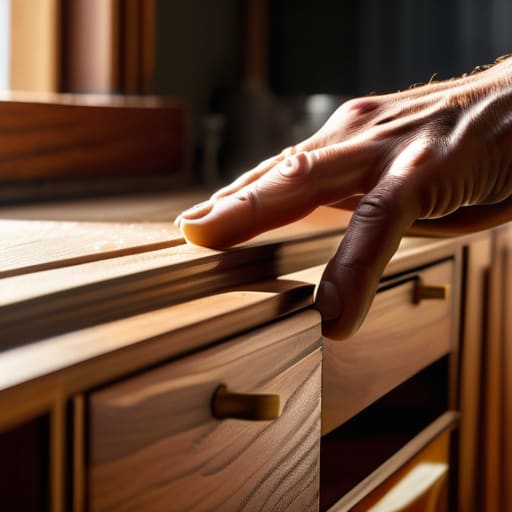
I was sitting on my garage floor last Saturday, staring at a mid-century sideboard that looked more like a disaster zone than a piece of history, wondering why I ever thought I could tackle this myself. Most people will tell you that learning how to refinish furniture requires a professional-grade workshop and an endless supply of expensive, specialized chemicals, but they’re wrong. That’s just a way to sell more gear you don’t actually need. The truth is, most of the “expert” advice out there is designed to make a simple weekend project feel like a high-stakes engineering feat, leaving you more frustrated than when you started.
I’m not here to sell you on a lifestyle of endless DIY perfection; I just want to help you stop letting good wood go to waste. In this guide, I’m stripping away the fluff to show you the actual, functional steps of how to refinish furniture without losing your mind or your entire weekend. We’ll focus on the essential tools, the grit required for proper sanding, and how to choose a finish that actually lasts. Let’s get the job done right so you can stop tinkering and start enjoying your space.
Guide Overview
Tools & Supplies
- Sandpaper (various grits for smoothing surfaces)
- Screwdriver (to remove hardware)
- Paintbrush or foam roller (for even application)
- Tack cloth (to remove fine dust)
- Wood primer (1 quart to seal surface)
- Paint or stain (1 quart for color)
- Degreaser or TSP (small amount for cleaning)
- Protective mask (1 unit for safety)
Step-by-Step Instructions
- 1. First, you need to clear the workspace and gather your gear. Don’t just wing it; there is nothing more frustrating than being halfway through a strip-down and realizing you’re out of sandpaper. Get your safety gear—mask, gloves, and eye protection—and lay down some old drop cloths. If you’re working indoors, open a window; you don’t want to be breathing in decades of old varnish.
- 2. Strip the old finish off. You have two real choices here: chemical strippers or sanding. If the piece is an heirloom with intricate carvings, go with a chemical stripper to avoid gouging the wood. If it’s a sturdy, flat mid-century sideboard, you can probably just power through with an orbital sander. Just remember, the goal isn’t to reach the “core” of the wood immediately; it’s to remove the old layer so the new one actually sticks.
- 3. Now comes the sanding phase, and this is where most people lose their patience. Start with a coarse grit (around 80) to level out the surface, then move to a medium grit (120), and finish with a fine grit (220). Do not skip the progression. If you jump straight to fine sanding, you’ll leave deep scratches that will show up like neon signs once you apply the stain.
- 4. Clean the surface like your life depends on it. I’m talking about more than just a quick wipe with a rag. Use a tack cloth or a vacuum with a brush attachment to pull every single speck of dust out of the grain. If there’s even a tiny bit of grit left, your final finish will feel like sandpaper rather than smooth wood.
- 5. Apply your stain or finish. If you’re using a stain, less is usually more. Apply it in the direction of the grain, let it sit for the recommended time, and then wipe away the excess. I’ve seen too many people leave a thick layer of stain on, thinking it will look deeper, only to end up with a sticky, uneven mess that never truly cures.
- 6. Seal it all in with a topcoat. This is your protection against coffee rings and scratches. Whether you choose a matte polyurethane or a classic wax, apply it in thin, even layers. It’s much better to do three thin coats than one thick, gloopy one that results in unsightly drips or bubbles.
- 7. Let it cure. This is the hardest part for the “fix-it” mindset, but you have to walk away. Even if it feels dry to the touch in an hour, the finish is still chemically hardening. Give it at least 24 to 48 hours before you even think about putting a book or a lamp on it. Patience is a functional tool, too.
Understanding How to Refinish Furniture
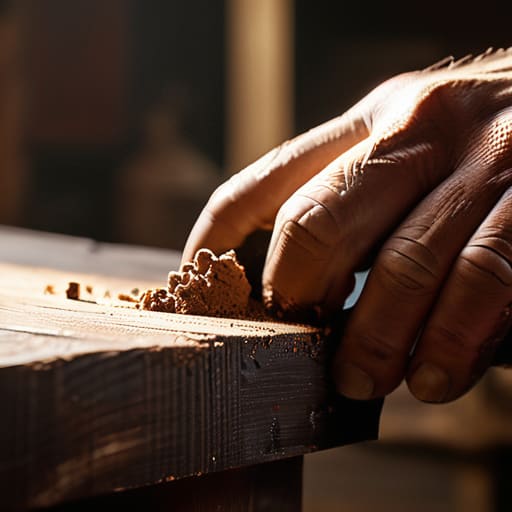
Before you dive into the actual labor, you need to understand that you aren’t just changing a color; you’re performing a bit of an autopsy on the piece. Most of what people call “wood” is actually just a thin layer of pigment sitting on top of a much more interesting grain. When you start removing old varnish, you’re stripping away years of grime, wax, and bad decisions. I always tell my clients to look closely at the wood first. If it’s a high-quality hardwood like oak or walnut, it’s worth the sweat. If it’s a cheap veneer, you’ll need to tread much more carefully, or you’ll end up sanding right through the pretty layer and revealing the particle board underneath.
The real secret to a professional look isn’t the paint—it’s the prep work. If you try to skip ahead to the fun part, you’ll regret it the moment the light hits the surface. I highly recommend keeping a basic furniture sanding grits guide nearby so you don’t accidentally gouge the wood with something too aggressive. You want to move through the grits systematically, not jump from coarse to fine in one go. It’s a bit tedious, I know, but consistency is your best friend here. If you don’t get the surface level and clean, no amount of expensive stain will save you from a patchy, frustrating finish.
Key Things to Know
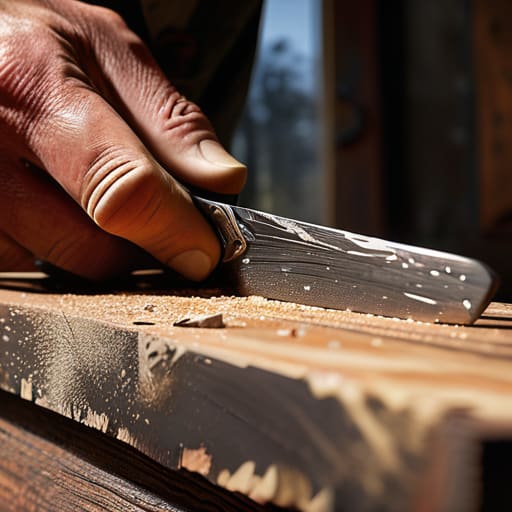
Before you dive in, let’s talk about the reality of the mess you’re about to make. Most people underestimate the prep work, thinking they can just slap some new color over the old. If you don’t spend enough time removing old varnish or failed DIY paint jobs from a decade ago, your new finish will look like a topographical map of bad decisions. It’s tempting to rush, but your results are only as good as your surface prep.
If you’re dealing with a piece that has layers of thick, stubborn lacquer, don’t feel like you have to sand your way through the entire history of the object. Invest in some decent wood stripping techniques—chemical strippers are often faster and much kinder to the wood grain than an orbital sander running on high for three hours straight.
Once the surface is clean, your focus shifts to the grit. Don’t just grab whatever random sandpaper is sitting in your junk drawer; follow a logical furniture sanding grits guide to avoid deep scratches that only show up once the stain hits. It’s a bit tedious, I know, but doing it right the first time means you won’t be sitting there at midnight wondering why your coffee table looks blotchy.
Practical Tips and Steps
Before you dive into the heavy lifting, let’s talk about the mess you’re about to make. If you’re dealing with a piece that has layers of thick, stubborn lacquer, don’t try to power through it with sandpaper alone; you’ll just burn through the wood and ruin the grain. Invest some time in removing old varnish using a decent chemical stripper first. It’s much less taxing on your arms and prevents you from accidentally sanding away the actual structural wood. Just make sure you’re working in a space with decent airflow—I’ve learned that the hard way.
When you move on to the smoothing phase, don’t just grab a random sheet of sandpaper and hope for the best. You really need a basic furniture sanding grits guide taped to your workbench. Start coarse to get the heavy lifting done, but if you skip the medium and fine grits, your final finish will look like a topographical map rather than a smooth surface. It’s tempting to rush, but precision in the prep work is what separates a professional-looking piece from a DIY disaster. Finally, once you’ve nailed the stain, don’t skimp on the protective top coat finishes. A good sealant is the only thing standing between your hard work and the inevitable coffee ring left by a guest next week.
Common Mistakes to Avoid
Look, I’ve spent enough time troubleshooting broken systems to know that most failures happen because someone tried to skip a step to save time. The biggest mistake I see? Rushing the prep work. People often dive straight into sanding without properly removing old varnish or wax first. If you don’t get that old, gummy layer off, you aren’t actually smoothing the wood; you’re just swirling old chemicals into the grain. It’s a mess, it’s frustrating, and it makes the final result look like a disaster.
Another pitfall is getting lazy with your abrasives. I see people try to jump from a coarse grit straight to a fine one, or worse, they use the same sandpaper for the whole project. You need to actually follow a furniture sanding grits guide—work your way up incrementally. If you skip the middle steps, you’ll end up with deep swirl marks that the stain will highlight like a neon sign.
Finally, don’t treat the finish like an afterthought. People get so tired by the end of the project that they slap on a protective top coat in one thick, uneven layer. Consistency is everything here. If you don’t apply thin, even coats, you’re just inviting streaks and bubbles that will haunt you every time the light hits the piece.
Five Ways to Keep This Project From Becoming a Weekend Nightmare
- Test your finish on a hidden spot first. I don’t care how much the sample looks like the perfect oak finish; try it on the underside of a chair leg or the back of a drawer. You don’t want to realize you hate the color when you’re halfway through the dining table.
- Don’t skimp on the sandpaper. Buying the cheapest grit available is a classic mistake that results in hours of extra sanding later. Get a decent variety pack and actually use them in order; skipping a step is just asking for a surface that feels like sandpaper.
- Work in a well-ventilated space, not because it’s a “best practice,” but because you don’t want to spend the next three hours with a headache. If you can’t open a window or get a breeze moving, rethink your timing.
- Accept that it won’t be perfect on the first pass. If you’re chasing a factory-grade, seamless finish, you’re in the wrong hobby. Aim for “clean, functional, and beautiful enough to use,” and don’t let a tiny swirl mark ruin your entire Sunday.
- Clean your tools immediately. It sounds basic, but if you leave a brush to dry with staining residue in it, you’ve just turned a $10 tool into trash. Treat your equipment well, and it’ll actually be ready the next time you decide to tackle a project.
Don't Let the Perfectionism Win
At the end of the day, refinishing furniture isn’t about achieving a factory-perfect finish that looks like it rolled off a showroom floor. It’s about the process: stripping away the grime, doing the tedious sanding, and choosing a finish that actually suits your lifestyle. Remember to prioritize a clean, stable surface over a rushed application, and don’t be afraid to take an extra day if the wood needs more drying time. If you’ve followed the steps—prepped carefully, sanded logically, and applied your finish in thin, manageable layers—you’ve already done the hard part. The goal is a piece that looks intentional, not a piece that looks like a stressful weekend project gone wrong.
My best advice? Stop overthinking the imperfections. You’re going to find a tiny swirl mark or a slight unevenness in the grain once the light hits it just right, and honestly, that’s fine. Those little quirks are just proof that a human being actually touched the piece, rather than a machine. Refinishing is a way to reclaim something old and make it functional for your current life, not a way to chase an impossible standard of flawlessness. Get the job done, wipe down your tools, and then go enjoy the space you’ve just improved. You’ve earned the break.
Frequently Asked Questions
How do I know if a piece is actually worth the effort of refinishing or if I should just head to the thrift store?
Look for the bones. If the piece is solid wood—not particle board or veneer that’s already peeling—it’s worth your time. Real wood can take a beating and come out looking better than new. Check the joinery; if it’s sturdy and doesn’t wobble like a loose tooth, go for it. If it’s cheap MDF or structurally compromised, don’t waste your weekend. Save your energy for something that actually has a future.
Do I really need to strip the old finish completely, or can I just sand it down and go from there?
Look, I’m a big fan of efficiency, but don’t let “efficiency” turn into a disaster. If the existing finish is stable and just looks tired, you can skip the chemical stripper and go straight to sanding. However, if you’re dealing with heavy lacquer or thick, peeling layers, you’ll be sanding for three days and still end up with a patchy mess. Strip it first if it’s thick; sand it if it’s just dull.
What’s the best way to deal with deep scratches or gouges that sanding won't fix?
When sanding isn’t enough, stop trying to brute-force it. You’ll just end up thinning the good wood. Grab some wood filler—not the cheap stuff in a tub, but a high-quality, stainable variety. Fill the gouge, let it dry completely, and then sand it flush. If you’re working with something truly precious, look into wood epoxy or even a bit of sawdust mixed with wood glue to create a custom patch. It’s about seamless repair, not a band-aid.
Is it safe to do this in my house, or am I going to be breathing in toxic fumes for the next three days?
Look, I’m not a doctor, but I am a person who values breathing. If you’re using heavy-duty chemical strippers or oil-based stains, don’t attempt this in your living room. You’ll end up with a headache and a house that smells like a hardware store for a week. Open every window, grab a decent respirator—not just a paper mask—and if you can, move the piece to a garage or a porch. Safety isn’t a “life hack”; it’s just common sense.





