
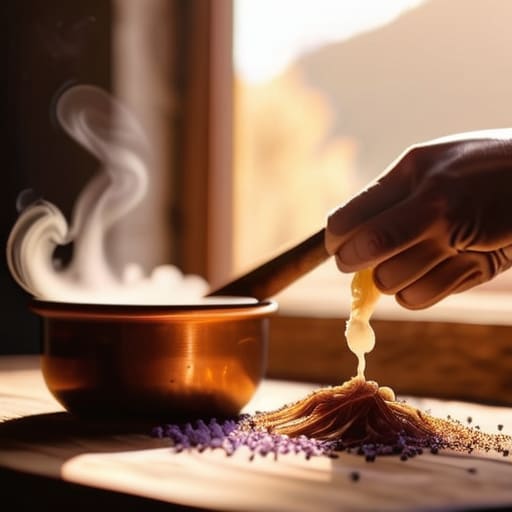
I was standing in my kitchen last Tuesday, staring at a half-melted pool of soy wax and a scent profile that smelled more like a burnt campfire than “Midnight Jasmine,” when I realized something. Most people think that learning how to make candles requires a chemistry degree or a specialized studio, but that’s a total myth. In reality, the reason your DIY projects usually end in a smoky mess or a scentless stub is rarely about lack of talent; it’s almost always because you’re following overly complicated tutorials that ignore the basic physics of wax and wick.
I’m not here to sell you on a lifestyle aesthetic or a dozen expensive, unnecessary gadgets. Instead, I want to give you a functional system that actually works. This guide is about stripping away the fluff to show you the reliable, repeatable steps of how to make candles that burn evenly and actually fill a room with fragrance. We’re going to focus on the essential tools, the precise temperatures you actually need to watch, and the minimalist setup that won’t turn your living space into a hazardous waste site. Let’s get to work.
Guide Overview
Tools & Supplies
- Double boiler or heat-proof bowl and pot
- Thermometer to monitor wax temperature
- Pouring pitcher for easy handling
- Spoon or stirrer for mixing
- Soy or paraffin wax (1-2 lbs)
- Candle wicks with metal bases
- Fragrance oils (1 oz)
- Candle jars or tins (2-4 units)
- Wick stickers or glue dots
Step-by-Step Instructions
- 1. First, clear some serious real estate on your kitchen counter. You don’t need a dedicated studio, but you do need a space where you won’t be interrupted by a stray elbow or a hungry toddler. Gather your supplies: soy wax flakes (they’re easier to work with than paraffin), cotton wicks, some glass jars, and your fragrance oils. If you don’t have a thermometer, go buy one. Trust me, guessing the temperature is the fastest way to ruin a batch and end up with a waxy mess.
- 2. Set up a double boiler. If you don’t own a professional one, don’t sweat it; just grab a heat-proof glass bowl and nestle it over a pot of simmering water. This is a safety-first move to ensure you never apply direct heat to the wax, which is a recipe for a kitchen fire I’d rather not help you troubleshoot later. Melt your wax slowly and patiently.
- 3. Once the wax is fully liquid, pull it off the heat and let it sit for a minute. This is when you introduce the scent. Use a scale to measure your fragrance oil—don’t just eyeball it. Aim for about 6-10% fragrance load. Stir the mixture slowly and steadily for at least two full minutes. You aren’t just mixing; you’re ensuring the oil actually binds to the wax molecules so the scent doesn’t just vanish the moment you light the wick.
- 4. While the wax is cooling slightly, prep your jars. This is the part most people skip, and it’s why their candles look amateur. Use a tiny bit of melted wax or a glue dot to secure the wick to the dead center of the bottom of the jar. If that wick is even slightly off-center, you’ll get “tunneling,” which is essentially wasting half your candle because the flame can’t reach the edges.
- 5. Pour the wax into your prepared jars. Do this in one continuous, steady stream to avoid creating air bubbles. Once poured, use a wick centering tool—or even just a couple of clothespins—to keep the wick upright and taut. Leave about half an inch of space at the top of the jar; we want a clean look, not a overflowing disaster when the wax settles.
- 6. Now comes the hardest part for anyone with a busy schedule: waiting. You need to let these candles cure in a cool, dry place. Don’t be tempted to light them ten minutes after pouring. For soy wax, you really want to give it at least 48 hours—though a week is better—to fully set. This patience ensures a clean, even burn that actually delivers the scent you worked so hard to mix.
Forget the Fluff a Realists Approach to How to Make Candles
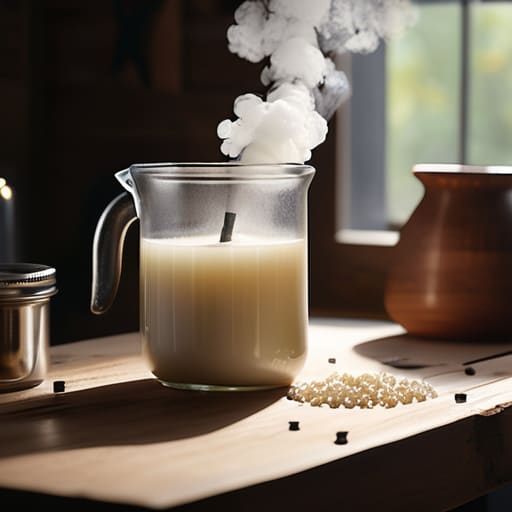
Look, if you’ve spent any time on Pinterest, you’ve probably seen those aesthetic videos of people making candles in marble-topped kitchens with zero mess and perfect lighting. It’s a lie. Real candle making is a bit of a science experiment, and if you don’t respect the variables, you’ll end up with a hollowed-out mess or a wick that drowns in a pool of wax. My advice? Don’t get bogged down in the high-end boutique stuff right away. Start with a solid set of soy wax candle making supplies—nothing fancy, just reliable materials that behave predictably.
The biggest mistake I see with people starting out is treating scent like an afterthought. If you’re using essential oils for scented candles, you can’t just dump them in whenever you feel like it. You need to be mindful of your heat; if the wax is too hot, you’re essentially evaporating your money right out of the jar. I always keep a small, handwritten candle pouring temperature guide tucked into my notebook. It takes the guesswork out of the process and ensures your fragrance actually binds to the wax instead of just disappearing into the air. Keep it simple, keep it precise, and stop overthinking the aesthetics.
Stocking Your Workshop With Functional Soy Wax Candle Making Supplies
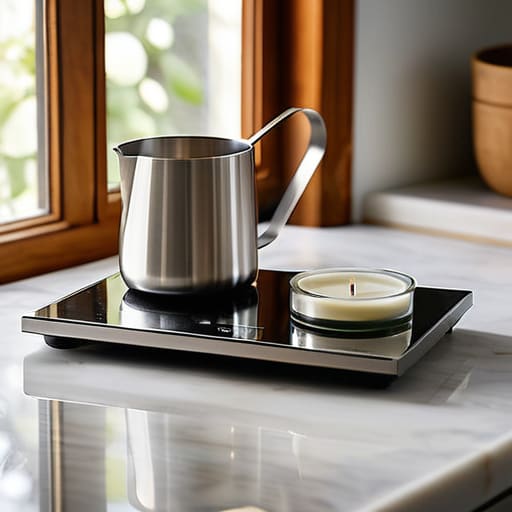
Before you start buying everything in sight, let’s get one thing straight: you don’t need a dedicated studio to do this well. I’ve seen people get paralyzed by the sheer volume of soy wax candle making supplies available online, thinking they need a professional-grade setup to see results. You don’t. Start with a reliable digital scale, a dedicated pouring pitcher, and a thermometer. If you try to eyeball the heat, you’re just asking for a mess that’s harder to clean than a spilled espresso.
When it comes to the actual components, don’t treat them as an afterthought. Choosing the best wick types for candles is where most people trip up; a wick that’s too small leads to tunneling, while one that’s too large creates a soot-filled disaster. It’s a bit like choosing the right hardware for a server—if the specs don’t match the load, the whole system fails. Stick to cotton or paper-core wicks for your first few batches. Once you’ve mastered the basics of heat management and container prep, then you can start playing with more complex additives. Keep your initial kit lean, functional, and focused on the fundamentals.
Mastering the Essentials Essential Oils for Scented Candles and Best Wick T
Now, let’s talk about the parts that usually trip people up: the scent and the burn. If you’re looking into essential oils for scented candles, don’t expect them to behave like the synthetic fragrance oils you find in big-box stores. Essential oils are temperamental; they have lower flash points and can sometimes struggle to throw scent effectively in a heavy wax. My advice? Start small. If you try to overcompensate for a weak scent by dumping in half a bottle of lavender, you’ll likely end up with a “sooty” mess rather than a pleasant aroma. It’s about finding that sweet spot of concentration where the scent is present but doesn’t overwhelm the room.
Then there’s the wick. This is where most candle making for beginners goes sideways. You can have the most beautiful wax in the world, but if you pick the wrong wick, you’re left with either a tiny, pathetic flame or a massive, smoky crater. You have to match the wick size to the diameter of your container. If the wick is too small, you’ll get “tunneling,” where the wax burns down a narrow hole in the center, leaving the sides untouched. If it’s too large, you’ll have a flame that’s practically a fire hazard. Think of it like calibrating a piece of gear—it requires a bit of trial and error, but once you find the right match, the physics of the burn will do the work for you.
Stop Guessing a Practical Candle Pouring Temperature Guide for Beginners
If you’ve ever pulled a candle out of a mold only to find it looks like a topographical map of the Andes, you haven’t failed—you’ve just ignored the thermometer. In my experience, the biggest mistake in candle making for beginners is treating temperature like a suggestion rather than a rule. When you’re working with soy, you aren’t just melting wax; you’re managing a delicate thermal process. If you pour too hot, you risk uneven cooling that leads to sinkholes or “wet spots” where the wax pulls away from the glass. If you pour too cool, you might end up with a surface that looks like unbaked bread.
I always tell my clients that precision is the antidote to frustration. To get that professional, smooth finish, you need a reliable candle pouring temperature guide taped to your workstation. For most soy waxes, you’re looking to add your essential oils for scented candles when the wax is around 185°F (85°C) to ensure they bind properly, but the actual pour into the vessel should usually happen closer to 135°F–145°F. Don’t eyeball it. Grab a digital thermometer, find your sweet spot, and stop guessing. It’s the difference between a hobby that feels like a chore and a system that actually yields results.
Small Tweaks to Prevent Big Messes
- Don’t skimp on the thermometer. If you’re eyeballing the temperature like you’re guessing how much salt to put in pasta, you’re going to end up with a surface full of craters or a scent that vanished the moment the wax cooled.
- Clean your equipment immediately. Once that wax starts to harden, it becomes a permanent part of your pot. Use a bit of isopropyl alcohol or a paper towel while it’s still warm to wipe down your workspace before it becomes a permanent installation.
- Centering your wick isn’t optional; it’s the difference between a clean burn and a glass jar that looks like it’s melting into a puddle. Use a wick centering tool or even just a clothespin to keep things steady while the wax sets.
- Avoid the “scent panic.” Adding more fragrance doesn’t always mean a stronger smell; sometimes it just means a candle that won’t burn properly. Stick to the manufacturer’s recommended fragrance load—usually around 6-10%—and trust the process.
- Give your candles a proper cure. I know, you want to light it immediately, but patience is a functional skill. Let your soy candles sit for at least a week (two is better) to let the fragrance bind to the wax. If you rush it, you’re just wasting good oil.
The Final Burn
At the end of the day, candle making isn’t about achieving some Pinterest-perfect aesthetic on your first try; it’s about understanding the mechanics. We’ve covered the heavy lifting: selecting a reliable soy wax, matching your wicks to your container size, and—most importantly—respecting those pouring temperatures so you don’t end up with a sinkhole in the middle of your hard work. It’s a process of trial and error, much like troubleshooting a glitchy piece of legacy hardware. If your first batch smells a bit faint or the wick drowns, don’t scrap the whole project. Just take a note in your journal, adjust your variables, and get back to the bench.
My goal isn’t to turn you into a professional chandler, but to give you a functional skill that brings a little bit of order and light into your space. There is something deeply satisfying about lighting a candle that you built from the ground up using nothing but intentional systems and quality ingredients. Once you strip away the fluff and the expensive marketing, you’re left with a simple, tactile ritual that works. So, stop overthinking the perfect scent profile and just start pouring. You’ll find your rhythm once the wax starts to melt.
Frequently Asked Questions
My candle has a weird, deep hole in the middle after it cooled—did I mess up the pour?
Don’t panic; you haven’t ruined the batch. That crater is just called “sinkholing,” and it usually happens because the wax contracted too quickly as it cooled. It’s a common troubleshooting issue, not a failure. To fix it, simply melt a tiny bit more wax, let it cool slightly so it’s not scalding, and carefully pour it into the hole to level things out. Once it sets, it’ll be smooth and functional.
How do I know if I've used too much fragrance oil without making the candle a fire hazard?
If your candle is sweating—meaning little beads of oil are pooling on the surface—you’ve gone overboard. That’s a red flag. Too much oil compromises the structure of the wax and turns your wick into a literal fuse, creating a fire hazard. If you notice heavy soot or a flame that’s dancing erratically, stop. Don’t try to “fix” it by adding more wax; just scrap that batch and stick to the manufacturer’s load limits.
Is it actually worth buying expensive containers, or can I just upcycle old glass jars?
Look, if you’re trying to build a scalable system, don’t overcomplicate the vessel. Upcycling old glass jars is a brilliant way to reduce waste and keep your initial overhead low. Just make sure they’re thoroughly cleaned and heat-resistant; a cracked jam jar is a mess you don’t need. Save the budget for high-quality wax and oils. Once you’ve mastered the basics, then you can consider those fancy boutique containers as a treat.
How long do I really need to let a candle cure before I can actually light it and enjoy the scent?
Look, I get the urge to light it immediately. You’ve done the work, the house smells like a dream, and you want the payoff. But if you want a decent scent throw rather than a sad, weak whiff, patience is your best tool. For soy wax, aim for at least two weeks. It’s not magic; it’s just chemistry. Let the fragrance bind to the wax properly so you aren’t troubleshooting a scentless candle later.





