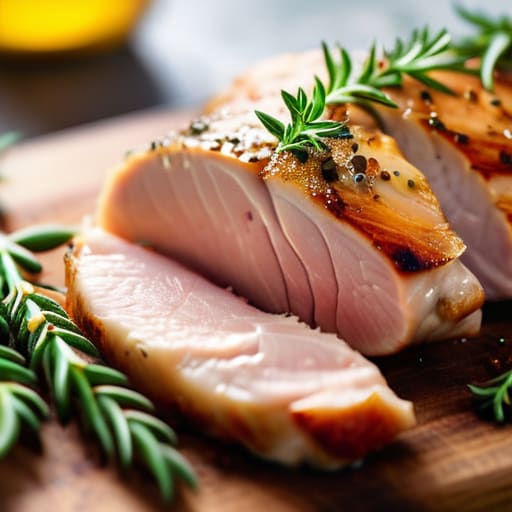
I’m tired of seeing “gourmet” recipes that require a degree in molecular gastronomy just to get a piece of poultry on the table. Most of the internet’s advice on how to cook chicken breast is either unnecessarily complicated or relies on expensive gadgets you’ll never use again once the novelty wears off. I’ve spent enough years troubleshooting broken code and finicky vintage synths to know that complexity is usually just a mask for inefficiency. You don’t need a sous-vide machine or a culinary degree; you just need a method that doesn’t result in a dry, rubbery mess that tastes like a piece of drywall.
I’m not here to sell you on a lifestyle or a fancy kitchen aesthetic. My goal is to give you a functional, repeatable system that works every single time, even when you’re exhausted and the kitchen is a disaster. I’ll show you how to master the heat, use a simple thermometer to stop the guesswork, and ensure your protein is actually juicy. Let’s cut through the noise and focus on a way to get dinner done so you can actually get back to your life.
Stop Fearing the Protein a Real Way to Cook Chicken Breast
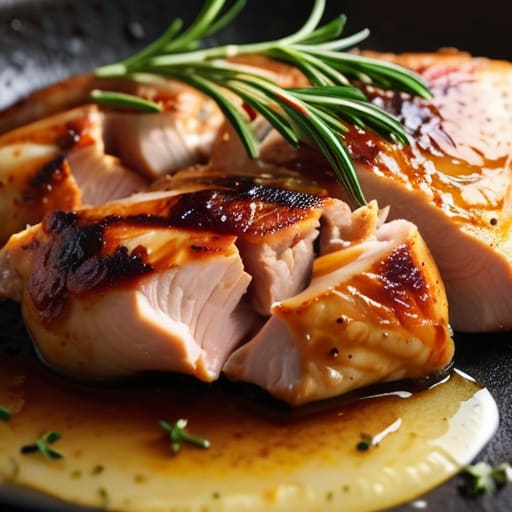
Most people treat a piece of chicken like a high-stakes bomb disposal mission. You either leave it in too long and end up chewing on something resembling a piece of drywall, or you pull it out too early and spend the rest of the meal wondering if you’ve accidentally poisoned yourself. It’s an exhausting way to approach a Tuesday night dinner. The secret isn’t a complex culinary technique; it’s simply about understanding the mechanics of heat. If you want to master pan searing chicken breast, you have to stop treating the pan like a friend and start treating it like a tool. You need a hot surface and a bit of patience to get that golden crust without turning the inside into sawdust.
The real game-changer, however, is ditching the guesswork. I don’t care how many “intuition” tips you see online; if you want to avoid the heartbreak of a rubbery meal, you need to monitor the internal temperature for chicken. Invest in a decent digital thermometer—it’s the single most important piece of hardware in your kitchen. Once you hit that 165°F mark, pull it off the heat. It’s not about being a perfectionist; it’s about preventing dry chicken so you can actually enjoy your food instead of troubleshooting a ruined dinner.
Ditch the Stress the Best Way to Thaw Chicken Safely
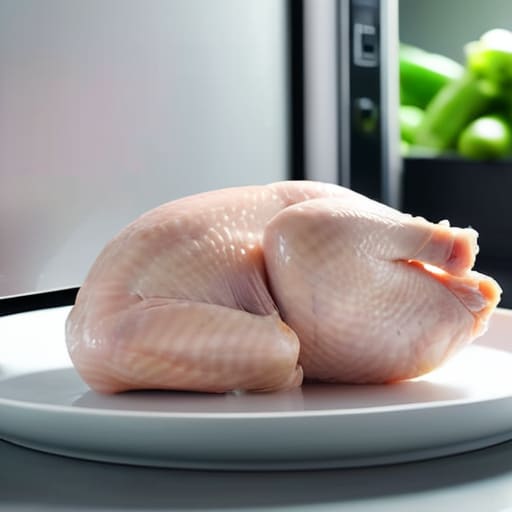
Look, we’ve all been there: it’s 6:00 PM, you’re starving, and you realize the chicken you planned to cook is still a solid block of ice in the freezer. Your first instinct might be to toss it in a pot of hot water, but please, don’t. That’s a fast track to uneven cooking and a potential case of food poisoning. If you want the best way to thaw chicken without turning your kitchen into a science experiment, the refrigerator is your only real friend. It takes time—usually overnight—but it keeps the temperature stable and the texture intact.
If you’re in a genuine time crunch, the cold water method is your fallback. Submerge the sealed package in a bowl of cold water, changing that water every thirty minutes. It’s not perfect, but it’s safe and significantly faster than waiting twelve hours. Just remember, once it’s thawed, you need to move quickly. Whether you’re planning on pan searing chicken breast for a quick weeknight dinner or prepping something more involved, starting with a properly thawed piece of meat is the foundation of preventing dry chicken later on. A frozen center will always leave you with a gummy, undercooked middle, no matter how much heat you apply.
Simple Chicken Breast Seasoning Ideas That Actually Taste Good
Look, I don’t have the patience for twenty-ingredient spice blends that take longer to prep than the actual cooking. If you’re staring at a plain piece of poultry wondering how to make it edible without a culinary degree, keep it simple. My go-to for pan searing chicken breast is a classic trio: kosher salt, cracked black pepper, and a heavy dose of smoked paprika. The paprika does the heavy lifting, giving you that golden, slightly charred crust that makes it feel like a real meal rather than a sad diet restriction.
If you’re leaning toward something more hands-off, try some oven baked chicken breast tips by using a dry rub of garlic powder, onion powder, and dried oregano. It’s foolproof and stays consistent every single time. The trick to preventing dry chicken isn’t just about the spices, though; it’s about ensuring you don’t overdo it. Even with the best seasoning in the world, if you miss that window of perfection, you’re just eating expensive cardboard. Stick to the basics, season aggressively, and let the heat do the work. Your future, less-stressed self will thank you.
Mastering Pan Searing Chicken Breast Without the Kitchen Chaos
If you’ve ever ended up with a piece of meat that has the texture of a discarded flip-flop, you’ve likely fallen into the trap of high heat and zero patience. When you’re pan searing chicken breast, the goal isn’t just to brown the outside; it’s about managing the heat so the center actually finishes at the same time the crust looks appetizing. I always start by patting the meat bone-dry with paper towels. If there’s moisture on the surface, you aren’t searing; you’re just boiling the chicken in its own juices, and that is the fastest way to a sad, grey dinner.
Once you get that skillet hot with a bit of oil, drop the meat in and leave it alone. Resist the urge to poke or prod it every thirty seconds. Let that golden-brown crust form—it’s where all the flavor lives. The real secret to preventing dry chicken, however, is knowing exactly when to pull it off the heat. Don’t rely on a timer or “vibes.” Grab a digital thermometer and aim for an internal temperature for chicken of 165°F (74°C). Even if it looks perfect, give it five minutes on a cutting board to rest. That’s the difference between a meal that’s a chore to eat and one that actually hits the spot.
Reliable Oven Baked Chicken Breast Tips for Busy Weeknights
If you’ve already tried pan searing chicken breast and realized you don’t have the patience for standing over a hot stove after a ten-hour workday, the oven is your best friend. It’s hands-off, predictable, and much less likely to end in a smoke alarm incident. My go-to method is simple: high heat and a bit of moisture. Preheat your oven to 400°F (200°C) and place your seasoned breasts in a baking dish. I usually add a splash of chicken broth or a few slices of lemon to the bottom of the pan; this creates a tiny bit of steam that is essential for preventing dry chicken while it cooks.
The real secret to success here isn’t a fancy recipe; it’s knowing when to stop. Most people overcook their meat because they are waiting for it to “look” done, which is a recipe for rubbery disappointment. Don’t guess. Use a digital meat thermometer to check the internal temperature for chicken—you’re looking for exactly 165°F (74°C). Pull them out the second they hit that mark and let them rest on a cutting board for five minutes. If you rush this part, all that juice you worked so hard to keep inside will just leak out onto the board.
The Only Internal Temperature for Chicken You Need to Know
Look, I’ve spent enough time troubleshooting broken code and finicky analog synths to know that guessing is the fastest way to a failed project. Cooking is no different. You can follow every single one of my oven baked chicken breast tips to a T, but if you aren’t checking the actual temperature, you’re just playing a high-stakes game of culinary roulette. You either end up with something so rubbery it feels like chewing a pencil eraser, or you’re playing chicken with salmonella. Neither is a good use of your evening.
The magic number you need to burn into your brain is 165°F (74°C). That is the non-negotiable internal temperature for chicken. I know, it sounds clinical, but it’s the only way to ensure you’re actually eating safe food without turning your dinner into a desert.
Here is the trick to preventing dry chicken while hitting that mark: don’t just shove the probe into the thickest part and hope for the best. Aim for the deepest part of the breast, avoiding the bone if there is one, as the bone can give you a false reading. If you’re doing some heavy pan searing chicken breast, pull it off the heat when it hits about 160°F. The carryover cooking will do the rest of the work while it rests.
No More Rubber My Secrets for Preventing Dry Chicken
We’ve all been there: you follow a recipe to the letter, only to end up chewing on something that has the texture of a discarded yoga mat. It’s frustrating, especially when you’ve put in the effort to prep a decent meal. The truth is, most people overcook their meat because they’re operating on fear rather than data. Whether you are pan searing chicken breast or roasting a batch for the week, the culprit is almost always the same—you’ve pushed it past the point of no return.
If you want to stop the cycle of eating dry, tasteless protein, you need to embrace two things: moisture and timing. First, don’t skip the brine; even a simple salt-water soak can make a massive difference in how the fibers hold onto juice. Second, and more importantly, stop relying on visual cues like “until the juices run clear.” That’s a recipe for disaster. The only way to truly master preventing dry chicken is to pull it off the heat just before it hits the target. Remember, residual heat continues to cook the meat even after it’s out of the pan. Let it rest for five minutes—it’s the most underrated step in the entire process.
Practical Cooking Tools That Make Dinner Feel Less Hard
You don’t need a kitchen full of gadgets that take up more counter space than they’re worth. In my experience, most “must-have” culinary tech is just noise. If you want to actually enjoy the process, you only need a few reliable tools that do one thing well. First on the list is a decent digital instant-read thermometer. I know, I mentioned it before, but if you aren’t using one, you’re just guessing, and guessing is how you end up with a plate of expensive leather. It is the single most effective tool for preventing dry chicken and ensuring you aren’t playing kitchen roulette every Tuesday night.
Next, ditch the flimsy, cheap pans that lose heat the second the meat touches them. If you’re serious about pan searing chicken breast, you need a heavy-bottomed skillet—cast iron is my go-to because it holds temperature like a champ. It makes the difference between a lackluster gray bird and a golden, flavorful meal. Finally, keep a simple microplane or a high-quality grinder nearby for your spices. When you’re experimenting with new chicken breast seasoning ideas, fresh zest or cracked pepper beats the pre-ground dust from a tin every single time. Keep it minimal, keep it functional, and get out of the kitchen faster.
Five Small Tweaks for Better Chicken (Without the Extra Effort)
- Don’t skip the rest. I know it’s tempting to dive in the second the pan is empty, but if you cut into that chicken immediately, all the moisture escapes. Give it five minutes on the cutting board; it’s the difference between a juicy meal and a pile of dry fibers.
- Flatten those uneven edges. Chicken breasts are notoriously lopsided, which is a recipe for some parts being raw while others are overcooked. Use a heavy skillet or a meat mallet to even out the thickness so everything hits the heat at the same time.
- Pat it dry before it hits the pan. If your chicken is sitting in a puddle of moisture, you aren’t searing it—you’re steaming it. Use a paper towel to get the surface bone-dry; it’s the only way to get that golden-brown crust that actually holds flavor.
- Salt it early. If you wait until the chicken is in the pan to season it, you’re playing catch-up. Salt it a little bit ahead of time—even ten minutes—to help the seasoning penetrate the meat rather than just sitting on the surface like dust.
- Stop relying on “look.” You can stare at a piece of meat all day, but your eyes will lie to you. Trust the thermometer we talked about earlier. It’s the only way to know for sure that you’re safe to eat without turning your dinner into a piece of leather.
Stop Troubleshooting Your Dinner
At the end of the day, cooking a decent chicken breast shouldn’t require a degree in culinary arts or a mountain of specialized gear. We’ve covered the essentials: thaw it safely so you aren’t playing kitchen roulette, season it with things you actually have in your pantry, and for heaven’s sake, use a thermometer. Once you stop guessing and start relying on a few repeatable systems—like proper pan searing or a reliable oven temp—the chaos subsides. It’s about moving away from frantic “what if it’s raw?” anxiety and toward a predictable, functional workflow that gets food on the table without leaving you exhausted.
My goal here isn’t to turn you into a gourmet chef, but to help you stop treating every Tuesday night like a high-stakes technical failure. Cooking is just another system to manage, and once you have the right inputs and a bit of discipline, the output becomes second nature. Don’t let a piece of poultry dictate the mood of your evening. Master these basics, keep your tools clean, and get back to the parts of your life that actually matter. Now, go eat something delicious and enjoy the quiet.
Frequently Asked Questions
Can I use frozen chicken breasts directly in the pan, or is that a recipe for disaster?
Look, I’m all for efficiency, but cooking frozen chicken straight from the freezer is a recipe for a texture disaster. You’ll end up with a charred, burnt exterior and a raw, icy center. It’s frustrating and, frankly, a waste of good protein. If you’re truly pressed for time, use an air fryer or a slow cooker, but for the pan? Give it a proper thaw first. Your sanity (and your dinner) will thank you.
How do I know if I've overcooked it if I don't have a meat thermometer handy?
Look, I’m a big believer in tools, but I know life happens and sometimes you’re staring at a chicken breast without a thermometer in sight. If you can’t check the temp, use your senses. Slice into the thickest part; the juices should run clear, not pink or cloudy. If the meat looks opaque and feels firm—almost bouncy rather than soft—it’s likely done. Just don’t wait until it feels like a hockey puck.
Is there a way to prep these in bulk for the week without them turning into cardboard by Wednesday?
The short answer is yes, but you have to stop treating them like standalone stars and start treating them like components. If you cook them completely through and then reheat them, you’re essentially making edible cardboard. Instead, undercook them slightly—pull them off the heat just before they hit that final target temperature. Store them in an airtight container with a bit of the cooking juices, and slice them only when you’re ready to eat.
Should I be washing my chicken in the sink before cooking, or is that just an old-school habit that's actually dangerous?
Don’t do it. I know it feels like you’re “cleaning” the meat, but you’re actually just aerosolizing bacteria. When you rinse chicken under the tap, you’re splashing microscopic droplets of salmonella all over your sink, your countertops, and probably your clean dishes. It’s a classic case of trying to fix a problem that doesn’t exist while creating a much bigger one. Trust the heat to do the work; just pat it dry with paper towels instead.