
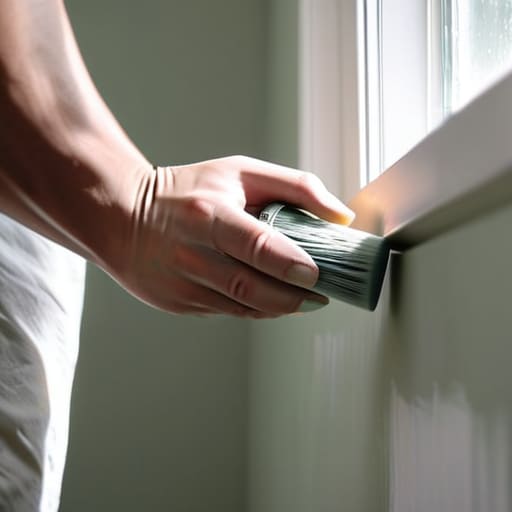
I was standing in my hallway last Saturday, staring at a drip of “eggshell white” that had just slid down the wall like a slow-motion tear, wondering why I’d ever thought I could do this myself. Most people think that learning how to paint a room is about picking a pretty color from a tiny swatch and buying the cheapest gallon at the big-box store. That’s a lie. If you skip the boring stuff—the sanding, the taping, and the actual prep—you aren’t painting; you’re just applying a temporary layer of expensive frustration that will look terrible in six months.
I’m not here to sell you on some magical “life hack” or a way to finish a project in twenty minutes. I want to give you a system that actually works so you can stop treating your home like a constant troubleshooting session. In this guide, I’m breaking down the functional reality of the process, from choosing the right tools to the exact order of operations that prevents those dreaded streaks. We’re going to focus on doing it right the first time, so you can put the rollers away and actually get back to living in your space.
Guide Overview
Tools & Supplies
- Paint roller and tray for applying large areas
- Angled sash brush for cutting in edges
- Painter's tape for protecting trim and ceilings
- Drop cloths to protect flooring
- Interior paint 1-2 gallons depending on room size
- Painter's tape 1 roll
- Sandpaper fine grit for surface preparation
- Spackle small container for filling nail holes
Step-by-Step Instructions
- 1. Clear the deck. You can’t paint around a cluttered room without losing your mind, so move the furniture to the center and cover it with old sheets or plastic. Don’t just shove things into the corner; clear enough floor space so you aren’t tripping over a coffee table while you’re trying to reach a baseboard.
- 2. Prep the surfaces like your life depends on it. This is where most people fail. Wipe down the walls with a damp cloth to get rid of dust and cobwebs, and if there are any holes or cracks, fill them with spackle. Once it’s dry, sand it smooth. If you skip this, you’ll spend the whole afternoon staring at lumpy imperfections that catch the light in the worst way.
- 3. Protect your perimeter. Pull off the outlet covers and switch plates—don’t just tape over them, that’s messy. Apply painter’s tape along the baseboards, the ceiling line, and any trim you don’t want colored. Press the edge of the tape down firmly with your finger; if there’s even a tiny gap, the paint will bleed under, and you’ll be spending your evening with a scraper.
- 4. Cut in the edges. Grab a high-quality 2.5-inch angled brush and start with the corners, the ceiling line, and around the trim. This is the tedious part, but it’s the foundation of a professional look. Work in small sections so the “cut-in” paint stays wet when you start rolling, which helps prevent those annoying visible lines where the brush meets the roller.
- 5. Roll with intention. Fill your tray, load up the roller, and use a “W” or “M” pattern to distribute the paint across the wall. This ensures even coverage without you having to go over the same spot twenty times. Don’t press too hard; let the tool do the work. You want a consistent, even coat that looks smooth, not a thick, gloppy mess.
- 6. The second coat is non-negotiable. I know it’s tempting to finish early, but one coat almost always looks patchy once it dries. Wait the full recommended time on the can—usually a few hours—before going back in for round two. It’s better to do it right the first time than to realize you missed a spot three days later when you’re already exhausted.
- 7. The slow reveal. Once the paint is dry to the touch (but not necessarily fully cured), carefully peel off your painter’s tape. Do this at a slight angle to avoid pulling chunks of fresh paint off the wall. Once the tape is gone, put your outlet covers back on, move your furniture back, and finally—actually enjoy the room you just created.
Stop Guessing the No Nonsense Truth About How to Paint a Room
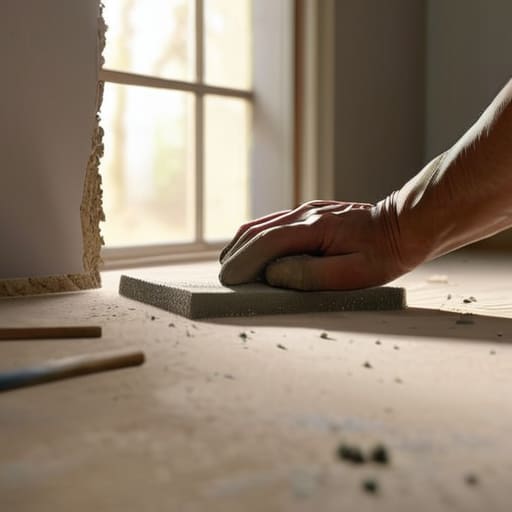
Look, I’ve seen too many people dive headfirst into a gallon of semi-gloss only to realize halfway through that they’re staring at a streaky, uneven mess. The secret isn’t some magic wand; it’s realizing that the actual application is the easy part. Most of your frustration comes from skimping on the foundation. If you want to avoid that “DIY disaster” look, you need to master how to prep walls for painting before you even crack a lid. This means sanding down the bumps and wiping away the dust. If you don’t, you aren’t painting a wall; you’re just painting a layer of debris, and it will peel.
Another trap is the “just one more trip to the hardware store” cycle. There is nothing more soul-crushing than running out of supplies when you’re mid-stroke on a ceiling. Do yourself a favor and consolidate your essential painting supplies list before you start. This includes the boring stuff: drop cloths that actually stay put, a decent tray, and—most importantly—the right tools for the job. Don’t buy the cheapest brushes in the bargain bin; they shed bristles like a golden retriever in springtime. Investing in a few quality pieces means you spend less time troubleshooting your tools and more time actually seeing the progress.
The Essential Painting Supplies List You Actually Need
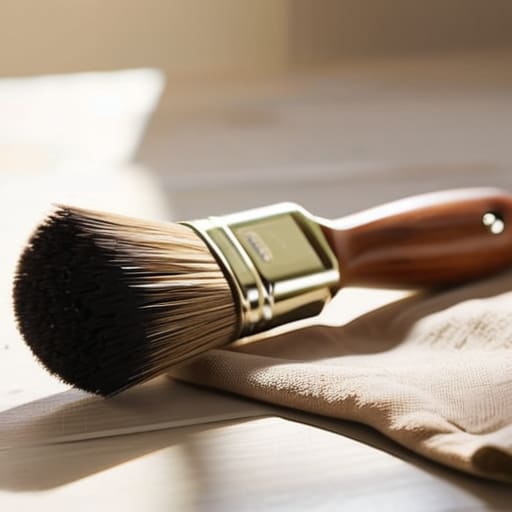
Look, you can buy every gadget in the aisle, but most of it is just clutter. I’ve spent enough time troubleshooting botched DIY projects to know that a “complete” kit usually means a pile of junk you’ll throw away by Tuesday. Start with the basics: a high-quality angled brush and a medium nap roller. If you want to avoid those annoying streaks that make you want to scream, invest in the best paint brushes for smooth finish rather than grabbing the cheapest pack at the discount store. It’s a small upfront cost that saves you hours of sanding and repainting later.
Don’t forget the stuff that actually makes the job manageable. You need a sturdy drop cloth—canvas is better than plastic if you actually want to avoid slipping—and some decent painter’s tape. Learning how to use painter’s tape properly, specifically by pressing the edges down firmly with a putty knife, is the difference between a crisp line and a bleeding mess. Lastly, do the math before you head to the store. Spend five minutes calculating paint coverage for rooms based on your square footage so you aren’t stuck mid-project with a half-finished wall and an empty can. It’s about efficiency, not luck.
Mastering How to Prep Walls for Painting Without the Stress
Look, I know the temptation to grab a roller and just start slapping color onto the drywall, but if you skip the prep, you’re essentially building a house on sand. You can buy the most expensive cans of premium pigment, but if your walls are covered in dust or greasy fingerprints, that finish is going to look patchy and amateur within a month. When learning how to prep walls for painting, the most underrated step is a thorough cleaning. Grab a bucket of warm water and a dash of mild detergent; wipe down those surfaces until they’re actually clean. It’s tedious, I get it, but it’s the difference between a professional-looking room and one that looks like a high school art project.
Once the walls are clean and dry, it’s time to deal with the edges. Most people struggle with messy lines because they treat tape like an afterthought, but how to use painter’s tape effectively requires a bit of discipline. Don’t just slap it on and hope for the best. Press the edges down firmly with a putty knife or even your fingernail to ensure a tight seal. If you leave even a microscopic gap, the paint will bleed underneath, and you’ll spend your entire weekend scraping tape off trim instead of actually enjoying your new space. Do the boring work now so you don’t have to fix it later.
Real Tools and Techniques for a Finish That Lasts
Once you’ve finished the heavy lifting of cleaning and patching, the actual application is where most people start to rush—and that’s exactly where they mess up. If you want to avoid those dreaded streaks, you need to stop treating your brush like a mop. I always tell my clients that the secret isn’t in the muscle; it’s in the equipment. Investing in the best paint brushes for smooth finish is non-negotiable. Cheap, synthetic bristles will splay out halfway through your first wall, leaving you with a texture that looks more like orange peel than a professional job. Hold the brush lightly, use long, consistent strokes, and for heaven’s sake, don’t overwork the paint once it starts to set.
Another area where people lose the battle is the edges. I know, nobody enjoys the precision work, but if you want a clean line, you have to master how to use painter’s tape correctly. Don’t just slap it on and hope for the best. Press the edge down firmly with a putty knife or even your fingernail to ensure there’s no gap for the paint to bleed under. If you’re feeling particularly ambitious, try “cutting in” with a small angled brush before you hit the big rollers. It’s tedious, but it’s the difference between a room that looks “DIY” and one that looks actually finished.
Five Things I Wish I Knew Before I Picked Up a Brush
- Don’t be tempted by the “cheap” paint at the big-box store. It’s a classic trap. You’ll end up needing four coats to cover a single wall, which means more time, more money, and a lot more frustration. Buy the decent stuff; it covers better and saves you a headache later.
- Test your colors on a real wall, not just a tiny swatch stuck to a piece of paper. Light changes everything—what looks like a sophisticated greige in the showroom might look like a depressing slab of wet concrete in your living room at 4 PM.
- Stop trying to multitask. If you’re mid-roll and the phone rings, finish the edge or the section you’re working on before you stop. Breaking your rhythm is the fastest way to end up with those ugly “lap marks” where the paint dried unevenly.
- Invest in a decent angled brush for the edges. Using a cheap, scratchy brush for your cutting-in is like trying to perform surgery with a butter knife. You need precision, not a struggle.
- Clean your tools immediately. I know, it feels like the job is done and you just want to sit down with a glass of wine, but if you leave that brush to dry overnight, you’re basically turning it into a very expensive, very useless stick.
The Finish Line
At the end of the day, painting a room isn’t about achieving some impossible, showroom-perfect level of perfection; it’s about the execution of a solid system. If you took the time to clean those walls, invested in a decent brush instead of the cheapest option on the shelf, and didn’t rush the drying process, you’ve already done the heavy lifting. Remember, the difference between a professional-looking job and a disaster usually comes down to the prep work and the patience you show during the middle stages. Don’t let a stray drip or a slightly uneven edge derail you. Just clean up your tools, let the paint cure, and trust that you’ve built a foundation that will actually last.
Once the tape is peeled back and the smell of fresh pigment begins to fade, take a second to actually sit in the space. We spend so much time troubleshooting our environments that we often forget why we bother changing them in the first place. You didn’t just apply a new color to some drywall; you reclaimed a corner of your home and made it functional for your life. Now that the work is done, stop staring at the walls and start enjoying the room. You’ve earned the right to stop working and start living in the space you just created.
Frequently Asked Questions
How do I figure out how much paint I actually need so I'm not stuck with five extra gallons or, worse, running out halfway through the second coat?
There is nothing more frustrating than being mid-stroke on a second coat only to realize you’re scraping the bottom of the can. Don’t just eyeball it. Grab a measuring tape and calculate your total wall surface area—subtract the windows and doors so you aren’t buying air. Most quality paints cover about 350 to 400 square feet per gallon. Do the math for two coats, add a 10% buffer for spills or touch-ups, and you’re set.
Should I really be spending the extra money on high-end paint, or is the cheap stuff from the big-box store good enough?
Look, I get it—the price gap is frustrating. But here’s the pragmatic truth: buy the better paint. Cheap stuff is mostly filler; it’s thin, requires three or four coats to even look decent, and you’ll end up spending more on extra cans and your own sanity. High-end paint has more pigment and better coverage. It goes on smoother, covers better, and actually lasts. Buy it once, do it right, and move on with your life.
How do I deal with stubborn stains or weird discolorations on the wall that seem to bleed through even after a coat of primer?
If your primer isn’t stopping the bleed, stop adding more layers of the same stuff. You’re just wasting time and money. Those stubborn stains—usually water damage, nicotine, or ink—need a specialized stain-blocking primer, like Zinsser B-I-N. It’s shellac-based, which is a bit of a pain to clean up, but it creates a literal barrier that standard water-based primers can’t touch. Seal it, let it dry completely, and then you can actually get to the painting.
What’s the best way to clean up my brushes and rollers so I can actually reuse them next time instead of tossing them in the bin?
Don’t just rinse them and hope for the best; that’s how you end up with stiff, useless bristles next time. For water-based paint, use lukewarm water and a bit of mild soap, working the bristles from the ferrule down until the water runs clear. For oil-based, you’ll need mineral spirits. Pro tip: wrap your wet brushes in plastic wrap or a grocery bag and shove them in the fridge overnight if you’re pausing mid-project. It saves a massive amount of cleaning time.





