
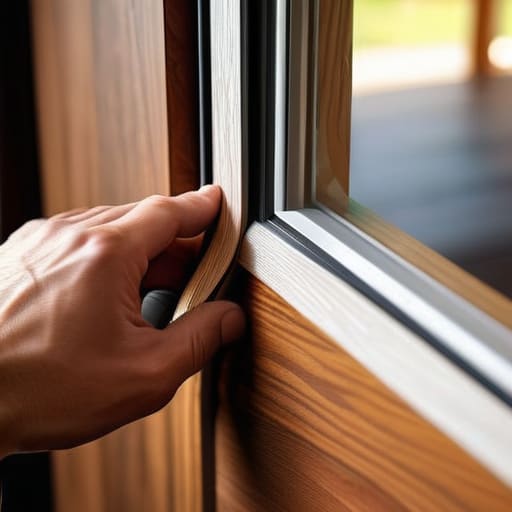
I was sitting in my home office last Tuesday, trying to focus on a client’s operational workflow, when I felt it—that unmistakable, sharp needle of cold air slicing right through the gap in my office door. It’s one of those tiny, persistent irritants that turns a productive afternoon into a constant troubleshooting session with your own environment. Most people think they need to replace the entire door frame or call in a contractor to fix a draft, but that’s just expensive noise. The truth is, weatherstripping a door is a ten-minute fix that yields immediate, tangible results if you stop overthinking it and just use the right materials.
I’m not here to sell you on some complicated, multi-step renovation project or a gadget that promises to revolutionize your home life. Instead, I’m going to walk you through the exact, functional way to tackle this so you can stop shivering and get back to your actual life. We’ll cover how to identify where the air is actually leaking, which materials won’t peel off after a week, and the no-nonsense method for getting a tight seal without losing your mind. Let’s get it done.
Guide Overview
Tools & Supplies
- Measuring tape for door dimensions
- Utility knife for trimming excess material
- Scissors for cutting adhesive backing
- Weatherstripping roll (adhesive or tension type)
- Microfiber cloth and rubbing alcohol for cleaning surface
Step-by-Step Instructions
- 1. First, we need to do a quick audit. Grab a flashlight and a piece of paper, and run your hand along the edges of the door. If you feel a draft, that’s your target. I like to hold a piece of paper up to the door and try to close it; if the paper slides out with zero resistance, you’ve found a leak that needs plugging.
- 2. Clean the surface thoroughly. This is the part everyone skips, and it’s exactly why their DIY projects fail three weeks later. Use a damp cloth with a bit of rubbing alcohol to wipe down the door frame where the new stripping will sit. If there’s any lingering dust or grease, the adhesive is going to fail, and you’ll be right back where you started.
- 3. Measure twice, cut once—the old cliché exists for a reason. Measure the height and width of your door frame, but don’t forget to account for the corners. I usually add an extra half-inch to my measurements just to be safe. Using a sharp utility knife or a pair of heavy-duty scissors is essential; you want a clean, straight edge to prevent gaps.
- 4. If you’re using the adhesive-backed foam or rubber strips, start at the top of the door. Peel back just enough of the backing to expose the glue, then press the strip firmly into place. Don’t just slap it on; use your thumb to apply consistent pressure along the entire length to ensure it actually bonds to the wood or metal.
- 5. Tackle the door sweep next. This is the strip at the very bottom that handles the brunt of the floor-level drafts. If your current one is cracked or worn down, unscrew it and swap it for a new one. Make sure it sits flush against the threshold; if it’s too high, the door won’t close, and if it’s too low, it’s just expensive decoration.
- 6. Do a final test run. Close the door slowly and listen. You’re looking for a soft “thud” or a slight resistance that indicates a good seal, not a violent collision. If you still see light peeking through the cracks, you might need to add another layer or adjust your placement.
- 7. Put your tools away. Once you’ve confirmed the seal is tight, clean up the debris and get your notebook back in your bag. The goal wasn’t to spend your entire Saturday playing handyman; it was to fix the problem so you can go back to whatever you actually enjoy doing.
Stop Chasing Drafts and Start Weatherstripping a Door Right
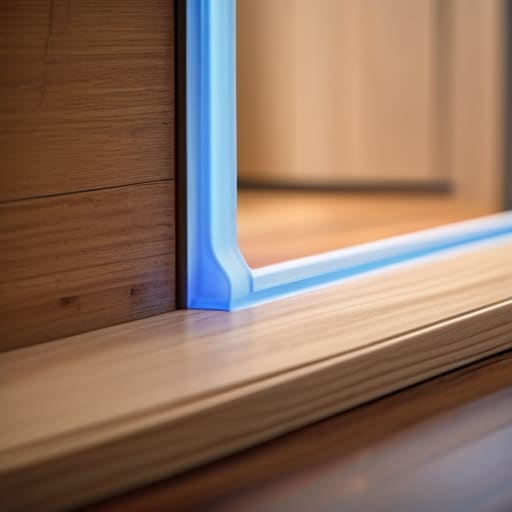
Look, before you go running to the hardware store, realize that not all solutions are created equal. If you just grab the first roll of foam you see, you’re probably going to be back here in three months when it’s compressed into a useless pancake. You need to understand the different types of door weatherstripping before you commit. For the sides and top, I usually lean toward silicone bulb seals; they’re durable and don’t lose their shape like the cheap foam stuff. If you’re dealing with that annoying gap at the floor, don’t just slap some tape down. A proper door bottom seal installation is what actually makes the difference between a house that feels cozy and one that feels like a wind tunnel.
The real secret to energy efficient home sealing isn’t just about blocking the air you can feel; it’s about addressing the gaps you can’t. I always tell my clients to do the “light test”—shut the door in a dark room and see where the light leaks through. If you see light, you’ve got a problem. Don’t get distracted by flashy, expensive kits, either. Focus on the integrity of the seal where the door meets the jamb. If the frame is wonky, no amount of expensive rubber is going to save your heating bill. Keep it simple, keep it tight, and stop letting your money leak out the front door.
Choosing the Right Tools a Weatherstripping Material Comparison
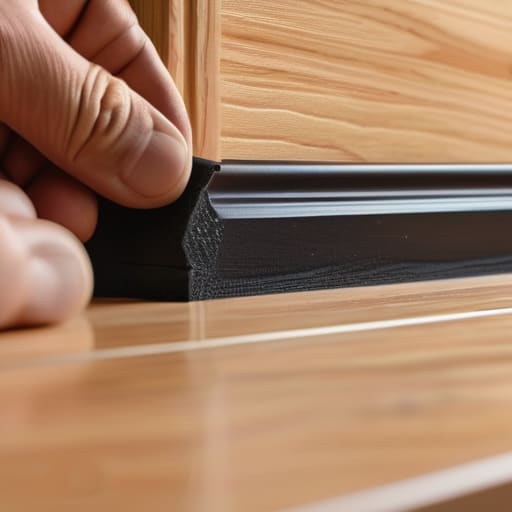
Before you head to the hardware store, let’s get one thing straight: not all solutions are created equal, and buying the wrong stuff is just a waste of a Saturday. When you’re looking at the different types of door weatherstripping, don’t just grab the cheapest roll of foam you see. Foam is fine for a quick fix, but it tends to degrade and lose its shape faster than a cheap laptop battery. If you want something that actually lasts, look into silicone or EPDM rubber. They’re more resilient, handle temperature swings better, and won’t leave that annoying, sticky residue on your door frame after six months.
If your main issue is that annoying gap at the base of the entrance, you’re likely looking at door bottom seal installation. You’ve got the choice between a sweep—which just clips onto the bottom—or a more robust U-shaped strip that slides over the edge. I usually prefer the latter for energy efficient home sealing because it creates a more continuous barrier. Just make sure you measure twice; there is nothing more frustrating than trimming a seal only to realize it’s two millimeters too short to actually do its job.
Mastering Door Jamb Sealing Techniques for Real Results
Once you’ve picked your materials, the actual application is where most people trip up. It’s easy to think you’re done just because the adhesive is stuck, but if your door jamb isn’t prepped, you’re basically just taping paper to a dusty wall. I always tell my clients: cleanliness is non-negotiable. Take a microfiber cloth and some rubbing alcohol to wipe down those jambs first. If there’s any lingering grit or old, flaky sealant, your new weatherstripping will peel off within a week, and you’ll be right back to troubleshooting your heating bill.
When you’re diving into specific door jamb sealing techniques, pay close attention to the corners. That’s where the air loves to sneak in. Don’t just butt the strips together; try to overlap them slightly or use a specialized corner wedge if your kit came with one. It’s about creating a continuous, unbroken barrier. Also, don’t forget the floor. Even if you’ve perfected the sides, a faulty door bottom seal installation will render all your hard work useless. Think of it as a complete system—if one component fails, the whole thing leaks. Get it tight, get it even, and then stop fussing and go enjoy your warm living room.
Simple Door Bottom Seal Installation for an Energy Efficient Home Sealing
Now, let’s talk about the gap at the very bottom of the door. You can spend all afternoon perfecting your door jamb sealing techniques, but if you’ve got a canyon between the door and the floor, you’re essentially just heating the sidewalk. This is where most people fail, and it’s also where you’ll see the biggest payoff for your effort. When it comes to door bottom seal installation, don’t overcomplicate it. Whether you’re opting for a screw-on sweep or a slide-on strip, the goal is a snug fit that doesn’t make the door a nightmare to swing open.
I’ve learned the hard way that if you go too tight, you’ll be fighting the door every single time you want to leave the house. If you go too loose, you might as well not have bothered. I always recommend a quick test with a piece of paper; if you can pull the paper through the gap without resistance once the door is shut, your seal isn’t doing its job. It’s a small, tactile check that ensures you’re actually achieving energy efficient home sealing rather than just performing a superficial DIY project. Get it right the first time, and you can stop worrying about the temperature fluctuations and get back to your actual life.
Jo’s Pro-Tips for a Seal That Actually Lasts
- Clean the surface twice. If you slap new adhesive onto a layer of old dust and grime, it’s going to peel off within a week, and you’ll be right back where you started. Use a bit of rubbing alcohol to get it truly clean before you commit.
- Don’t overstuff the gaps. It’s tempting to pile on thick foam to stop a massive draft, but if the door is too hard to latch, you’ve just created a new problem. You want a snug fit, not a wrestling match every time you want to go outside.
- Check your alignment before you glue anything. Before you peel those adhesive strips, hold the material up and close the door to see where the pressure points are. It’s much easier to adjust a dry strip than a sticky one.
- Inspect the threshold, not just the jamb. People obsess over the sides of the door and completely forget the bottom. If your threshold is uneven, no amount of side-sealing is going to stop that cold air from crawling underneath.
- Do a “light test” once you’re finished. Turn off the lights in your hallway during the day and look for slivers of light around the door frame. If you see light, you have a leak. Fix it now so you don’t have to troubleshoot it in the middle of a January blizzard.
The Finish Line
At the end of the day, weatherstripping isn’t some high-concept engineering project; it’s just about closing the gaps that are stealing your comfort and your money. We’ve covered the essentials—from picking the right material for your specific door type to ensuring those jamb seals and bottom sweeps are actually seated properly. If you’ve followed these steps, you haven’t just patched a leak; you’ve performed a much-needed bit of maintenance that stops your HVAC system from working overtime just to fight a drafty entryway. It’s about moving from a state of constant troubleshooting to a state of functional efficiency.
I know that DIY projects can sometimes feel like just another item on an endless to-do list, but there is a specific kind of satisfaction in fixing something once and doing it right. Once that door shuts with a solid, quiet thud instead of a whistling draft, you’ll realize the mental load of that “annoying little noise” has finally lifted. Don’t let a small gap in your home dictate your comfort or your monthly budget. Get the seals installed, close the door, and get back to living your life without the background noise of a drafty house.
Frequently Asked Questions
How often am I actually supposed to replace this stuff before it fails?
Look, there’s no magic calendar date, but don’t wait for the seal to literally crumble into dust. If you notice your heating bill spiking or you can actually feel a breeze while standing in the hallway, that’s your signal. Generally, I check mine every couple of years. If the foam feels compressed or the rubber is cracking, it’s dead weight. Replace it then. Don’t troubleshoot a draft for months when a five-dollar strip fixes it.
Is there a way to tell if the draft is coming from the door itself or just a poorly fitted frame?
Here’s the trick: grab a stick of incense or a candle and slowly pass it around the perimeter of the door while it’s closed. If the flame flickers wildly at the edges, you’ve got a frame or seal issue. But if the smoke stays steady and the draft only hits when you actually move the door, the door itself might be warped. It’s basic troubleshooting—find the leak before you start buying parts.
Will adding thick weatherstripping make my door too hard to latch or lock properly?
It’s a valid concern. If you overcompensate with heavy-duty foam, you’ll end up fighting your own door just to get it to latch—and nobody has time for that. The goal is a snug seal, not a structural struggle. I always suggest starting with the thinnest material that actually stops the draft. If you have to shoulder the door to lock it, you’ve gone too far. Trim it back or switch to a lower profile.
Can I use these same materials on my windows, or am I looking at a different set of tools?
Short answer: Yes, but don’t just grab the first roll of foam you find. Most of the logic carries over, but windows are a different beast because they move more often. While your heavy-duty door seals might be overkill, the adhesive V-seal or thin silicone strips are perfect for window tracks. Just make sure you aren’t using something so thick it makes the window impossible to latch. Check the clearance first; I hate a “fix” that breaks functionality.





