
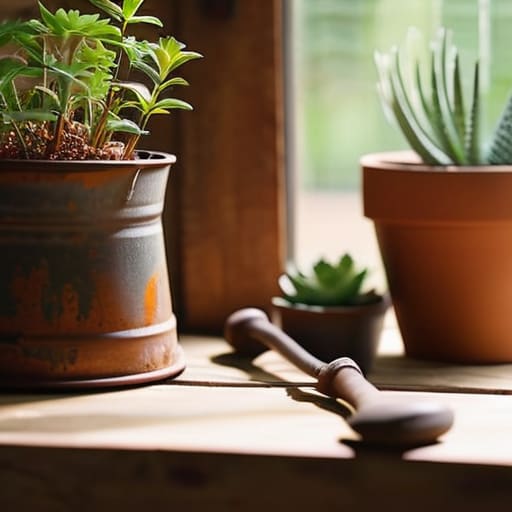
I was standing in my kitchen last Tuesday, staring at a pile of expensive, ceramic pots I’d bought on a whim, only to realize they were all the wrong size for my windowsill and twice as heavy as they needed to be. It’s a classic mistake: we think “decorating” means buying more stuff, when really, it just means adding more clutter to manage. Most people approach diy planters as if they’re auditioning for a home renovation show, obsessing over perfect aesthetics and high-end finishes that end up looking tacky within a month. The truth is, a planter’s only real job is to keep a plant alive and stay out of your way.
In this guide, I’m stripping away the fluff and the “Pinterest-perfect” nonsense to show you how to build diy planters that actually serve a purpose. We aren’t going to spend hours on complicated crafts that leave you with a mess and no greenery. Instead, I’ll walk you through selecting durable, functional containers and the essential drainage hacks you need to ensure your plants don’t rot. Let’s focus on systems that work, so you can stop troubleshooting your decor and start actually enjoying your space.
Guide Overview
Tools & Supplies
- Drill and drill bits for creating drainage holes
- Measuring tape for precise sizing
- Sandpaper for smoothing rough edges
- Upcycled containers (tin cans, plastic bottles, or wooden crates) 3-5 units
- Potting soil 1 large bag
- Drill bit 1/4 inch
- Decorative paint or twine for embellishment
Step-by-Step Instructions
- 1. First, clear some actual space on your workspace. You don’t need a dedicated workshop, but you do need a flat surface that isn’t covered in half-finished projects or mail. Gather your containers—think old tin cans, wooden crates, or even those ceramic mugs with the chipped handles that you’ve been meaning to toss. The goal here is resourcefulness, not perfection, so don’t go out and buy expensive supplies just to make something “DIY.
- 2. Clean your chosen vessels thoroughly. If you’re repurposing food tins or glass jars, scrub them with warm soapy water to remove any residue. I’ve learned the hard way that a lingering scent of tomato sauce is not the vibe you want when you’re trying to enjoy a relaxing evening with your plants. Make sure they are completely dry before you move on to the next step.
- 3. Address the drainage issue immediately. This is where most people fail and end up with root rot. If you’re using something like a plastic container or a tin can, you’ll need to grab a drill or a hammer and a large nail to punch several holes in the bottom. If you’re using a ceramic pot that doesn’t have holes, you might want to consider using it as a “cachepot”—essentially a decorative outer shell—and keeping your plant in a smaller, functional plastic nursery pot inside it.
- 4. Prep your growing medium. Don’t just grab dirt from the backyard; it’s usually too dense and likely full of unwanted pests. Invest in a decent, high-quality potting mix that is light and airy. If you’re working with succulents, grab a cactus mix to ensure the water moves through quickly. Having the right soil is the difference between a thriving plant and a slow-motion disaster.
- 5. Layer your base if necessary. If you’re using a particularly deep container, you don’t need to fill the entire thing with expensive soil. You can use a layer of small stones or even broken terracotta pieces at the bottom to improve drainage and save on materials. Just don’t go overboard with the rocks; you still need plenty of room for the actual root system to do its job.
- 6. Plant with intention. Gently loosen the roots of your plant before placing it in the new home. Fill the container with soil around the edges, pressing down just enough to remove large air pockets, but don’t pack it so tight that the roots can’t breathe. Leave about an inch of space between the soil line and the rim of the container so that when you water it, you aren’t creating a miniature swamp on your windowsill.
- 7. Set them up and walk away. Place your new planters in a spot that meets the specific light requirements of your plants. Once they are settled, give them a good initial watering to help the soil settle. Now, the hardest part: stop hovering. Plants need consistency, not constant troubleshooting, so let them do their thing while you get back to your actual life.
Ditch the Complexity Why Diy Planters Just Need to Work
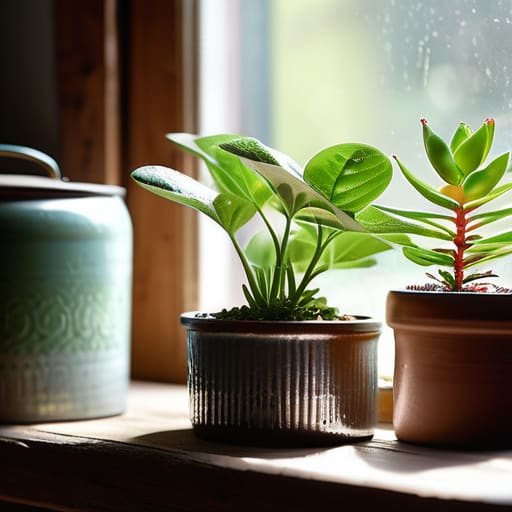
Look, I’ve seen enough “aesthetic” Pinterest boards to know that most people fail at gardening because they try to build a masterpiece before they’ve even mastered a watering schedule. You don’t need a cedar-lined architectural marvel to grow some basil. In fact, the more complex the vessel, the more ways there are for it to fail you. I’m a big believer in upcycled container gardening because it removes the barrier to entry. If you have a sturdy tin can or an old ceramic mug, you have a home for a plant. The goal isn’t to win a design award; it’s to create a stable environment where something actually grows.
If you’re feeling a bit more ambitious, don’t go out and buy expensive kits. Instead, look toward repurposed plastic bottle planters for your smaller seedlings or windowsill herbs. They are lightweight, easy to drill drainage holes into, and—most importantly—they don’t require a specialized toolkit. My rule of thumb is simple: if the setup takes more than twenty minutes, you’re overthinking it. Focus on drainage and accessibility above all else. Once you have a system that works without constant maintenance, you can actually sit back and enjoy the greenery instead of constantly troubleshooting a dying fern.
Upcycled Container Gardening for Real Life and Zero Stress
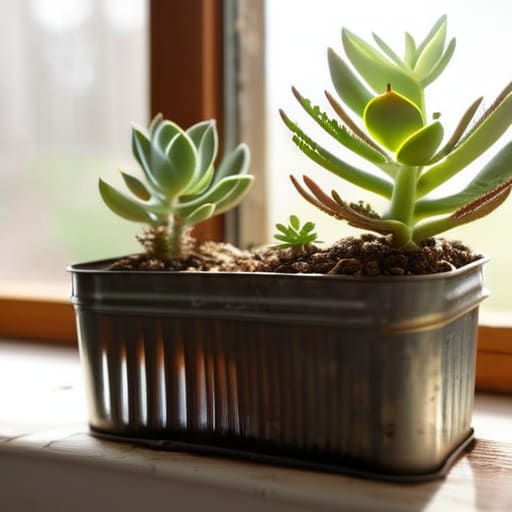
Look, I don’t care if your containers match your backsplash or if they look like they belong in a lifestyle magazine. If you’re looking to save money and reduce waste, upcycled container gardening is the most logical path forward. I’ve spent more time than I’d like to admit digging through my recycling bin for something useful. Those sturdy, large-format yogurt tubs or even old tin cans (just watch the edges) make perfectly functional vessels for small succulents or starting seeds. If you’re working with limited real estate, don’t overlook repurposed plastic bottle planters; they are lightweight, easy to drill drainage holes into, and can be hung near a window to catch the light without taking up precious counter space.
The goal here is to lower the barrier to entry. If you try to start with a complex, expensive setup, you’ll likely abandon it the moment life gets busy. Instead, keep it modular. If you have some scrap timber lying around from a previous project, a few rustic wooden planter builds can add some character to a porch without costing a cent. Whether you’re aiming for a full-scale outdoor setup or a simple indoor herb garden diy, the rule remains the same: if it holds soil and drains water, it’s a win. Keep it simple, keep it functional, and stop overthinking the aesthetics.
Budget Friendly Garden Decor That Survives the Daily Chaos
Let’s be honest: most garden decor is designed to look pretty in a catalog, not to survive a toddler’s tantrum or a heavy rainstorm. If you’re spending a fortune on delicate ceramic pieces only to watch them crack or get knocked over by the dog, you’re not decorating; you’re just managing more clutter. I prefer a more tactical approach. Instead of buying fragile ornaments, lean into budget friendly garden decor that actually has some grit. Think heavy stones, weathered terracotta, or even those rustic wooden planter builds we discussed earlier. These items don’t just sit there looking expensive; they feel grounded and can handle the actual chaos of a lived-in home.
If you want to add visual interest without the high price tag or the high maintenance, look toward your recycling bin. You can create surprisingly sleek repurposed plastic bottle planters by cutting and painting them in matte, neutral tones. It takes ten minutes, costs zero dollars, and if one gets lost or broken, you haven’t lost a piece of your soul. The goal here isn’t to create a museum-grade botanical display; it’s to build an environment that feels intentional but doesn’t require a constant troubleshooting session every time the wind picks up.
From Repurposed Plastic Bottle Planters to Rustic Wooden Builds
If you’re looking to start small, don’t feel like you need a trip to the hardware store immediately. I’ve always been a fan of repurposed plastic bottle planters for quick, low-stakes experiments. If you have a few soda or water bottles lying around, cut them in half, poke some drainage holes in the bottom (don’t skip this, or your roots will rot), and you have an instant indoor herb garden DIY project. They’re perfect for a windowsill where you can keep an eye on them without committing to a massive garden overhaul.
On the other end of the spectrum, if you have a bit more sawdust on your hands, you might lean toward rustic wooden planter builds. I usually find that using scrap cedar or even old shipping pallets yields the best results because the material handles moisture better than cheap pine. There’s something incredibly satisfying about the weight and texture of wood; it feels permanent, unlike a plastic bottle. Whether you’re going for something sleek or leaning into a more weathered look, the goal is the same: build something sturdy that doesn’t require constant repairs every time it rains. Just keep the construction simple so you can spend more time growing and less time fixing.
The "No-Nonsense" Checklist for Planters That Don't Fail
- Prioritize drainage above all else. I’ve seen too many beautiful upcycled containers turn into mosquito-breeding swamps because someone forgot to drill a hole in the bottom. If it doesn’t drain, your plants won’t survive, no matter how much you love the aesthetic.
- Match the container size to the root system, not your mood. It’s tempting to put a sprawling herb in a tiny, cute teacup, but you’re just setting yourself up for a maintenance headache. Think about how much space that plant actually needs to breathe.
- Check your material compatibility. If you’re using a metal tin or a wooden crate, remember that they react to moisture. Metal can get hot enough to cook roots in direct sun, and untreated wood will rot faster than a forgotten takeout container. Plan accordingly.
- Don’t overthink the “look.” A planter’s job is to hold soil and keep a plant alive. If it looks a little rugged or mismatched, let it be. A functional, slightly scuffed terracotta pot is infinitely better than a “perfect” one that requires constant cleaning.
- Consider the weight before you hang anything. If you’re DIY-ing a hanging planter from an old basket or a heavy ceramic piece, make sure your mounting hardware can actually handle the load once the soil is wet. Wet soil is significantly heavier than dry soil—don’t learn this the hard way.
The Bottom Line on Getting Growing
At the end of the day, whether you’re repurposing a collection of old tin cans or building something sturdier out of reclaimed wood, the goal remains the same: don’t let the project become another item on your mounting to-do list. We’ve covered everything from zero-cost upcycling to more permanent builds, but the takeaway is that functionality beats aesthetics every single time. You don’t need a Pinterest-perfect garden to enjoy the mental clarity that comes with tending to something living. Just pick a container that drains well, find a spot that gets the right light, and stop overthinking the design. If it holds soil and keeps the plant alive, you’ve already won.
I know how it goes—you start a project with high intentions, only to have it sit half-finished in the garage because it felt too complicated. Don’t let that happen here. Gardening shouldn’t feel like another system you have to troubleshoot or maintain with obsessive precision. It’s meant to be a way to step away from the screens and the chaos for a few minutes of quiet. So, grab that old bucket or those plastic bottles, get some dirt under your fingernails, and just start planting. The goal isn’t a flawless garden; it’s a little more green and a lot less stress in your daily routine.
Frequently Asked Questions
How do I stop my upcycled containers from leaking all over my floor or patio?
Look, there is nothing more frustrating than a “creative” project turning into a muddy mess on your hardwood. If your upcycled containers are leaking, don’t overthink it. Grab a drill and clear some drainage holes—don’t just poke them with a knife; you need actual airflow. Then, add a layer of coarse gravel or even some broken terracotta shards at the bottom. It keeps the roots from sitting in a swamp and keeps the mess contained.
Which types of plants actually thrive in smaller, repurposed containers versus traditional pots?
Don’t go trying to cram a massive tomato plant into a repurposed yogurt tub; you’ll just end up with a soggy, frustrated mess. For smaller, upcycled containers, stick to things with shallow or modest root systems. I usually lean toward succulents, herbs like thyme or mint, and leafy greens like arugula. They’re resilient, don’t need a massive footprint to thrive, and—most importantly—they won’t turn your windowsill into a high-maintenance disaster zone.
How often do I really need to worry about drainage when using non-standard containers like tins or plastic bottles?
Look, if you’re using something that wasn’t designed for plants—like a tin can or a soda bottle—drainage isn’t a “maybe,” it’s a requirement. If you skip it, you aren’t gardening; you’re just managing a swamp. Water sits at the bottom, roots rot, and your plant dies. It’s a simple system failure. Drill a few holes or use a heated nail to puncture the base. It takes thirty seconds, but it saves you weeks of troubleshooting dead leaves.
What’s the best way to clean and prep old containers so I'm not accidentally introducing pests or mold to my new plants?
Don’t skip this part; you don’t want to spend your weekend fighting a mold outbreak. First, scrub everything with warm, soapy water to get the grit out. If you’re reusing old food containers or wooden crates, a quick soak in a diluted bleach solution (one part bleach to nine parts water) is non-negotiable to kill lingering spores. Rinse them thoroughly and let them dry completely in the sun. Sunlight is nature’s best disinfectant.





