
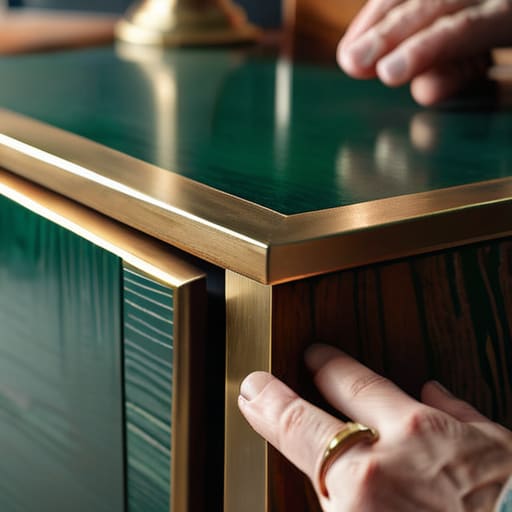
I walked into a thrift store last weekend and saw a mid-century sideboard that was practically screaming for help. It was buried under layers of cheap, glossy varnish and looked more like a relic of a bad decade than a piece of functional decor. It reminded me why so many of us settle for mediocre, flat-pack furniture just because we think we lack the tools or the time to do better. We get caught in this cycle of buying disposable junk, but the truth is that most “outdated” pieces are just one good sanding session away from being the centerpiece of your room. Finding real, sustainable upcycling furniture ideas isn’t about chasing a Pinterest trend; it’s about refusing to settle for things that don’t serve your space.
In this guide, I’m stripping away the fluff and giving you eight practical ways to breathe new life into the pieces you already own or find at your local garage sale. We aren’t going to talk about superficial “hacks” that fall apart in a month. Instead, I’ll show you how to approach these projects with a systematic mindset so you can achieve results that actually last. From structural hardware swaps to strategic finishes, these eight methods will help you transform your home without breaking the bank or your sanity.
Swap the hardware, save the piece
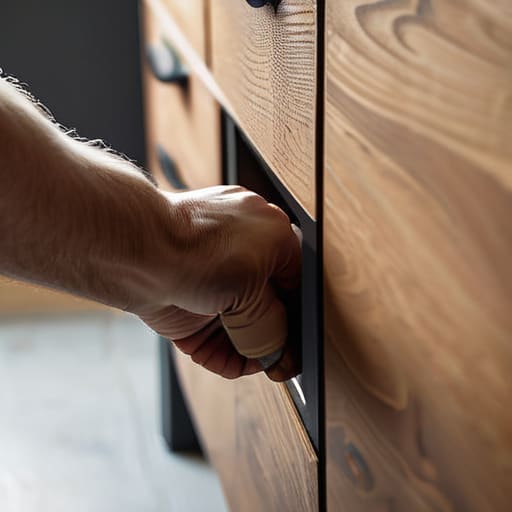
Most people look at a dated dresser and see a total loss, but half the time, the “bones” are perfectly fine. The problem isn’t the wood; it’s the hideous 90s brass pulls or those chunky plastic knobs that make everything look cheap. Before you go out and buy a gallon of primer, just try swapping the hardware for something more intentional, like matte black iron or brushed nickel.
Sand, prime, and paint the right way
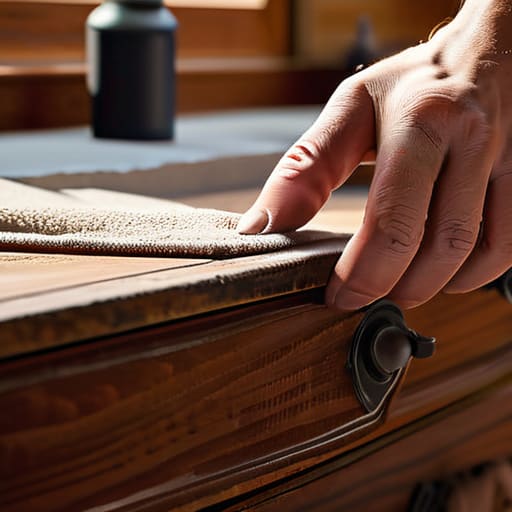
If you’re committed to a full color change, don’t skip the prep work just because you’re in a hurry. I’ve seen too many people slap acrylic paint over a greasy surface only to have it peel off like a bad sunburn within a week. You need to actually clean the surface with TSP or a good degreaser first, then give it a light sanding to create some “tooth” for the primer to grab onto.
The magic of contact paper
Let’s be real: sometimes you don’t have the patience for a multi-stage staining process, especially if you’re dealing with a bookshelf or a desk with a scratched-up surface. This is where high-quality contact paper or peel-and-stick vinyl becomes your best friend. It’s not just for kids’ school projects; you can find incredible marble, wood grain, or even linen textures that look surprisingly sophisticated when applied carefully.
Give old chairs a second life with fabric
Those dining chairs with the sagging, stained seats aren’t trash; they’re just waiting for a facelift. Replacing the fabric is one of the most satisfying DIY projects because the transformation is immediate. You don’t need to be a master seamstress; you just need a staple gun, some sturdy upholstery fabric, and a bit of spatial awareness.
Use new legs to change the silhouette
Sometimes a piece of furniture feels heavy and clunky because it sits too low to the ground. If you have an old mid-century sideboard or even a basic coffee table, changing the legs can completely alter its visual weight. Swapping out thick, blocky wooden legs for something tapered or even metal hairpin legs can make a piece feel much more modern and airy.
Stencil your way to custom patterns
If a plain white nightstand feels a bit too sterile, don’t go out and buy a patterned one. Grab a stencil and some decent furniture paint instead. This is a great way to add a bit of geometric interest or a subtle botanical print without the cost of professional upholstery or custom woodworking.
Distressed finishes for a lived-in look
Not everything needs to look like it just rolled off a showroom floor. If you have a piece that’s a bit beat up, lean into it with a distressed finish. Instead of trying to hide the scratches and dents, use a bit of dark wax or a slightly different shade of paint to highlight the character of the wood.
Repurpose the unexpected
My favorite way to upcycle is to stop looking at an object for what it was and start looking at it for what it could be. An old wooden ladder can become a rustic bookshelf; a vintage suitcase can become a side table with a few inexpensive legs attached. It requires a bit of mental gymnastics, but it’s incredibly rewarding.
Stop Overthinking and Start Sanding
At the end of the day, upcycling isn’t about achieving some Pinterest-perfect aesthetic that requires a professional studio setup to maintain. It’s about the practical application of what we’ve discussed—whether that’s swapping out dated hardware to give a dresser a second life, or simply giving a worn-out chair a fresh coat of durable paint so it actually functions in your living room again. The goal isn’t to create a museum piece; it’s to build a home filled with items that are actually useful and built to last. Don’t get paralyzed by the fear of making a mistake or choosing the wrong shade of sage green. Just pick a project, grab your tools, and focus on the functional transformation of what you already own.
We spend far too much time scrolling through endless catalogs of “disposable” furniture that’s designed to fall apart in three years. By taking the time to refurbish what’s already in your house, you’re breaking that cycle of constant consumption and clutter. It’s a small, repeatable system for a more sustainable lifestyle that saves you money and mental bandwidth in the long run. So, skip the showroom this weekend. Go into your garage or your guest room, find that one piece of furniture that’s currently just taking up space, and make it work for you. Your space—and your sanity—will thank you.
Frequently Asked Questions
I don't have a workshop or fancy tools; can I actually do this with just a screwdriver and some sandpaper?
Absolutely. In fact, I’d argue that starting small is better than getting halfway through a project and realizing you’ve bought a table saw you don’t know how to use. A screwdriver and sandpaper are the bread and butter of any decent project. Tighten the loose joints, smooth out the rough patches, and maybe grab a decent tin of wax or paint. You don’t need a workshop; you just need a flat surface and ten minutes.
How do I know if a piece of furniture is worth the effort or if I'm just wasting my Saturday on a lost cause?
Look, I’ve spent enough Saturdays hunched over a sanding block to know the difference between a project and a pitfall. Before you commit, check the bones. Is it solid wood or particle board disguised as the real thing? If it’s real wood, it’s worth the sweat. If the frame is wobbly or the veneer is peeling in ways that can’t be fixed, walk away. Don’t let a “good deal” steal your weekend.
What's the best way to prep a surface so the new paint doesn't peel off in six months?
Look, if you skip the prep, you’re just wasting your Saturday and a perfectly good can of paint. First, clean that surface with TSP or a degreaser; oils are the enemy of adhesion. Next, sand it down—not until you hit bare wood, just enough to break the gloss so the new layer actually has something to grab onto. Finally, wipe away every speck of dust. If the surface isn’t clean and slightly textured, it’s going to peel.
Is it worth trying to fix structural issues like wobbly legs, or should I just focus on the cosmetic stuff?
Look, if the legs are wobbly, the piece is broken—not just “vintage.” There is no point in sanding a beautiful finish onto a chair that’s going to collapse the moment you sit down. Fix the structure first. Use wood glue, tighten the bolts, or reinforce the joints. Think of it like troubleshooting code: if the foundation is buggy, the UI doesn’t matter. Get it stable, then make it pretty.





