
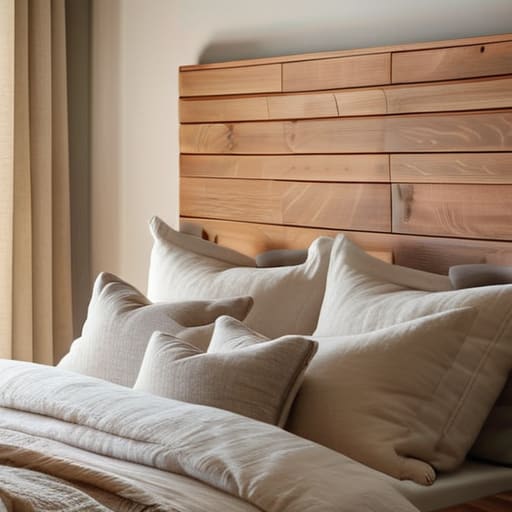
I’ve spent enough time troubleshooting broken systems to know that a bedroom shouldn’t feel like another project on your never-ending to-do list. We’ve all been there: staring at a blank wall above a bed that feels strangely naked, or worse, trying to force a cheap, particle-board piece into a space that deserves better. Most people think they need a massive budget or a degree in interior design to fix this, but honestly, searching for the perfect diy headboard ideas shouldn’t feel like a second job. You don’t need a complete room overhaul; you just need a functional focal point that anchors the space without draining your weekend.
In this guide, I’m skipping the overly ambitious Pinterest projects that require a workshop and a week of sanding. Instead, I’ve curated eight practical diy headboard ideas that prioritize durability, ease of assembly, and actual style. We’re going to look at ways to upgrade your sleeping quarters using materials that actually last, from simple reclaimed wood to clever textile hacks. By the end of this, you’ll have a clear, actionable plan to build something that looks intentional and, more importantly, makes your room feel like a sanctuary rather than a construction zone.
The Classic Upholstered Panel
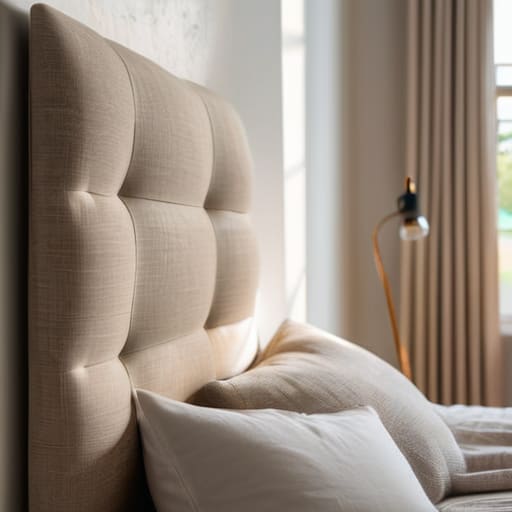
If you want your bedroom to feel less like a dorm room and more like a sanctuary, nothing beats a padded, upholstered headboard. You don’t need a professional upholsterer or a massive budget; you just need some high-density foam, a piece of plywood, and a fabric that actually feels good against your skin. I usually suggest a heavy linen or a textured weave because they hide the inevitable wear and tear of leaning back to read a book.
Mid-Century Slatted Wood
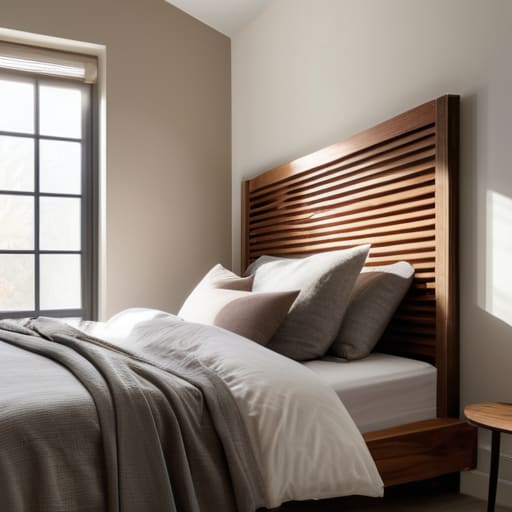
For those of us who prefer clean lines over heavy fabrics, a wooden slat headboard is a total winner. It brings a bit of warmth to the room without making the space feel cluttered or heavy. I’m a big fan of using reclaimed wood if you can find it, or even just some inexpensive pine slats that you’ve stained a deep, moody walnut to give them some character.
The Minimalist Floating Shelf
Sometimes, the best headboard is the one that doesn’t take up any visual space at all. If you’re working with a smaller bedroom, I recommend mounting a long, sturdy wooden shelf directly above your pillows. It serves the dual purpose of a headboard and a makeshift nightstand, giving you a place to set your glasses, a carafe of water, or your current read without needing extra furniture.
Painted Geometric Shapes
Let’s be honest: sometimes you don’t have the time or the tools for a full-scale construction project. In those cases, I lean on the power of a good can of paint. You can create a “faux headboard” by painting a large geometric shape—like a soft arch or a bold rectangle—directly onto the wall behind your bed. It defines the sleeping area instantly without adding a single ounce of physical bulk to the room.
The Leather and Studded Look
If your aesthetic leans a bit more industrial or “grown-up,” consider a leather-wrapped headboard. You don’t have to go out and buy expensive hides, either; you can use high-quality faux leather that is much easier to wipe down. This is one of those projects where a few brass upholstery tacks can make the whole thing look like it came from a high-end boutique.
Hanging Macramé or Textile Art
For a softer, more bohemian vibe that doesn’t require a single power tool, look toward textiles. Hanging a large, heavy woven tapestry or a piece of intricate macramé behind your bed acts as a visual headboard that adds immediate softness to the room. It’s a great way to introduce color and pattern without the commitment of permanent decor.
The Built-In Slat Wall
If you’re looking for something that feels truly integrated into the architecture of the room, a floor-to-ceiling slat wall is the way to go. This is a more significant undertaking, but it transforms the entire bedroom into a cohesive, designed space. By running vertical wood slats from the floor all the way up to the ceiling, you create a striking focal point that draws the eye upward.
The Framed Cane or Rattan Panel
Cane webbing is having a massive moment right now, and for good reason—it’s light, airy, and adds a wonderful organic texture. You can create a stunning headboard by stretching cane webbing over a simple wooden frame. This is perfect for anyone who wants to add some natural warmth to their space without the heavy, imposing feel of a solid wood or upholstered piece.
Stop Overthinking the Finish Line
At the end of the day, whether you went with the structural simplicity of a reclaimed wood frame or the soft, tactile comfort of a DIY upholstered panel, the goal was the same: creating a space that feels intentional. You don’t need a professional carpenter or a massive budget to upgrade your bedroom; you just need a plan that doesn’t leave you staring at a pile of sawdust and regret on a Sunday afternoon. The key is to choose a project that matches your actual skill level and your available tools, rather than trying to replicate a high-end showroom look that requires a workshop you don’t own. Focus on the build, keep your workspace organized, and remember that a little bit of sanding goes a long way.
Your bedroom should be your sanctuary, not another unfinished project on your never-ending to-do list. Once that headboard is mounted and your pillows are in place, the “work” part is officially over, and the living part begins. Don’t get so caught up in the pursuit of perfection that you forget why you started this in the first place. The most successful DIY projects aren’t the ones that look like they came out of a magazine; they are the ones that actually work and make your home feel like yours. Now, put the tools away, grab a coffee, and enjoy the view.
Frequently Asked Questions
How do I make sure my DIY headboard is actually sturdy enough to lean against without it wobbling?
The “wobble factor” is what ruins a good DIY project. If you’re building against the wall, don’t just rely on gravity. Use heavy-duty L-brackets to anchor the frame directly into the wall studs—not just the drywall. If you’re doing a freestanding design, ensure your base is wider than the headboard itself. A stable foundation isn’t about aesthetics; it’s about making sure you don’t end up face-first in your pillow at 2 a.m.
What’s the best way to attach a heavy wooden headboard to a bed frame without damaging the wall?
If you’re worried about gouging your drywall, skip the heavy-duty anchors and go for a headboard with integrated mounting brackets or a “cleat” system. I usually recommend a French cleat; it distributes the weight evenly across the wall and keeps things stable. If your frame allows, bolting directly through the frame to the headboard is even better. It’s more secure, keeps the headboard from wobbling, and leaves your paint job intact.
If I’m working with a tight budget, which materials are actually durable and which are just a waste of money?
Look, if your budget is tight, don’t get distracted by the “aesthetic” junk at big-box craft stores. Skip the flimsy MDF or thin plywood; they’ll warp the second you try to mount them. Invest in solid pine or even reclaimed pallet wood—it’s sturdy and has character. Spend your money on decent screws and a heavy-duty adhesive. A cheap material used correctly is better than an expensive one that fails when you lean back.
How do I go about cleaning or maintaining a fabric-covered headboard so it doesn't just become a dust magnet?
Fabric headboards are basically giant, upright dust sponges. If you want to keep yours from looking dingy, skip the heavy scrubbing. Once a week, run a vacuum with the upholstery attachment over it—don’t just eyeball it; get into the crevices. For spot cleaning, use a lint roller or a damp microfiber cloth, but keep it minimal. If you spill something, blot, don’t rub. It’s about consistent, low-effort maintenance, not a deep scrub every month.





